


Calibrating Your System 2-7
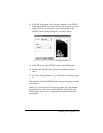
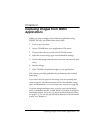
7. Click the Scan button. The scanner scans the chart and the
calibration utility sends the profile to EPSON TWAIN.
When calibration is finished, the message Calibration
profile completed appears on the screen.
8. Click OK to exit the calibration utility.
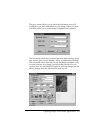
The profile data is saved with the filename you entered, and
the description is added to the Calibration list in EPSON
TWAIN’s Destination dialog box, described on page 3-12.
Scanning Using Calibration
If you are using one of the predefined printer calibration
profiles, such as one of the EPSON Stylus printer profiles, or you
have created a custom calibration profile for your printer, you
can now use that profile to scan and print your image.
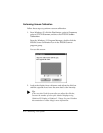
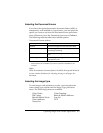
Follow these steps to use a calibration profile when you scan:
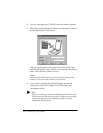
1. Select your scanner. For example, choose Acquire from the
File menu within your application, and choose Select
TWAIN_32 Source (in Windows 95) or Select TWAIN
Source (in Windows 3.1). Then select EPSON Scanners (32
bit) in Windows 95, or EPSON Scanners in Windows 3.1.
Note:
You usually need to perform this step only once, when you use the
scanner with your software for the first time.
2. Next select EPSON TWAIN. For example, choose Acquire
from the File menu within your application; then choose
TWAIN_32 (in Windows 95) or TWAIN (in Windows 3.1).
3. You see either the easy or the advanced screen. If you see the
easy screen, click Advanced.