Button Labels
This section describes the procedure for replacing button labels.
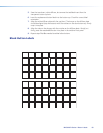
In this section, a strip of blank button labels is provided. If desired, photocopy them or cut
them out of the manual, write button information in each button area, and put them in
the applicable input or output buttons. You can also create labels using the free Extron
Button-Label Generator software, which is available at www.extron.com.
Installing Labels in the MLS 608 D Switcher Buttons
Install new labels in the front panel buttons as follows:
1. Make new labels using either the blanks below or the Button-Label Generator
software. Cut them out.
NOTE: For best results, print on transparent or translucent material.
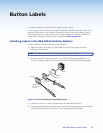
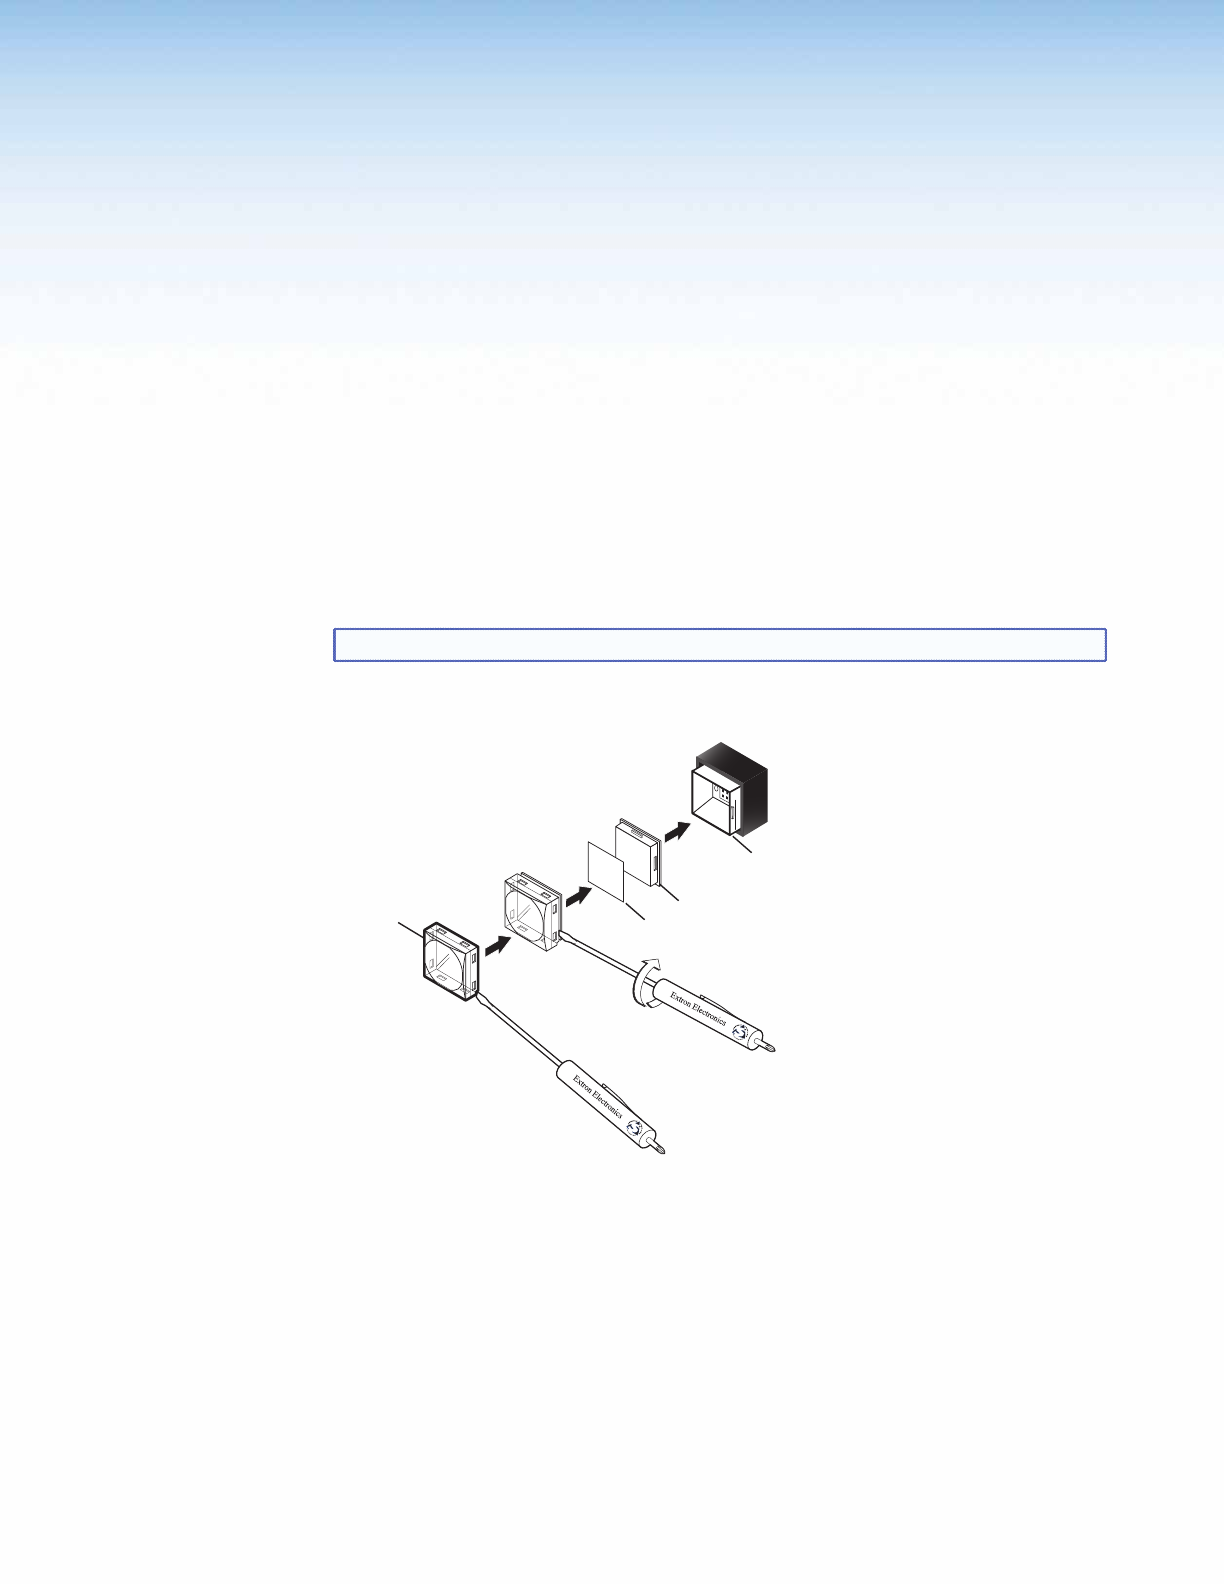
2. Remove the button from the switcher: use a small, flat bladed screwdriver such as
an Extron Tweeker to gently pry a button out from the front panel (see gure below).
TEXT
Separate the two-
piece button here at
the corner.
Pry the two
pieces apart.
Diffuser
Base
Button Label
Clear Lens
Figure 43. Illuminated Button Label Replacement
3. Locate the notch in the corner of one side of the clear button cap lens.
4. Separate the white backing (diffuser) from the clear button cap (lens); insert the blade
of the small screwdriver into the corner notch and gently twist the blade.
MLS 608 D Series • Button Labels 82


