How to Perform a Scan (for Mac OS Users)
201
6. Press the [Scan] button on the ScanSnap.
⇒ Scanning is started.
⇒ The [Scan] button on the ScanSnap blinks blue during the scanning operation.
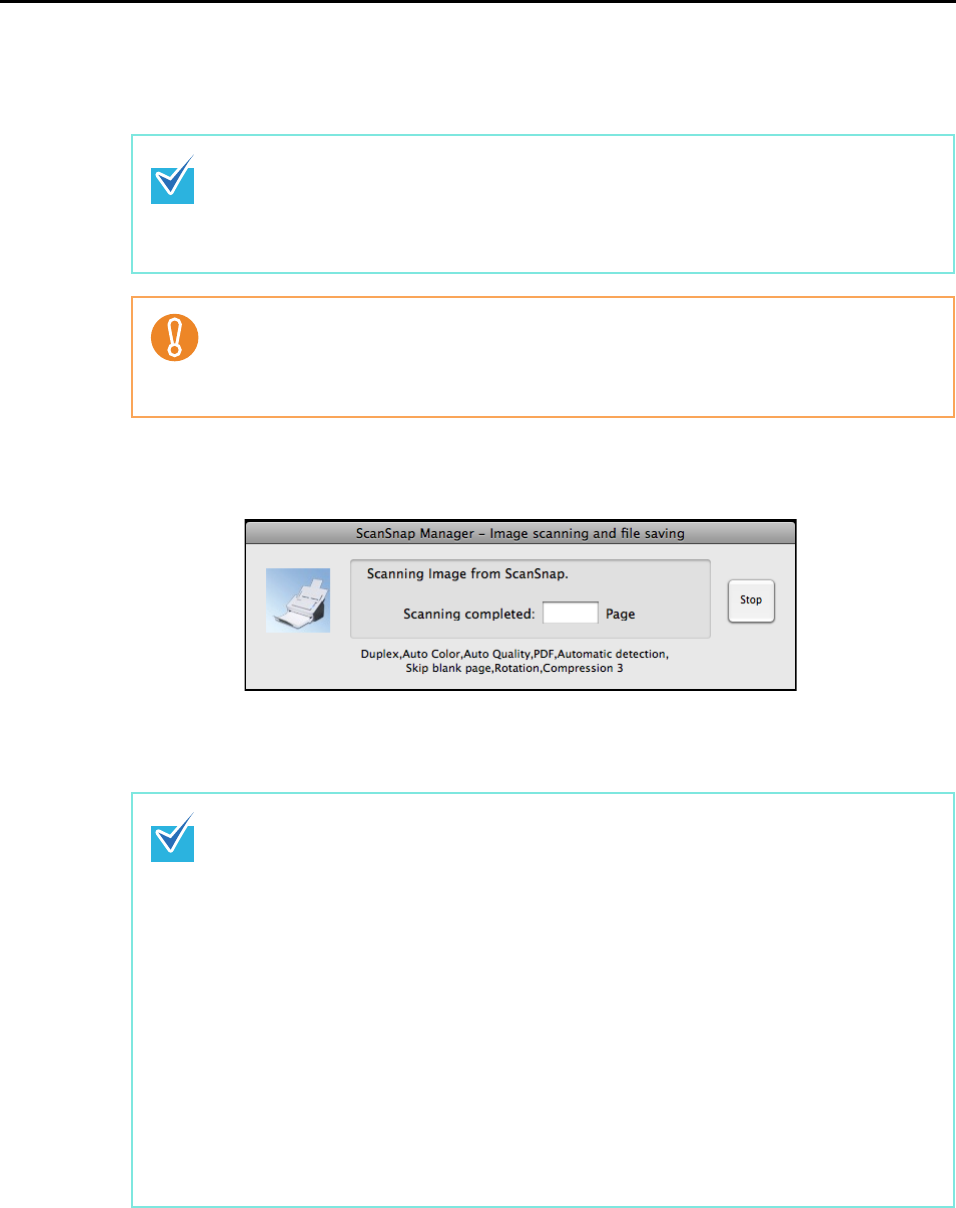
The following window appears to indicate the scanning status.
⇒ When scanning is complete, a selected action or interaction with another application
starts.
• By default, the [Scan] button settings are set to [Duplex Scan (Double-sided)].
With ScanSnap Manager, you can switch the [Scan] button settings to [Simplex Scan
(Single-sided)] mode. For details, refer to "Changing Scanning Settings" (page 203).
• Scanning can also be started from the ScanSnap Manager menu.
For details, refer to "ScanSnap Manager Menu" (page 190).
• Do not connect or disconnect the ScanSnap and other USB devices during the scan-
ning operation.
• Do not close the ADF paper chute (cover) during the scanning operation.
• Do not switch users during the scanning operation.
• By default, documents are scanned on the following settings: [Image quality: Auto],
[Color mode: Auto Color Detection], [Scanning side: Duplex Scan].
For details about how to change settings, refer to "Changing Scanning Settings" (page
203).
• Before scanning documents of printed or handwritten text, on the ScanSnap setup win-
dow, select the [Scanning] tab → the [Option] button → the [Setting for text only docu-
ment] checkbox.
• The application that starts after scanning varies depending on which option is selected
on the [Application] tab in the ScanSnap setup window. For more information, refer to
the ScanSnap Manager Help.
• The scaling factor of the scanned image data may vary slightly.
• When Cardiris is started and becomes active (when the menu is Cardiris), the Scan-
Snap automatically interacts with the active application, and the settings for the applica-
tion are used for scanning. Automatic interaction is disabled when the application is not
active.
For details about automatic interaction, refer to "Automatic Interaction with Applica-
tions" (page 219).
