Processors 53
5
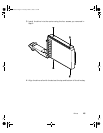
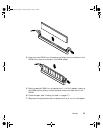
Gently press the DIMM into the socket until it is firmly seated. Inserting
the DIMM automatically locks the socket clamps on each end of the
DIMM.
6 Close the case. (See “Closing the case” on page 27.)
7 Reconnect the peripherals and the power cord, then turn on the system.
Processors
The system is compatible with the Intel
®
Pentium
®
III 600 MHz and faster
processors with 100 MHz front-side bus (FSB). As many as two processors may
be installed in the system. The voltage regulator modules for both processors
are built into the system board and you do not need to install additional
VRMs.
Replacing a processor
When replacing a processor, order a processor upgrade kit from Gateway. The
kit includes the processor, a fansink or heatsink, and a disposable grounding
wrist strap.
To replace a processor:
1 Turn off the system and disconnect the power cord and all external
peripheral devices.
2 Open the case by following the instructions on page 23. (See “Preventing
static electricity discharge” on page 22.)
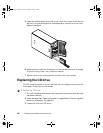
3 Disconnect the processor fan cable from the processor fan connector on
the system board.
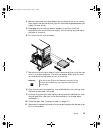
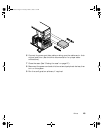
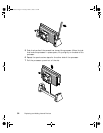
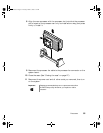
4 Place the head of a flat-bladed screwdriver behind the tab on one side
of the processor retention bracket holding the processor to be removed.
Caution A heatsink or fansink must be installed on each processor.
Installing a processor without a heatsink or fansink could
result in damage to, or failure of, the processor.
8505945.book Page 53 Thursday, March 9, 2000 2:13 PM


