(106 intentionally excluded)
5-22 Diagnostic Tests
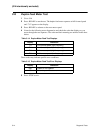
104 Communication Loop-back Test (Continuous Loop)
1 Remove the interface cable from the printer.
2 Make sure the DIP switches on the signal interface board have been pulled toward the
printer’s back cover. Close the back cover.
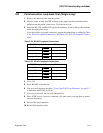
3 Install the RS-232C and RS-422 loop-back connectors, found in the tool kit mounted
inside the right printer cover. If you do not have loop-back connectors, jumper the
connections as outlined in Table 5-24, “RS-232 Loopback Connections,” on page 5-
21 and Table 5-25, “RS-422 Loopback Connections,” on page 5-21.
4 Go to: 104
5 Press: READY to run the test.
6 If an error is detected, the error code is displayed briefly and the test continues. Note
the error code and check the “Error Code/TAG Cross-Reference” on page 2-3 to
determine which TAG to follow.
7 If no errors are found, the test continues to loop. Allow the test to continue for at least
one minute.
8 Press: STOP to exit. (For some errors, you may have to power-on-reset the printer.)
9 Remove the loop-back connectors.
10 Reinstall the interface cable.
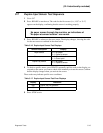
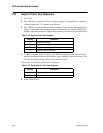
105 EIGS Program RAM Test (Continuous Loop)
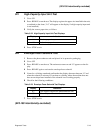
1 Go to: 105
2 Press: READY to run the test.
3 If an error code appears before the test has run for five minutes, look up the code in
“Error Code/TAG Cross-Reference” on page 2-3 to determine which TAG to follow.
4 Otherwise, a “201” may display after about five minutes, indicating that the test has
run successfully.
5 Power-on-reset the printer to exit.
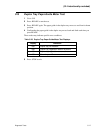
(106 intentionally excluded)
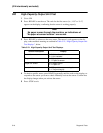
This test does not run on printers with MIGS boards.
Note


