


136 Chapter4
Field Replaceable Units
FRU Removal and Replacement
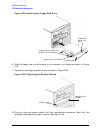
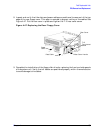
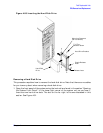
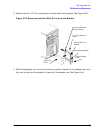
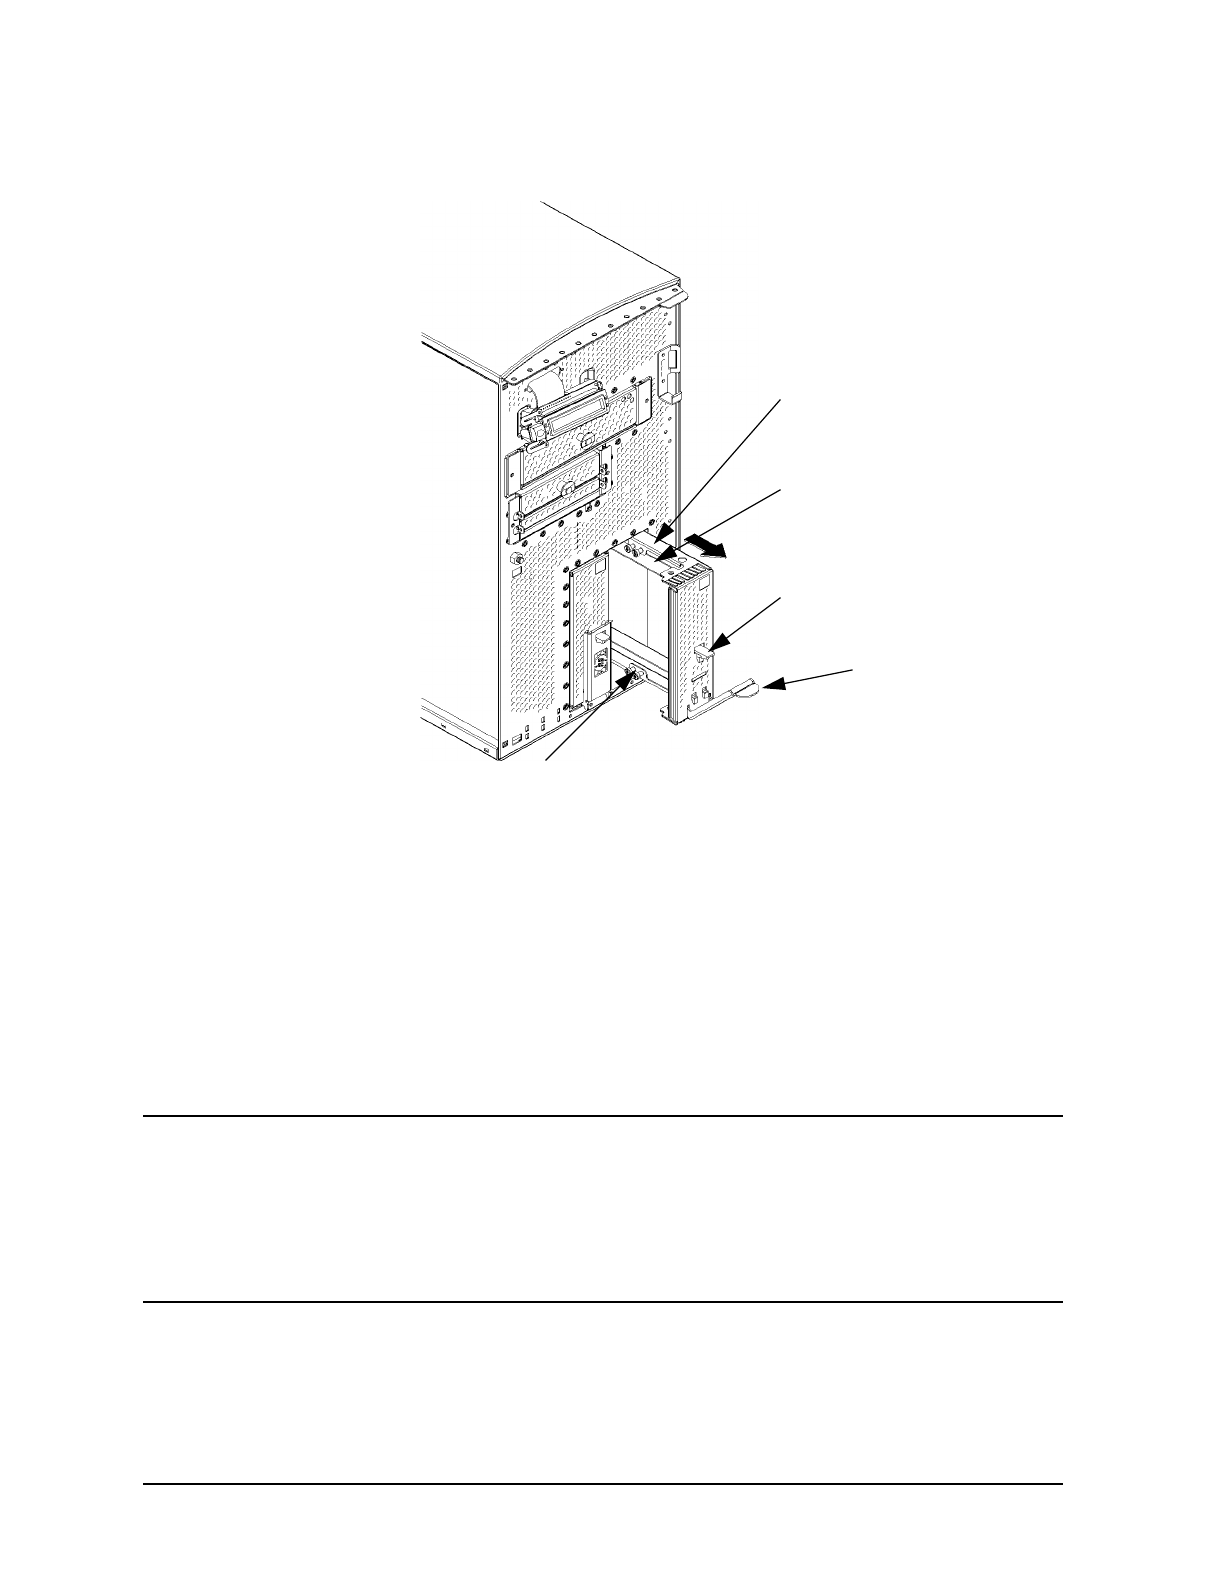
Figure 4-49. Removing the Hard Drive Bracket
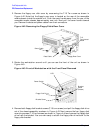
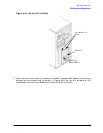
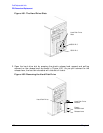
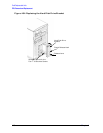
3. Mount the hard disk drive on the hard drive bracket using the four T-10 torx screws and
rubber mounting grommets as shown in Figure 4-50. Next, slide the assembly into its
hard drive slot, and push inward on the release lever until the front of the hard dive
bracket is flush with the system unit. To verify a good connection with the SCA hard
disk interface (backplane board) connector, press firmly around the corners of the hard
drive bracket.
NOTE
If you are installing a hard disk drive, you will need to mount it and create a
file system on it. This should be done after you have installed the hard disk
drive.
To mount a hard disk drive and create a file system on it use the procedure in
the section “Adding a Hard Disk Drive as a File System Using SAM” found in
this chapter.
Hard Disk Drive Bracket
Two T-15 Torx Hard Disk
Drive Mounting Screws
(hidden)
Plastic Release Hook
Release Lever
Two T-15 Torx Hard Disk Drive Mounting Screws