9. (Optional) Select the Borderless printing check box if it is not already checked.
If the borderless paper size and paper type are not compatible, the product software
displays an alert and allows you to select a different type or size.
10. In the Basic Options area, select a high print quality, such as Best, from the Print
Quality drop-down list.
NOTE: To achieve the highest dpi resolution, you can use the Maximum dpi
setting with supported types of photo paper. If Maximum dpi is not listed in the
Print quality drop-down list, you can enable it from the Advanced tab. For more
information, see “
Print using the maximum dpi” on page 33.
11. In the HP Real Life Technologies area, click the Photo fix drop-down list and select
from the following options:
• Off: applies no HP Real Life Technologies to the image.
• Basic: enhances low-resolution images; moderately adjusts image sharpness.
12. Click OK to return to the Properties dialog box.
13. Click OK, and then click Print or OK in the Print dialog box.
Related topics
•“
Recommended papers for photo printing” on page 11
•“
Load media” on page 13
•“
Print using the maximum dpi” on page 33
•“
View the print resolution” on page 34
•“
Use printing shortcuts” on page 34
•“
Set the default print settings” on page 35
•“
Stop the current job” on page 141
Print photos from a memory card or USB storage device
1. Do one of the following:
Print single photo on small-size paper
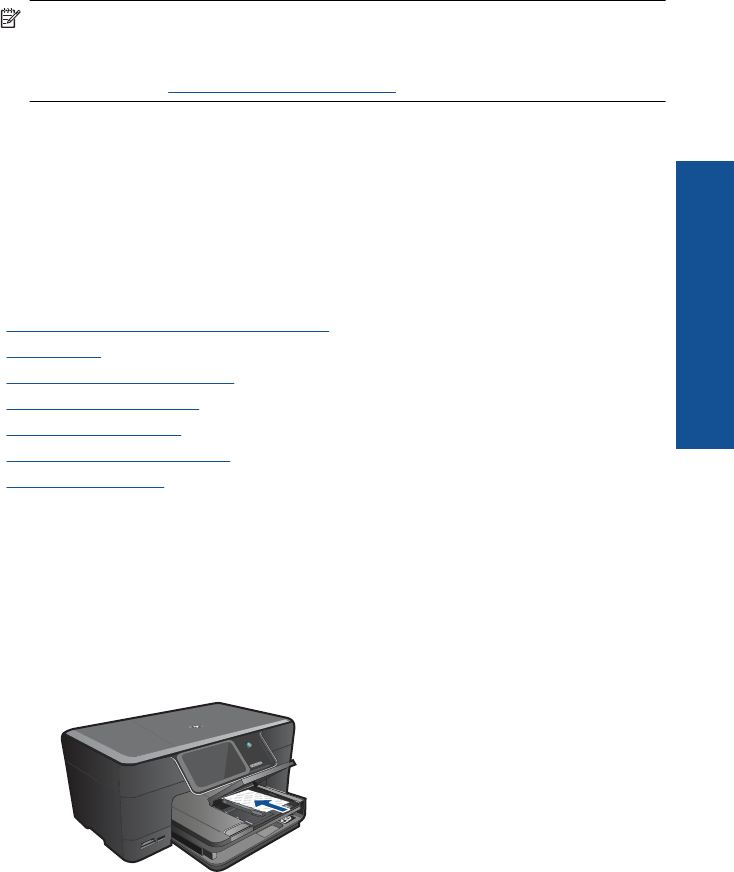
a. Load paper.
Load up to 13 x 18 cm (5 x 7 inch) photo paper in photo tray.
b. Insert memory device.
Print photos 21
Print
