


Chapter 2
Installation
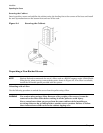
Unpacking the Server
28
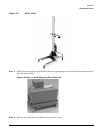
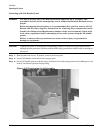
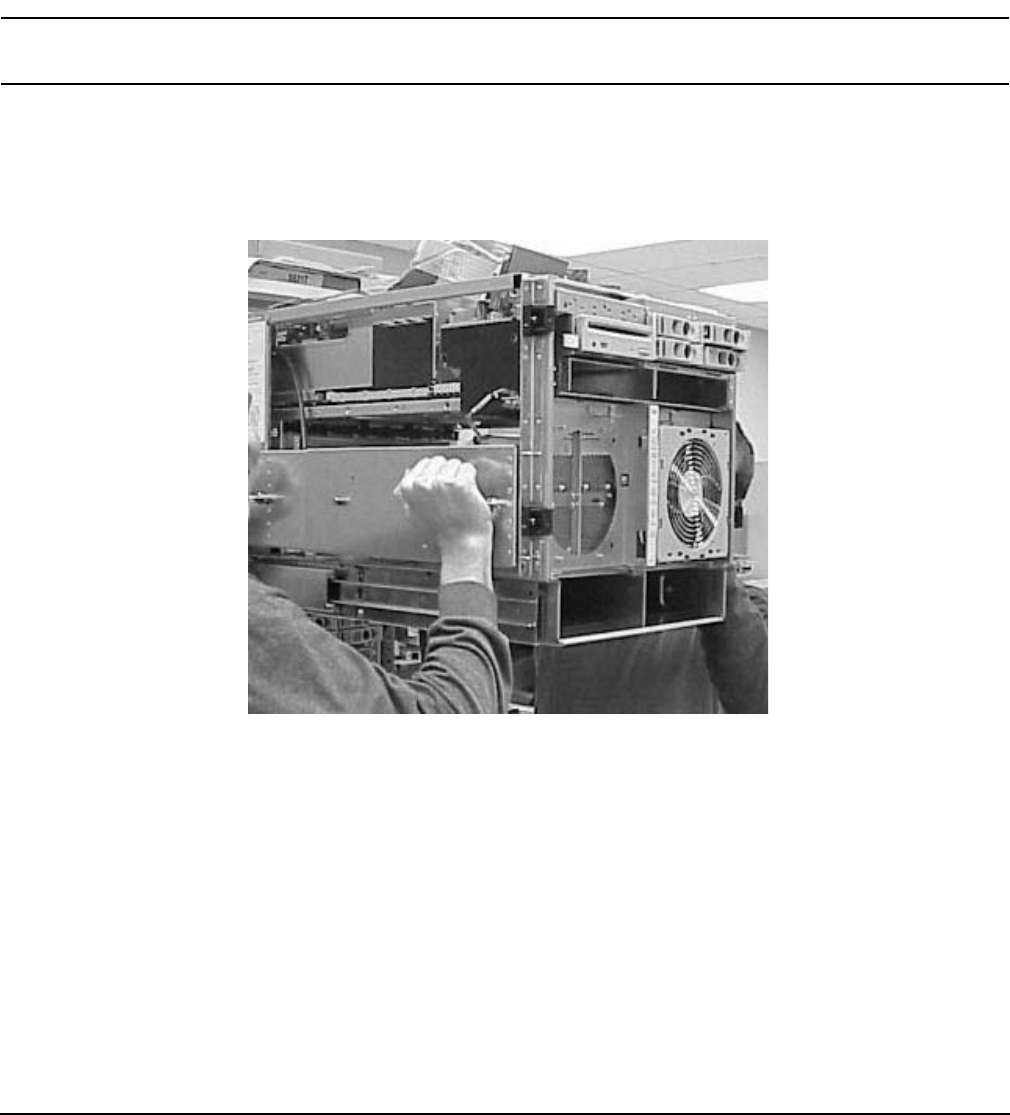
Step 6. Continue to pull the handles apart until the spring plunger snaps into final position. The spring
plunger will drop down into the recess position.
Step 7. Check that the handles are secure by pressing the handles together and moving back and forth.
Check to see if lift handle panel breaks free of chassis.
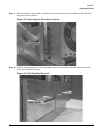
Step 8. Repeat the steps above for the other handle
Step 9. To lift the server, rotate the handles 90 degrees to horizontal position.
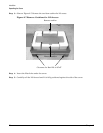
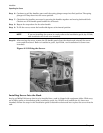
NOTE If you are installing the system in a rack, refer to the installation guide, hp J1530A,
rack installation kit (lower case intended).
Step 10. After moving the server, remove the lift handle panels from the chassis and reinstall the server
covers and front bezel. Refer to installation guide, hp J1530A, rack installation kit (lower case
intended).
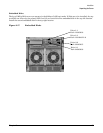
Figure 2-13 Lifting the Server
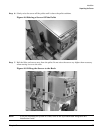
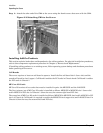
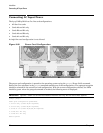
Installing Server Into the Rack
Any hp rp7405/rp7410 server that is to be installed into a rack is shipped with equipment slides. With every
set of slides comes an installation guide: installation guide, hp J1530A, rack installation kit (lower case
intended). Follow the steps in this installation guide to determine where and how to place the server into the
rack.