


Chapter 4
Removal and Replacement
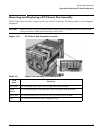
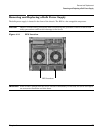
Removing and Replacing a Bulk Power Supply
76
Removing a BPS
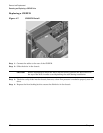
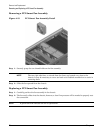
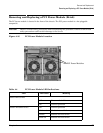
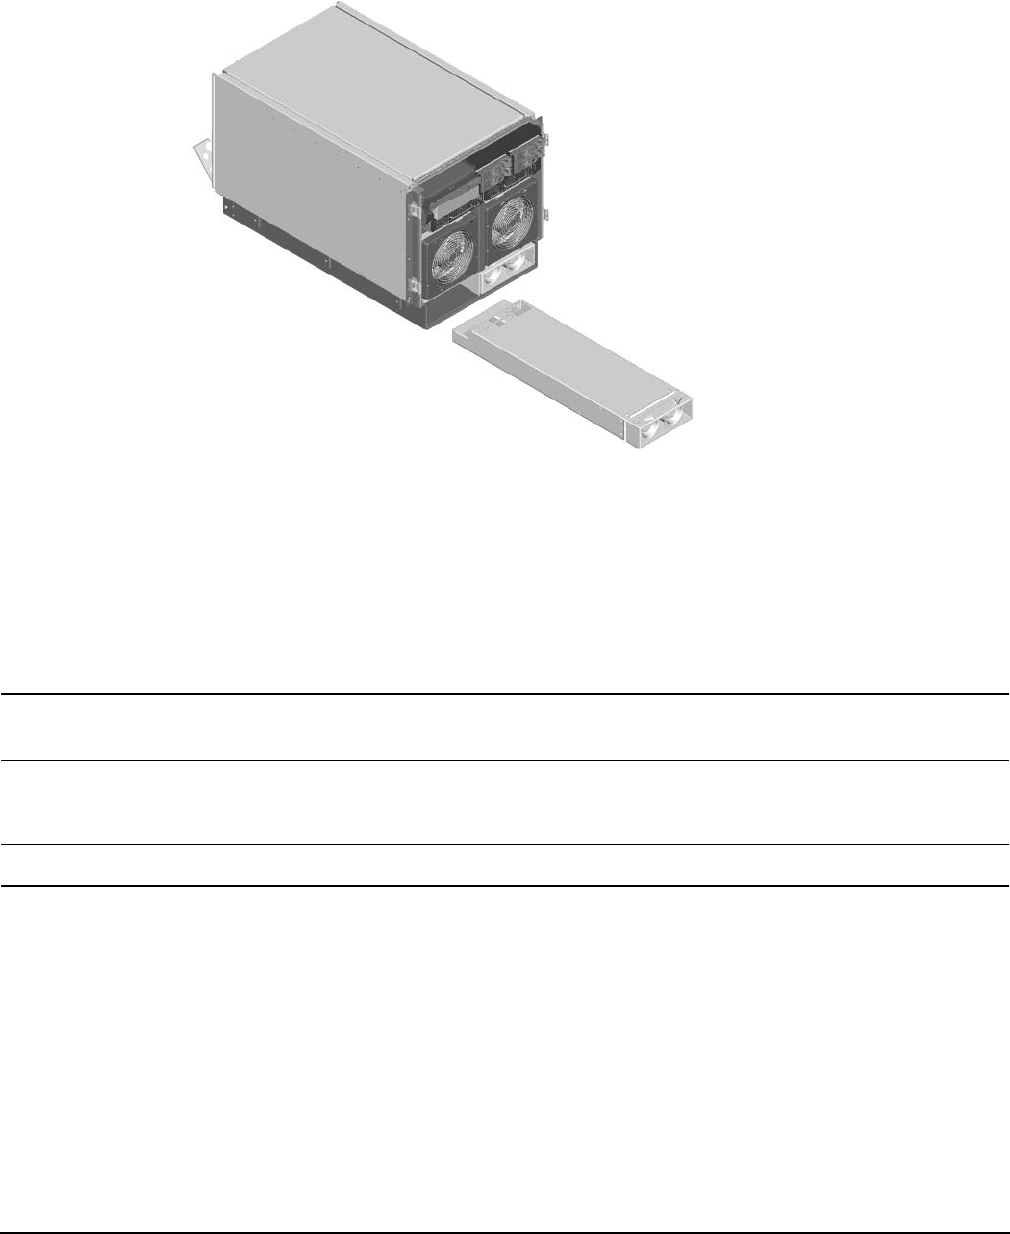
Figure 4-15 BPS Detail
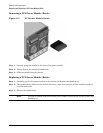
Step 1. Pull the extraction levers located on the upper front outer portion of the BPS.
Step 2. Slide the BPS forward using the extractions levers to remove it from the chassis.
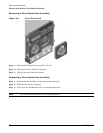
Replacing a BPS
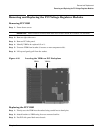
Step 1. Verify that the extraction levers are in the open position, then insert the BPS into the empty slot.
NOTE The BPS easily slides into the chassis; however, a slow firm pressure will be needed
to properly seat the connection.
Step 2. Ensure the BPS has seated by closing the extraction levers.
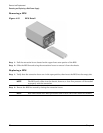
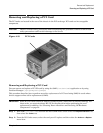
NOTE BPS LED should show BPS operational and no fault. BPS LED should be GREEN.