Removal and Replacement
Procedures
Removal and Replacement of Components 129
System Board
To remove the system board:
1. Disconnect power from the system (page 79), remove the access panel (page 86), remove all plug-in
cards and graphics cards (page 100), remove the memory duct (page 92), remove the CPU heatsinks
airflow duct (page 116), if installed, and remove the system fan assembly (page 93).
2. Disconnect all cabling from the system board.
NOTE: Make note of the cable connections before disconnecting them from the system board. Refer to
“Power Connections to Drives” on page 106 for more information.
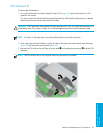
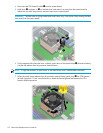
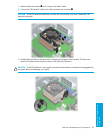
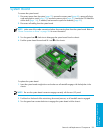
3. Turn the green lever
1 clockwise to disengage the system board from the chassis.
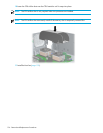
4. Push the system board forward and lift it out
2 of the chassis.
To replace the system board:
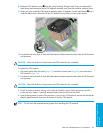
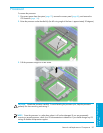
1. Insert the system board straight down and make sure all standoffs engage with the keyholes in the
chassis.
NOTE: Be sure the system board connectors engage correctly with the rear I/O panel.
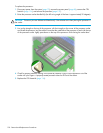
2. Push back on the board while maintaining downward pressure, so all standoffs remain engaged.
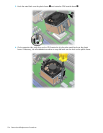
3. Turn the green lever counter-clockwise to engage the system board with the chassis.


