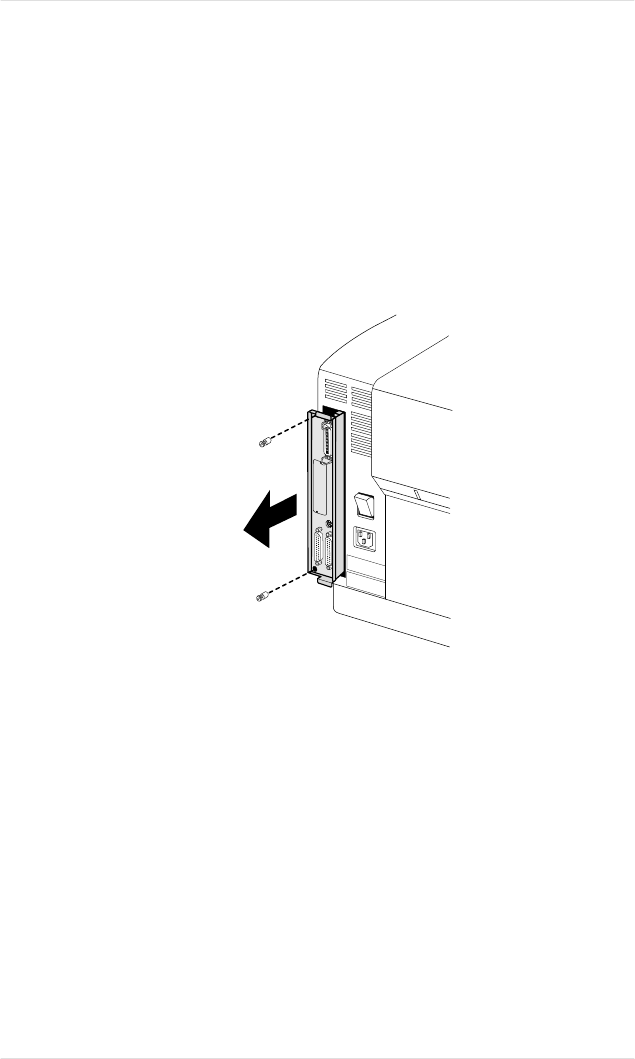
1. Turn the printer off and remove the power cord. Disconnect
all interface cables from the printer.
2. Position the printer so that the back is facing you.
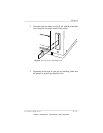
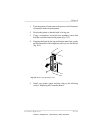
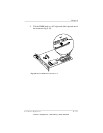
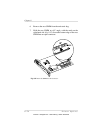
3. Using a screwdriver, loosen the two mounting screws that
hold the controller board to the printer (fig. 8.12).
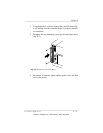
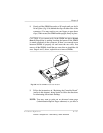
4. Grasping the board by the top and bottom metal rims, gently
pull the controller board straight out and lay it on a flat surface
(fig. 8.12).
5. Install your printer option and then refer to the following
section, “Replacing the Controller Board.”
Fig. 8.12 Remove the Mounting Screws
Chapter 8
Printer Options 8-19
EDNord - Istedgade 37A - 9000 Aalborg - telefon 96333500


