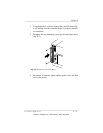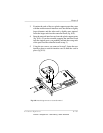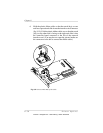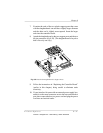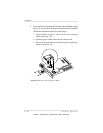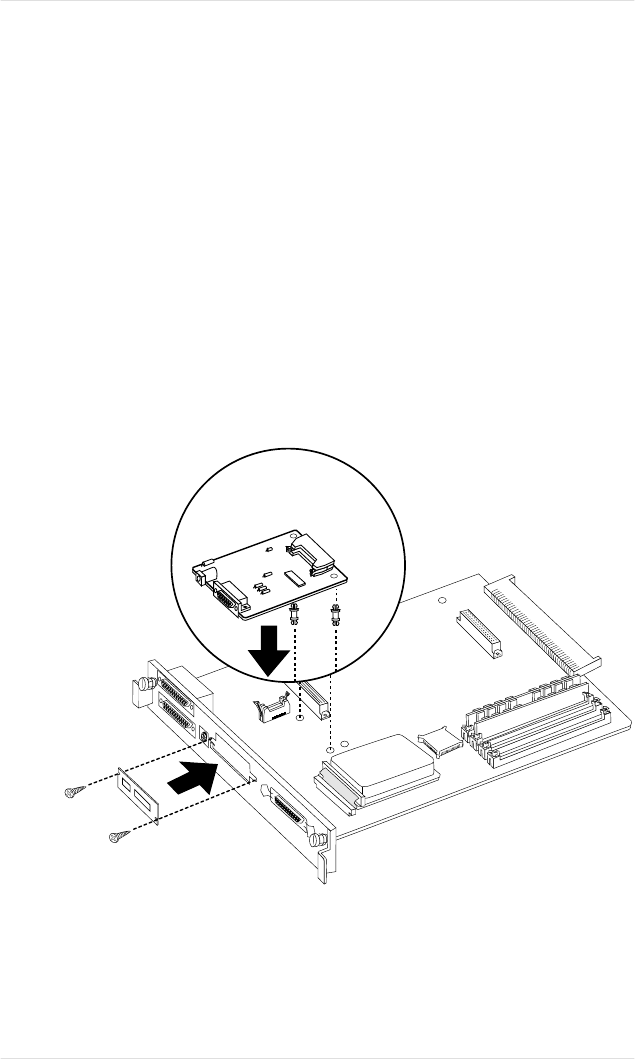
3. Examine the ends of the two plastic support posts that come
with the smaller network interface card: one end has a slightly
larger diameter and the other end is slightly more tapered.
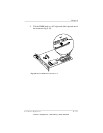
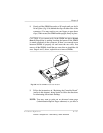
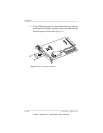
Insert the larger ends into the controller board (fig. 8.18).
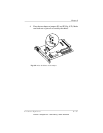
4. Snap the network interface card onto the plastic support posts
(fig. 8.18). (If you have trouble snapping the interface board
onto the support posts, you probably inserted the wrong ends
of the posts into the controller board in step 3.)
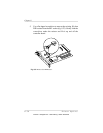
5. Using the two screws you removed in step 2, fasten the new
interface plate to network interface card to hold the card in
place (fig. 8.18).
Fig. 8.18 Attach Support Posts to Controller Board
Chapter 8
Printer Options 8-29
EDNord - Istedgade 37A - 9000 Aalborg - telefon 96333500


