


Installing a Rack
007-4857-002 21
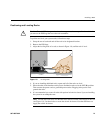
Positioning and Leveling Racks
Caution: To avoid ESD damage to the electronic components, be sure to position the racks before
you remove the ESD bags that cover the rack assemblies.
To position and level your system racks, follow these steps:
1. Grasp the rear of each rack and roll the rack to its designated location.
2. Remove the ESD bags.
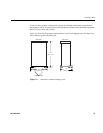
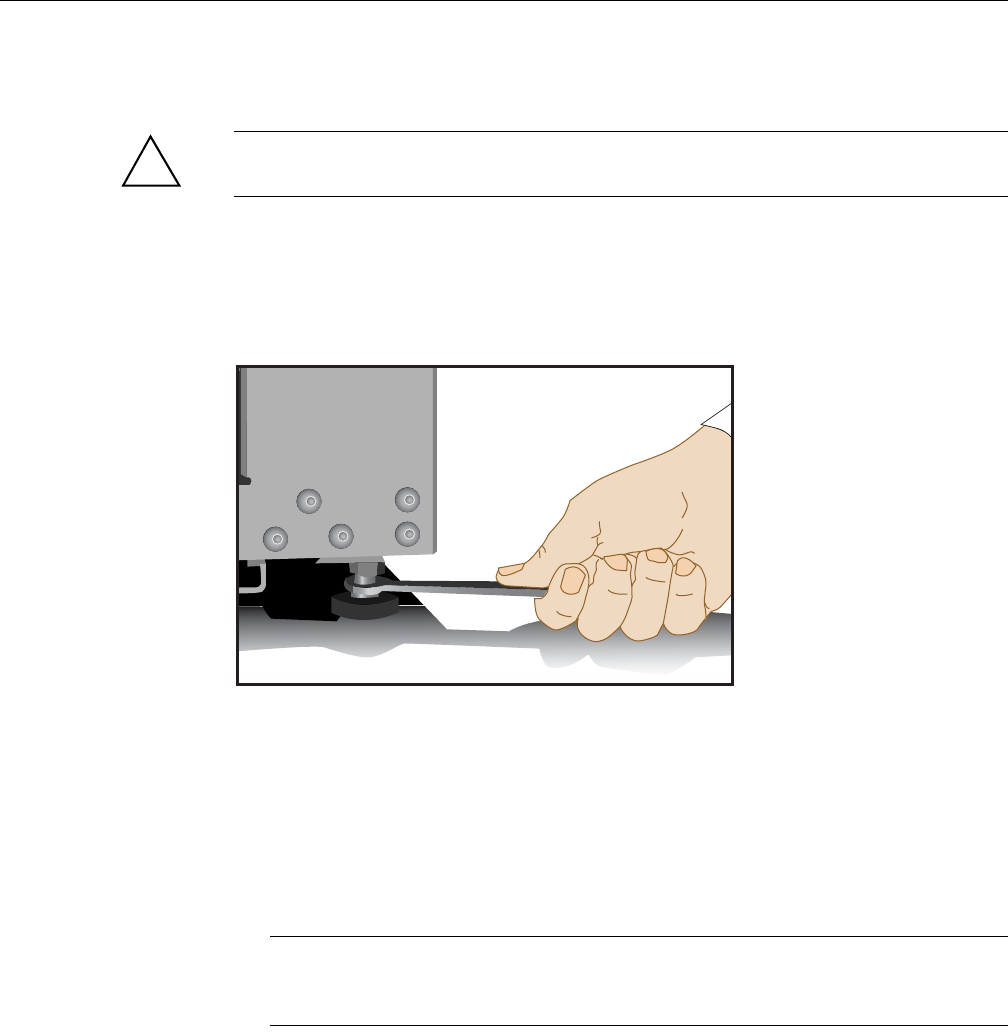
3. Adjust the leveling bolts of a rack, as shown in Figure 1-8, until the rack is level.
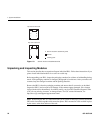
Figure 1-8 Leveling Bolts
4. If you are installing additional racks, repeat until all of the racks are level.
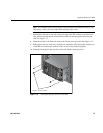
5. Ensure that the circuit breakers on the power distribution units are in the OFF (
O) position.
Then connect the power cords to grounded power outlets. Plugging in the power cords
grounds the racks.
6. It is recommended you secure all racks with optional seismic tie-downs if you are installing
the system in an earthquake zone.
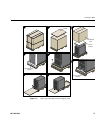
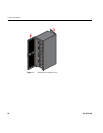
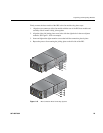
Note: Tall and short racks have four threaded holes that are located at the bottom of the rack
(see Figure 1-9). Use these holes to secure the seismic tie-downs. Note that SGI does not
supply the seismic tie-downs.
!