www.kodak.com/go/aiosupport 9
2
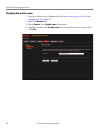
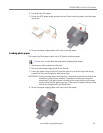
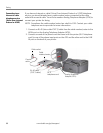
Networking Your Printer
This section explains how to configure or change your network settings.
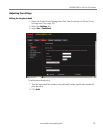
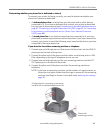
Connecting to a wireless network
To connect your printer to an 802.11 wireless (Wi-Fi) network, use the following
procedures.
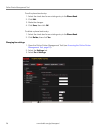
Before you connect
You need:
• a wireless router.
• to determine whether your wireless router supports Wi-Fi Protected Setup
(WPS).
NOTE: If you have specific questions about your router, see your router
manufacturer’s documentation for more information.
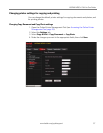
Connecting to a wireless network using the Wi-Fi Setup Wizard
You can use the Wi-Fi Setup Wizard on the printer to connect to your wireless
network. Use the procedure that is appropriate for your network setup.
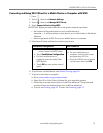
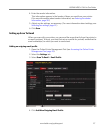
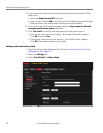
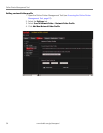
Connecting to a non-WPS wireless router
To connect to your wireless network, you need to know the network name, also
called the Service Set Identifier (SSID). You can obtain your network name from the
wireless router. See the manufacturer's documentation for more information.
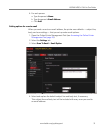
If you have enabled security on your network, you also need to know the security
string, which may be a Wired Equivalent Privacy (WEP) or a Wi-Fi Protected Access
(WPA/WPA2) passphrase.
Record your network information using the correct uppercase and lowercase letters.
Network Name (SSID): ________________________________________
Security String (case-sensitive): ____________________________
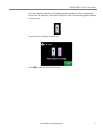
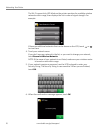
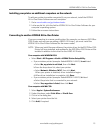
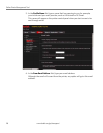
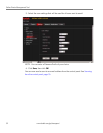
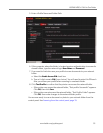
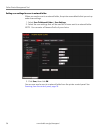
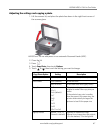
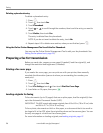
1. Press .
2. Touch , then touch
Network Settings.
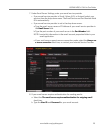
3. Touch
Wi-Fi Setup Wizard.
NOTE: The Wi-Fi radio turns on automatically when you select Wi-Fi Setup Wizard.