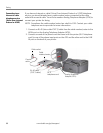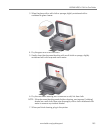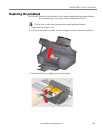
Networking Your Printer
10 www.kodak.com/go/aiosupport
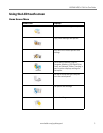
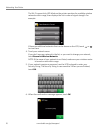
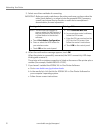
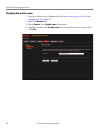
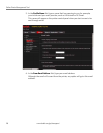
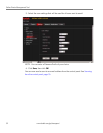
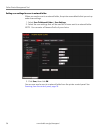
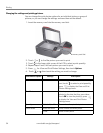
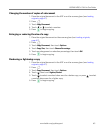
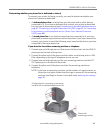
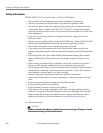
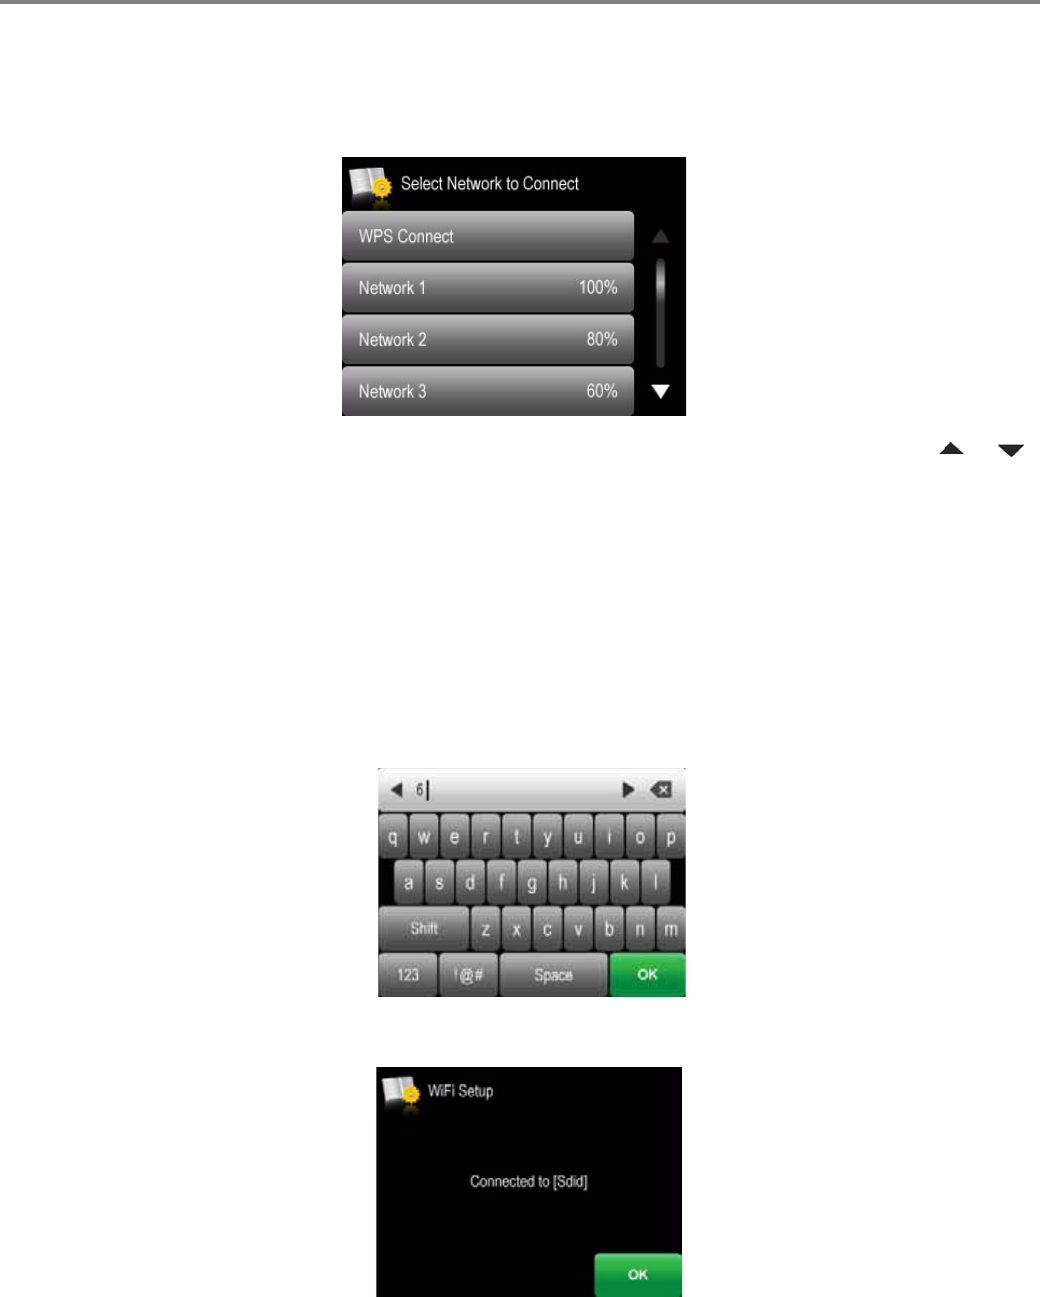
The Wi-Fi connectivity LED blinks as the printer searches for available wireless
networks within range, then displays the list in order of signal strength. For
example:
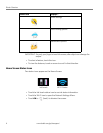
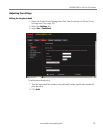
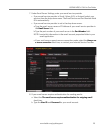
If there are additional networks that can be shown on the LCD, touch or
to view them.
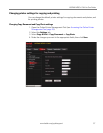
4. Touch your network name.
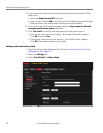
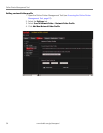
If you don’t see your network in the list, or you want to change your network,
touch
Rescan for Wireless Networks.
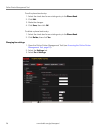
NOTE: If the name of your network is not listed, make sure your wireless router
is turned on and within range.
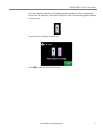
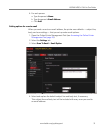
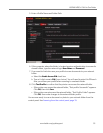
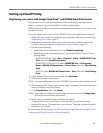
5. If your network requires a password, use the LCD keyboard to enter your
Security String. The Security String is case-sensitive. When you are finished,
touch
OK.
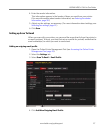
6. When the confirmation message appears, touch OK.