


Inserting Images into Printed Sets (Image Insert) (continued)
8-22
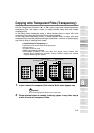
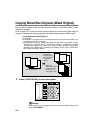
7. Position originals FACE UP in the document feeder.
If the number of originals exceeds 50, divide them into blocks not exceeding 50
sheets and load them from the block with the first page.
8. Touch SCAN on the Basic Screen.
The originals positioned in the document feeder will be scanned into memory.
Repeat steps 7 and 8 for all originals.
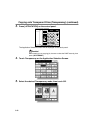
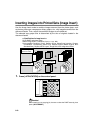
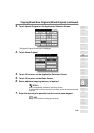
9. Scan the platen glass images.
Open the document feeder. Position an original FACE DOWN on the platen glass,
then close the document feeder.
Reminder!
PLACE AND SCAN THE ORIGINALS ACCORDING TO PAGINATION.
10. Touch SCAN.
Repeat steps 9 and 10 for all originals.
HINTS
• Memory overflow may occur during scanning. See p. 5-10 to p. 5-11.
• Should memory overflow occur frequently, it is recommended that you
contact your service representative to extend the memory capacity in
your machine.
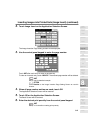
11. Press [START].
The copier will start printing when ready for output.
CAUTION
When the finisher / paper exit / inner tray capacity is exceeded
due to the print quantity selected, remove the copied sets as
they exit; otherwise, mishandled paper will occur.
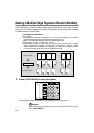
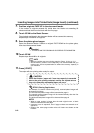
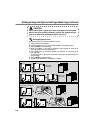
DETAILS: Entering Page Numbers
For example, if insertion locations are [2/2/6], scanned platen images will
be inserted as follows:
The first scanned platen image will be inserted after page 2.
The second scanned platen image will be inserted directly after the first
scanned image insertion.
The third scanned platen image will be inserted after page 6.
NOTES:
• When a page number is larger than the total original count, a blank
sheet is inserted as the last page.
• Insertions occur in sequence, even if page numbers are entered out of
sequence.
• Entering the same page number twice will insert two sheets at that
location.