


Eliminating Black Copy Marks Along Borders (Frame/Fold Erasure) (continued)
8-53
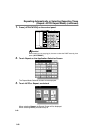
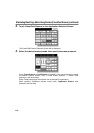
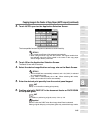
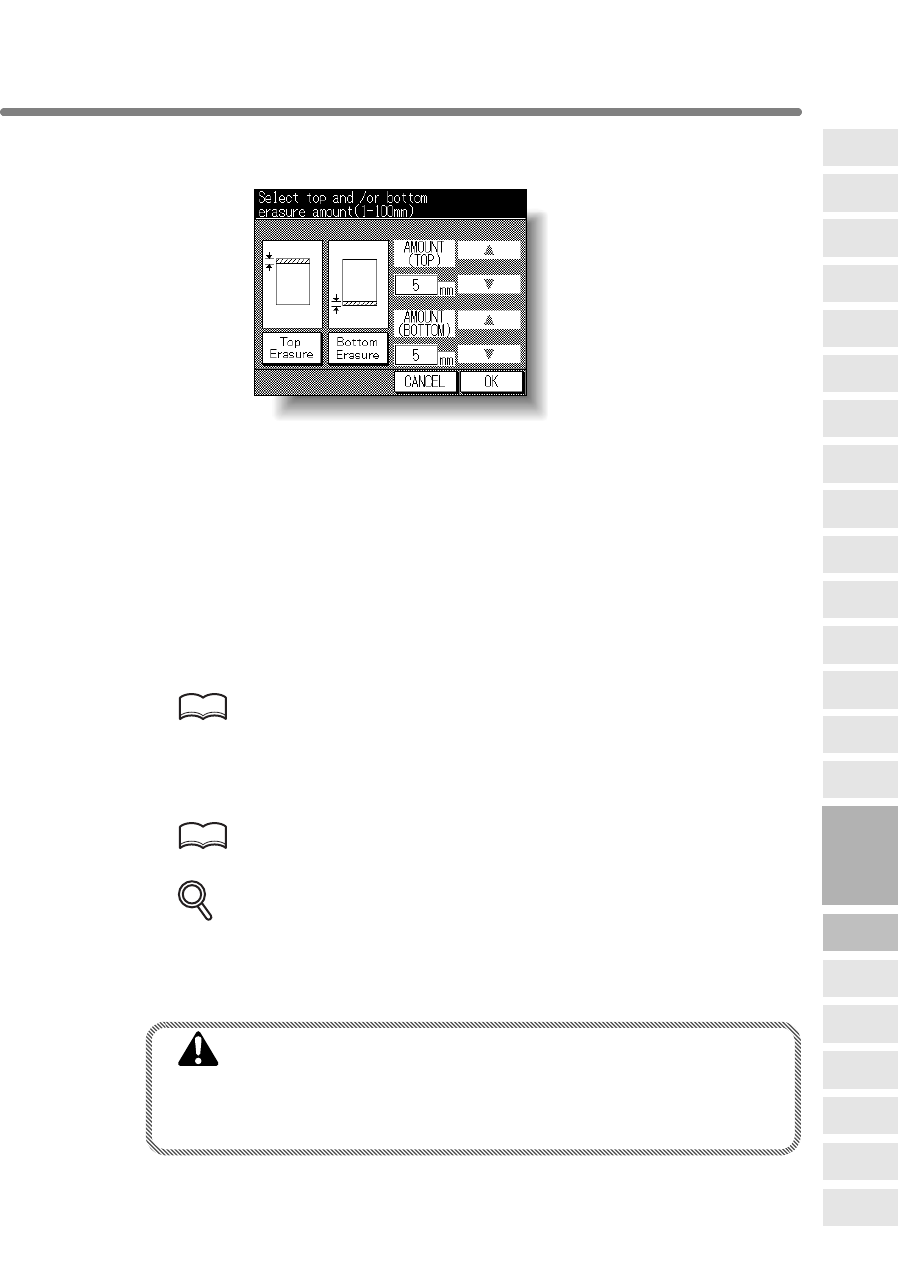
4. Top/Bottom erasure mode:
Select the desired erasure mode, then specify the erasure amount.
Touch Top Erasure or Bottom Erasure to highlight it, then use arrow keys to select
the desired erasure amount, from 1~100mm in 1mm increments.
Either Top erasure and Bottom erasure can be selected in combination.
5. Touch OK.
The Application Selection Screen will be restored.
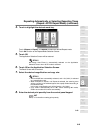
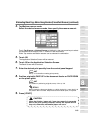
6. Touch OK on the Application Selection Screen.
The Basic Screen will be restored.
7. Enter the desired print quantity from the control panel keypad.
HINT
See p. 3-7 for details on setting print quantity.
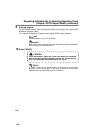
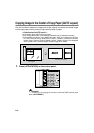
8. Position original(s) FACE UP in the document feeder or FACE DOWN
on the platen glass.
HINT
For details on positioning originals, see p. 3-2 to p. 3-6.
DETAILS
When closing the document feeder on a thick original (e.g. open book), do
not press it down too hard. Keep the document feeder open, if required.
9. Press [START].
CAUTION
When the finisher / paper exit / inner tray capacity is exceeded
due to the print quantity selected, remove the copied sets as
they exit; otherwise, mishandled paper will occur.
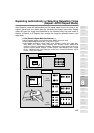
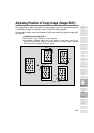
8
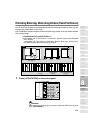
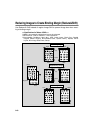
Applications
Folded
Original
Mixed
Original
Text/Photo
Enhance
Reverse
Image
Non-Image
Area Erase
Non-Standard
Size
Book Copy
Image Insert
Transparency
Booklet
Combination
Chapter
Sheet/Cover
Insertion
Application
Selection Screen
Repeat
Upside Down
Frame/Fold
Erasure
AUTO
Layout
Image Shift
Reduce &
Shift
Stamp
Overlay