


5: Installation of xSenso 21R2
xSenso User Guide 39
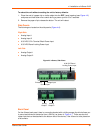
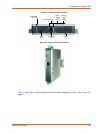
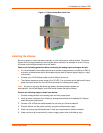
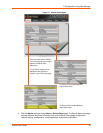
Figure 5-7 xSenso Bottom/Back Panel View
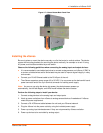
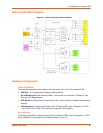
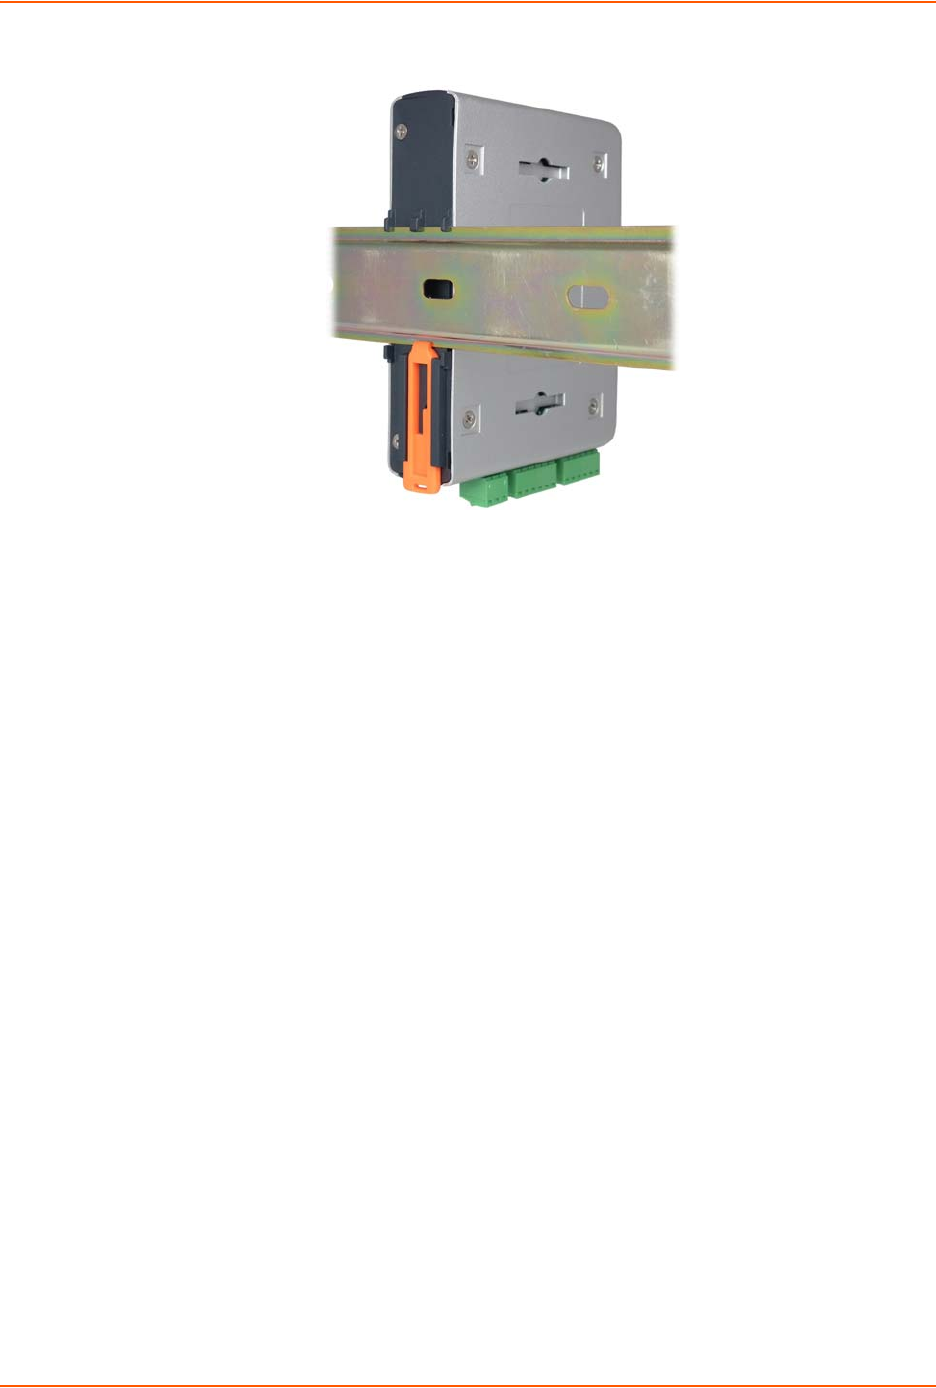
Installing the xSenso
Be sure to place or mount the device securely on a flat horizontal or vertical surface. The device
comes with mounting brackets for mounting the device vertically, for example on a wall. If using
AC power, avoid outlets controlled by a wall switch.
Observe the following guidelines when connecting the analog input and output devices:
It is recommended to use twisted-pair wires to connect analog sensors and xSenso. If EMC is
a concern, shielded wires and/or ferrite bead may be used to improve signal integrity in noisy
environment.
Connect your RJ-45 Ethernet cable to the RJ-45 port of the unit.
The xSenso supports a power range of 9 to 30 VDC. You can power up the device with barrel-
power connector and/or the 3 pin terminal connector for backup power supply.
Note: As soon as you plug the device into power, the device/sensors powers up
automatically, the self-test begins, and LEDs would indicate the device's status
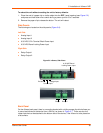
Perform the following steps to install your device:
1. Connect analog devices to the analog input and relay output ports.
2. Hook up power excitations from xSenso to analog sensors/devices if needed and if xSenso
meets the power requirement.
3. Connect a RJ-45 Ethernet cable between the unit and your Ethernet network.
4. Plug the xSenso into the power outlet by using the included power supply.
5. Power up analog input devices/sensors if they are not powered by xSenso excitation.
6. Power up device to be controlled by relay or supply power to be controlled by relay.