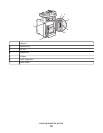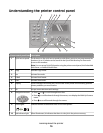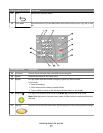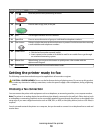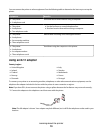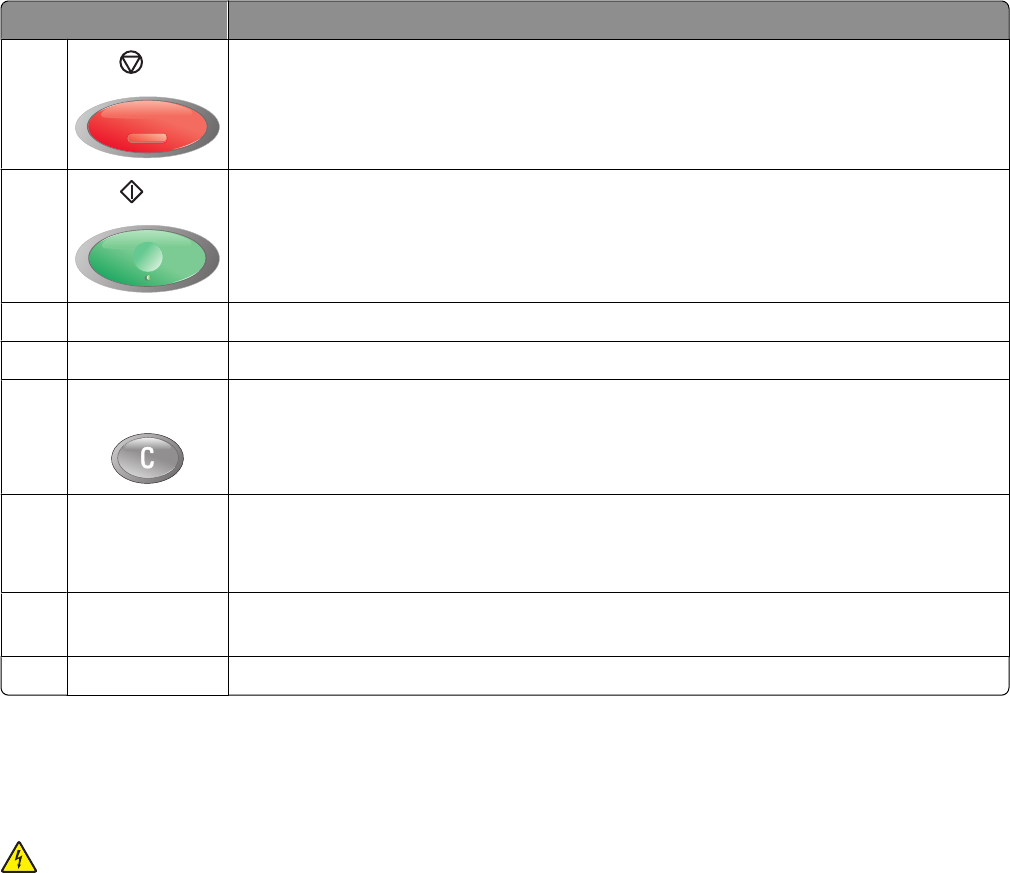
Control panel item Description
18
Stop
Reset the printer when performing an action.
19
Start
Press to start a copy, scan, or fax job.
20
Error The red light indicates an error condition.
21
Speed Dial Press to access directories of group or individual fax telephone numbers.
22
Clear button Deletes a single character each time the button is pressed. Use this button when entering
e-mail addresses and telephone numbers.
23
Redial/Pause
• Dial the last fax number entered (redial).
• Insert a pause in the number to be dialed to wait for an outside line or get through
an automated answering system.
24
Manual Dial When faxing, you can press this button to quickly enter a fax number with the
alphanumeric keypad.
25
Phone Book Press to access the Fax and Email address books.
Getting the printer ready to fax
The following connection methods may not be applicable in all countries or regions.
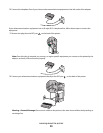
CAUTION—SHOCK HAZARD: Do not use the fax feature during a lightning storm. Do not set up this product
or make any electrical or cabling connections, such as the power supply cord or telephone, during a lightning
storm.
Choosing a fax connection
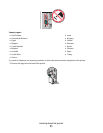
You can connect the printer with equipment such as a telephone, an answering machine, or a computer modem.
Note: The printer is an analog device that works best when directly connected to the wall jack. Other devices (such
as a telephone or answering machine) can be successfully attached to pass through the printer, as described in the
setup steps. If you want a digital connection such as ISDN, DSL, or ADSL, a third-party device (such as a DSL filter) is
required.
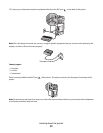
You do not need to attach the printer to a computer, but you do need to connect it to a telephone line to send and
receive faxes.
Learning about the printer
18


