


49
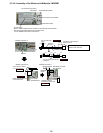
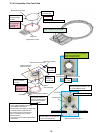
9.4.3.4. Assembly of the LCD Knob / Putting Cushion
(L)
(R)
Confirms the operation about the LCD knob
after building in
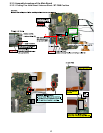
<Position where Pad Button cushion (L),(R) is affixed>
A
LCD Knob Cushion
A
A-A SEC
Top Case Rib
<Position where cushion for LCD knob is affixed>
Affixes in a central aim of the top
case rib and folds to the rib side
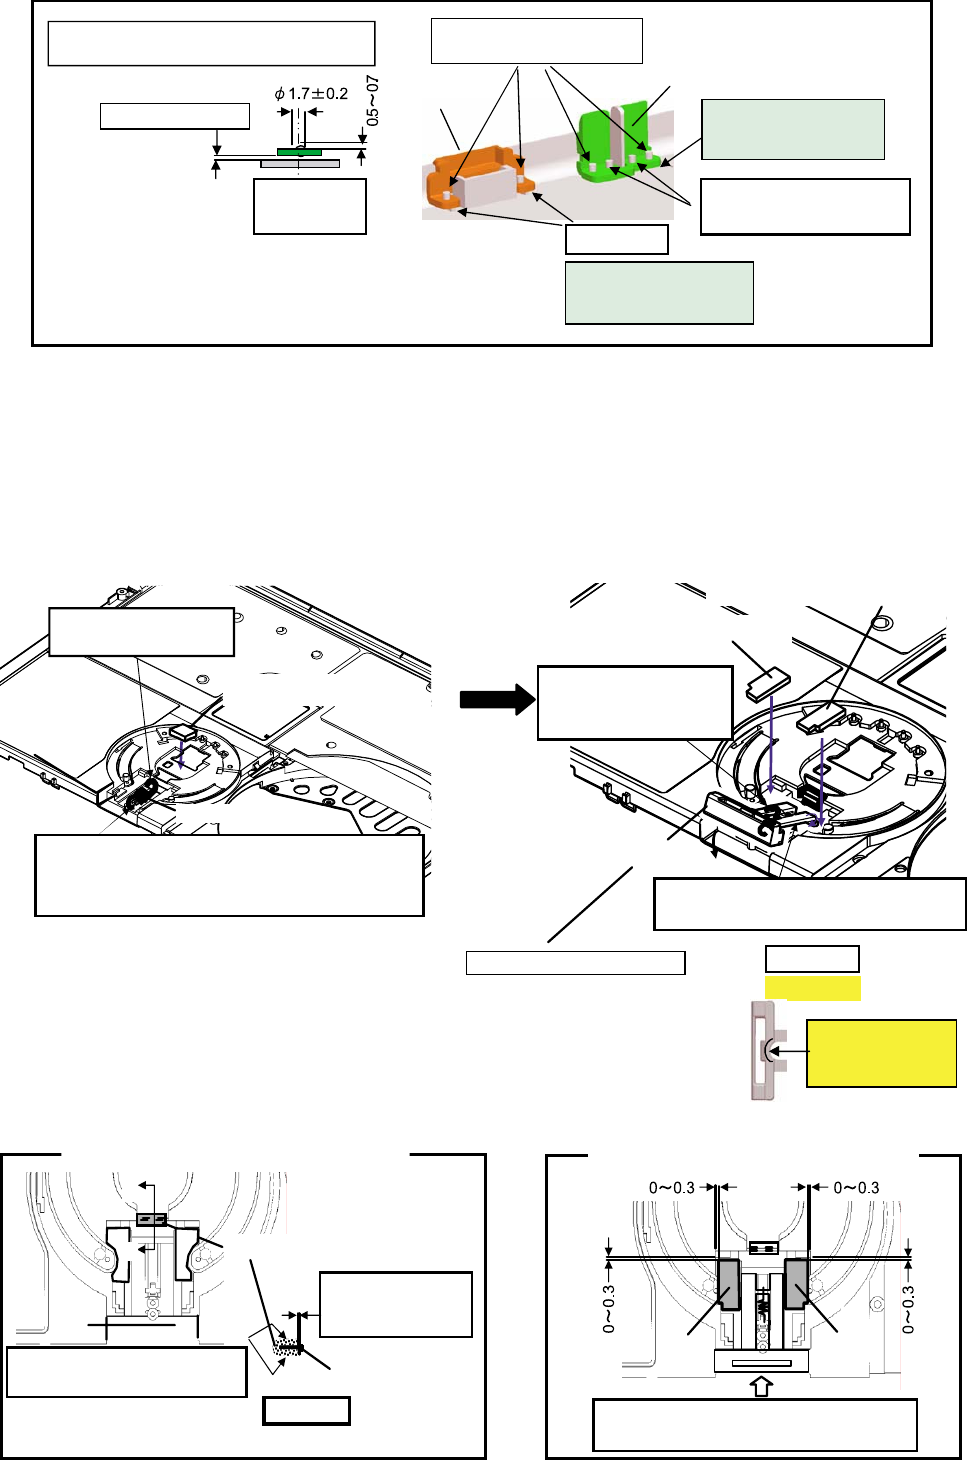
The gap on the edge
side is 1.0 or less by
return
Pad Button Cushion (L) affixation
Pad Button Cushion (R) affixation
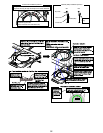
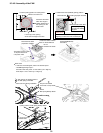
LCD Knob
The convex part is made to slip into the Top
Case under (right and left)
The hook is put from the upper part on the top case
hole in the LCD Latch Spring.When expanding or
transforming, it is not possible to recycle
LCD Konb Spring
After the hook in the LCD
Latch Spring is hooked,
installs in a Top Case
Directionality attention
A hither hook is upward.
LCD Knob WP Cushin
Division attention of LCD Knob
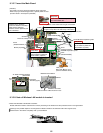
<0075YA-0>
0075YA-0Goods
This outside (R) is
expanded.
(Inside R and a concentric circle R)
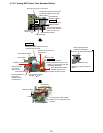
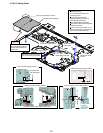
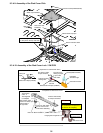
Safety work
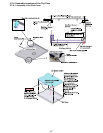
<
Position where LED LENZ BATT is installed>
2 places on the inside are
the reserves for the second
fixation.
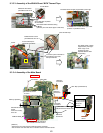
Safety work
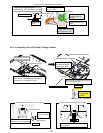
Pin 2 place (outside) weld-
ing of top case
Welds so that there is no
floatage from the top
case side.
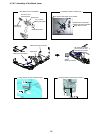
Lan Sw Blank welds the
floatage which not is from
cabi application rib side.
Lan Sw Blank
Led Lenz Batt
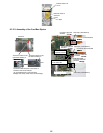
Pin shape
standard after
welds
LED Lenz Batt : from cabi respect.
LAN SW Blank : from the application rib side.
There is no floatage.