


130
Checking the status of the recorder
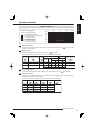
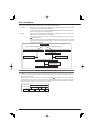
<Self-check>
This recorder uses many electronic parts and HDDs and
malfunction may occur in them. By checking the status of
the recorder (faulty or normal) using the self-check function,
you can find a malfunction, if any, at an early stage and
prevent the recorder from remaining faulty.
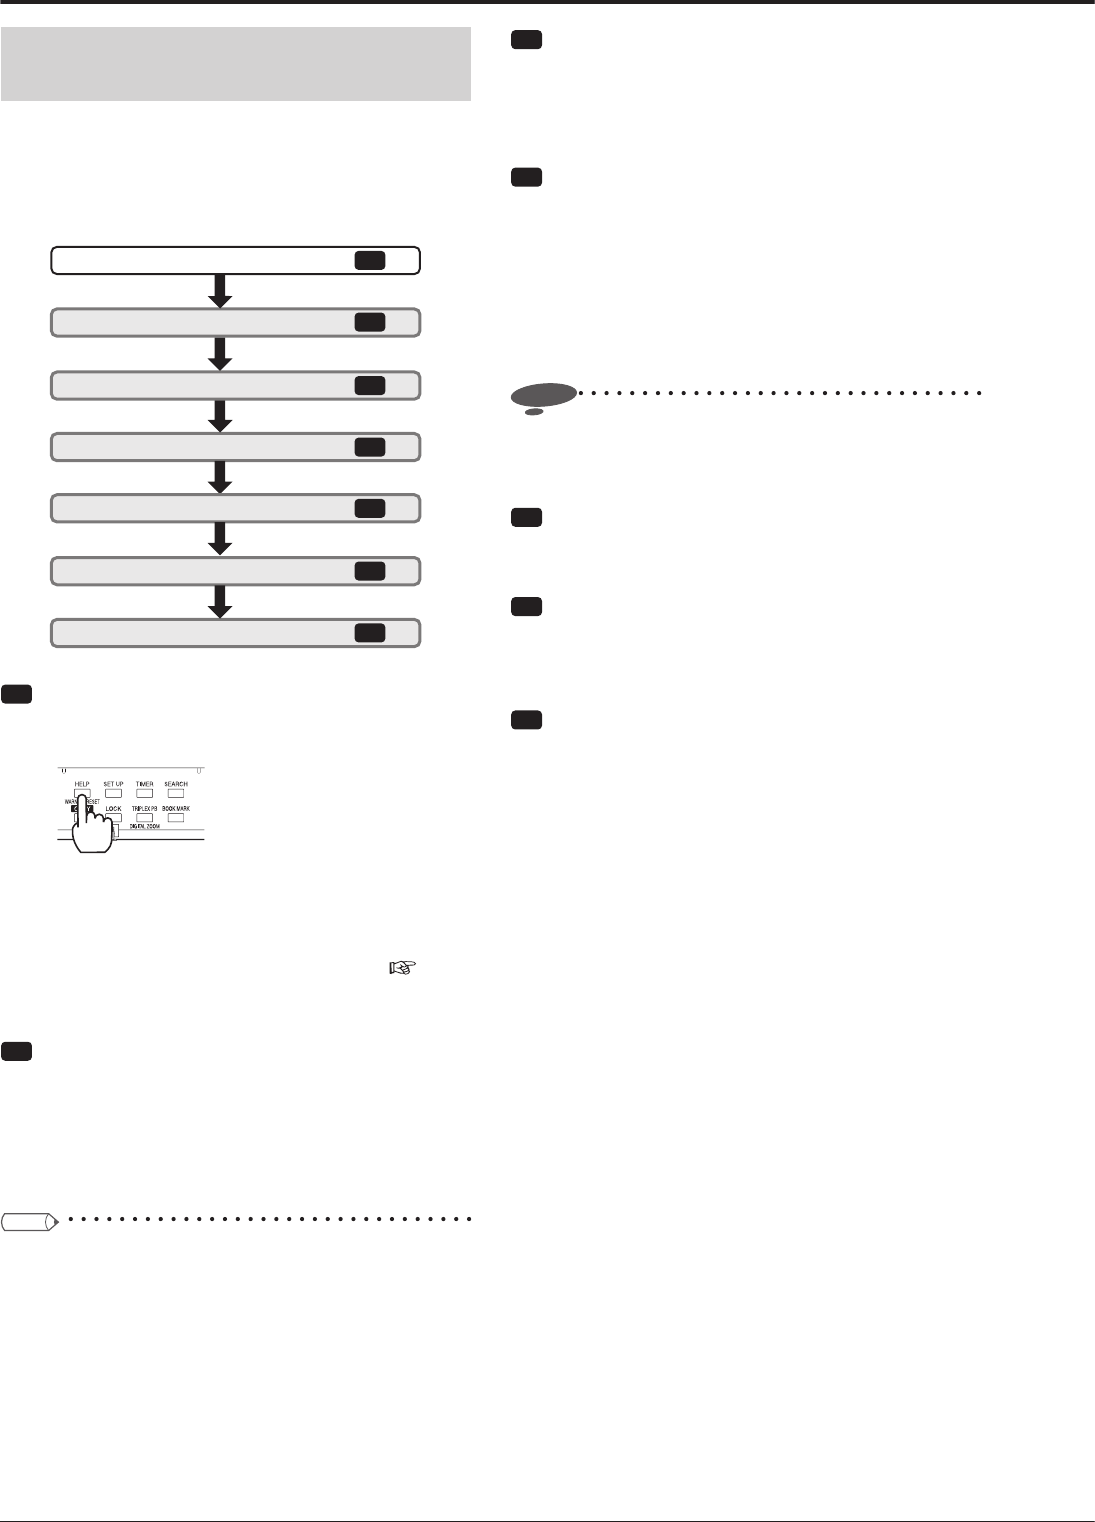
Check the live image display.
Display the self-check menu.
Check the recorded images.
Detect HDDs.
Play back the recorded images.
Check the HDD detection list.
Finish
7
4
5
3
1
2
6
step
step
step
step
step
step
step
step
Step
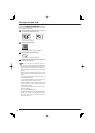
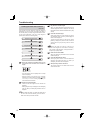
1 Press and hold down the HELP button on the
front panel of the recorder for 5 seconds or
longer.
•
The <Self-check> menu is displayed and a 16-split
screen is displayed.
•
When the power of the recorder is off, playback
operations or the HELP button is locked (
pages
117 to 120), or a menu is being displayed, you
cannot execute the self-check.
Step
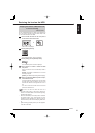
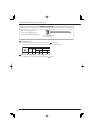
2 Check the live image display.
•
Check that the live images from all cameras are
displayed.
•
Select [Yes] when they are displayed, and select [No]
when not. When you select [No], the HELP menu is
displayed.
Tips
• To cancel the self-check halfway, press the HELP
button on the front panel of the recorder.
Step
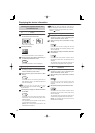
3 Play back the recorded images.
•
When you select [Execute], the latest image of the
selected playback device is displayed. To change
the playback device, select the desired device in [Play
device].
Step
4 Check the recorded images.
•
Select [Yes] when the recent images are played,
and select [No] when not. When you select [No], the
HELP menu is displayed.
•
To play back data stored in other device, select
[Return] to display the previous screen, select the
desired device in [Play device], and then select
[Execute].
Notice
• When resent images are not recorded or recording
has not been made frequently, an image recorded in
the past may be played back.
Step
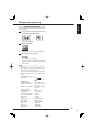
5 Detect the connected HDDs.
•
When you select [Yes], information on the connected
HDDs is displayed.
Step
6 Check the HDD detection status.
•
Select [Yes] when all the connected HDDs are
displayed, and select [No] when not. When you
select [No], the HELP menu is displayed.
Step
7 Select [Finish] to exit the self-check.
•
The recorder returns to the status before the self-
check was executed.
Troubleshooting