


92
Using the communication functions (continued)
E-mail setup
For e-mail transmission, you can make settings related to
the mail server, sender, and e-mail addresses of recipients.
Step
1 Display the [Main Menu] screen according to
steps 1 to 3 of "Login" on
page 86.
Step
2 Select [Confi guration Menu].
•
The [Confi guration Menu] screen appears.
Step
3 Select [E-mail Settings].
•
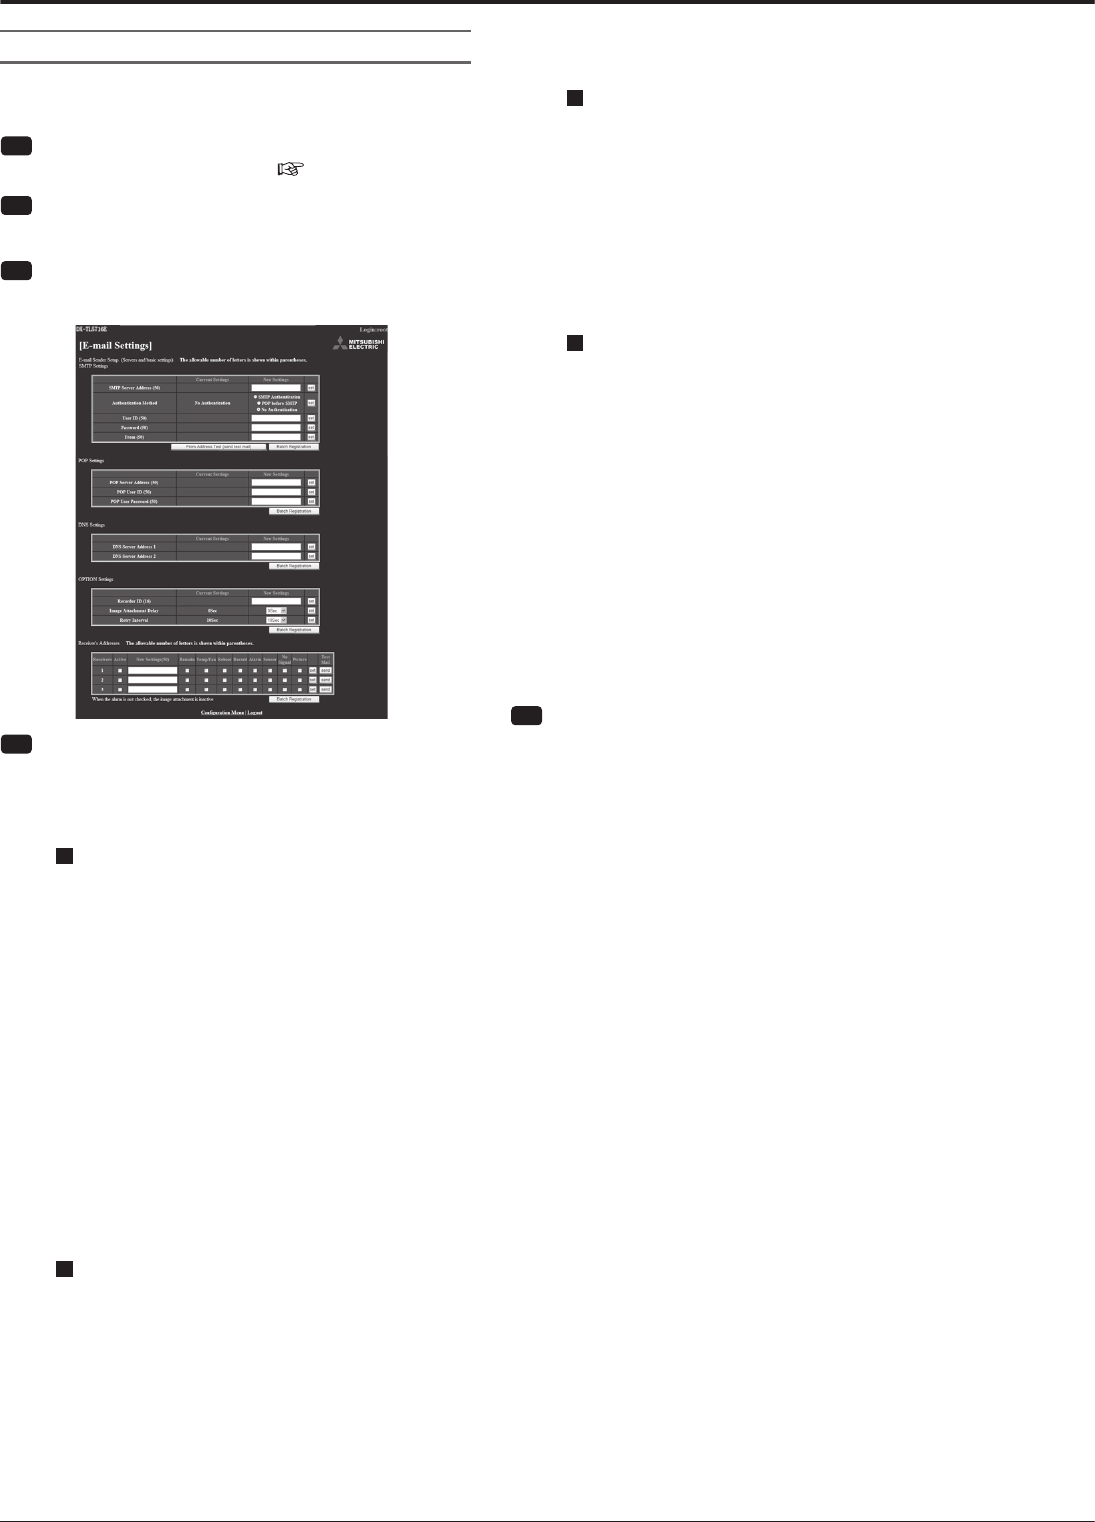
The [E-mail Settings] screen appears.
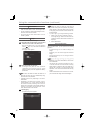
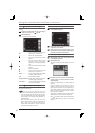
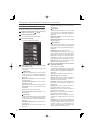
Step
4 Make settings for the server to send e-mail using
[E-mail Sender Setup].
•
The current settings are shown in the [Current
Settings] area.
SMTP Settings
•
To determine the settings shown in a row, select [set]
of that row. When you select [Batch Registration],
all the settings shown under [SMTP Settings] are
determined.
[SMTP Server Address]: You can set the address
of the SMTP server.
[Authentication Method]: You can select the
authentication method.
[User ID]: You can set the ID used for SMTP AUTH.
[Password]: You can set the password used for
SMTP AUTH.
[From]: You can set the sender address.
[From Address Test (send test mail)]: You can
send test e-mail.
POP Settings
•
To determine the settings shown in a row, select [set]
of that row. When you select [Batch Registration],
all the settings shown under [POP Settings] are
determined.
[POP Server Address]: You can set the address of
the POP server.
[POP User ID]: You can set the user name of the
POP server.
[POP User Password]: You can set the password of
the POP server.
DNS Settings
•
To determine the settings shown in a row, select [set]
of that row. When you select [Batch Registration],
all the settings shown under [DNS Settings] are
determined.
[DNS Server Address 1]: You can set the primary
DNS server address.
[DNS Server Address 2]: You can set the secondary
DNS server address.
OPTION Settings
•
To determine the settings shown in a row, select [set]
of that row. When you select [Batch Registration],
all the settings shown under [OPTION Settings] are
determined.
[Recorder ID]: You can set the recorder ID.
[Image Attachment Delay]: You can set the
timing to capture an image to be attached by the
image attachment function. You can set the interval
between the occurrence of an alarm event and the
image capturing to up to 10 seconds. To use the
image attachment function, select [Picture] in step 5.
[Retry Interval]: You can set the interval of retries
performed when transmission is failed.
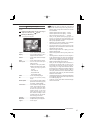
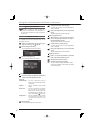
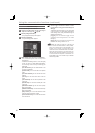
Step
5 Set the recipients' addresses and e-mail contents
in [Receiver's Addresses].
•
You can set up to 3 addresses.
•
To determine the settings shown in a row, select [set]
of that row. When you select [Batch Registration], all
the settings shown under [Receiver's Addresses] are
determined.
[Active]: Select recipients to whom e-mail is sent.
[New Settings]: Enter a new address.
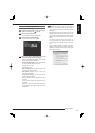
[Remain]: With this option selected, notification is
issued when the remaining capacity decreases to
the preset value (by call-out setting).
[Temp/Fan]: With this option selected, notifi cation is
issued when a high temperature is detected or the
fan is stopped.
[Reboot]: With this option selected, notification is
issued when a failure occurs in the recorder.
[Record]: With this option selected, notification is
issued at the start of recording.
[Alarm]: With this option selected, notification is
issued at the start of alarm recording.
[Sensor]: With this option selected, notification
is issued when a trigger signal is input to the rear
terminal.
[No Signal]: With this option selected, notifi cation is
issued when the sync signal of the camera selected
for normal recording or alarm recording is lost for
2 seconds or longer or in an abnormal status for 2
seconds or longer. Notifi cation is also issued when
the video signal from the camera recovers.