Operating Instructions
18
Notes
• When refreshing the camera portal, click [Refresh Camera] on the Camera Portal page.
• After entering the camera's user name and password and displaying the camera image
once, the camera image will be displayed on the camera portal without the key mark. When
displaying other pages such as setup, the key mark will return, but by clicking it, the camera
image will be displayed without the authentication window.
Privacy and Image Right
When installing and using this camera, it is the customers responsibility to not infringe on
privacy or copyright rules and regulations.
* It is generally accepted that "Privacy is the legal right to not have one's private life displayed
in public, and the right to have control over one's own personal information. Image right is
the right to not have portraits or photographic images of one's self created by a stranger or
displayed in public".
• If the camera and this product are
disconnected while sending or receiving
data, a key mark (when camera
authentication is set up) or a blue
unmarked window is displayed. In this
case, after checking that the camera's
power supply and connections are correctly
inserted, click [Refresh Camera].
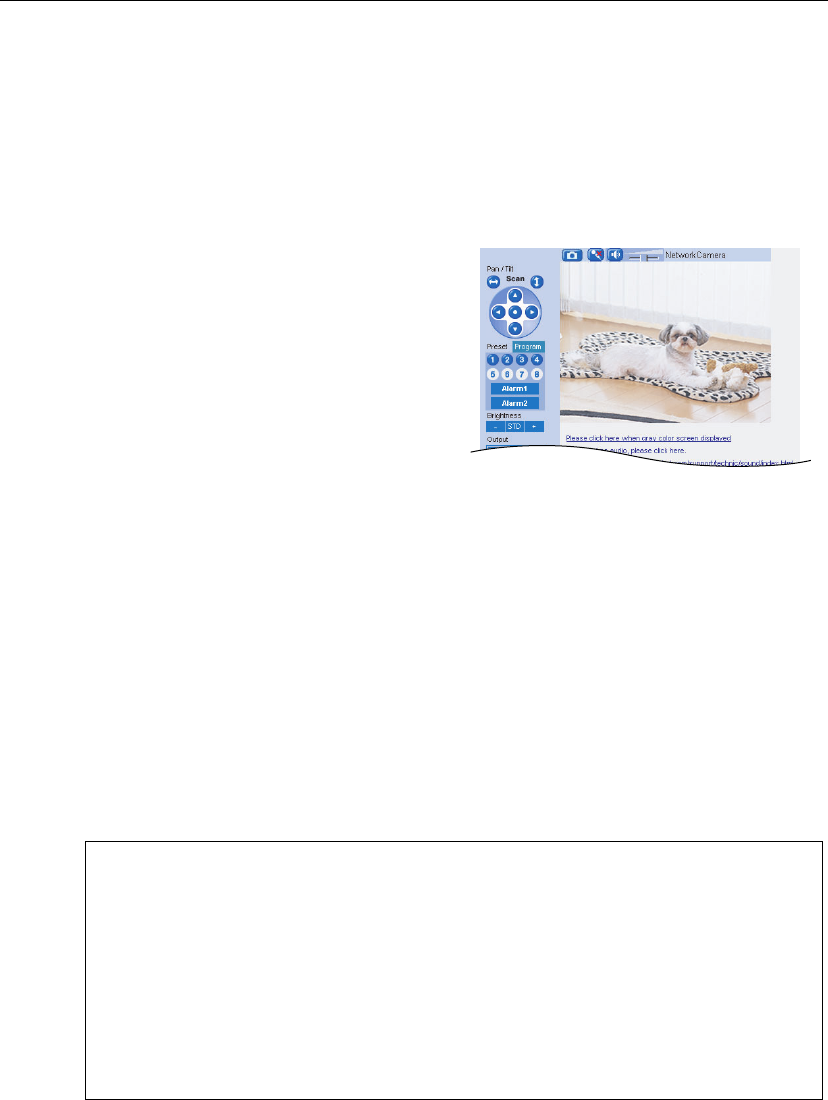
3. Click the camera frame you want to access.
• If an authentication window is displayed,
enter the camera's user name and
password. Then the camera image is
displayed.
When camera images are not displayed on the camera portal...
• Check that the WAN indicator and the LAN indicator corresponding to the jack
connected to this product is on.
• Sometimes it is necessary to set up the web browser's proxy server to access the
camera portal (see page
131).
• Check that the power supply was turned on in the following order: modem, this
product, PC.
• When a camera name, an X mark, a blue unmarked window, or a white page is
displayed on the camera portal, click [Refresh Camera].
• When an exclamation mark is displayed on the camera portal, click it. The camera's
password window is displayed.
