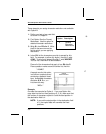
Creating Date or Time Fields
You must apply Options 1 and 3 to print a date or time field.
For information about how Option 1, see "Defining Fixed Data."
NOTE: The printer has no built-in clock. The operator must
enter the correct time or date.
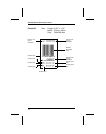
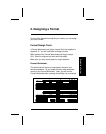
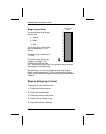
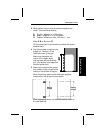
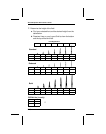
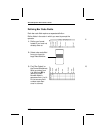
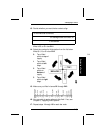
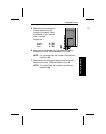
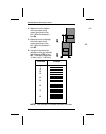
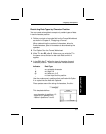
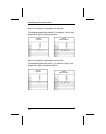
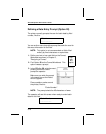
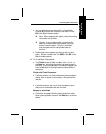
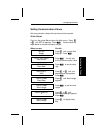
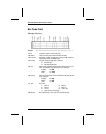
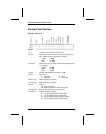
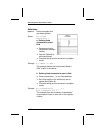
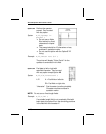
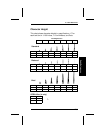
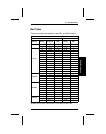
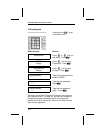
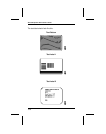
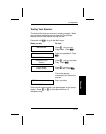
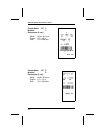
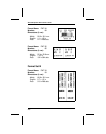
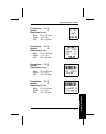
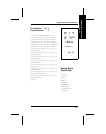
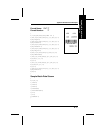
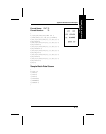
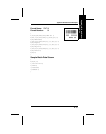
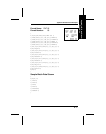
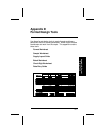
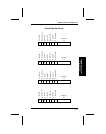
1. Define your text field on the
Format Worksheet as shown in
Chapter 2, "Designing a
Format." Remember
• Write 8 in box T3 to allow for
a maximum of eight
characters.
• Write F in box T4 to specify a
fixed length field.
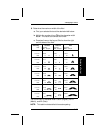
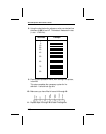
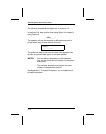
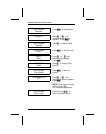
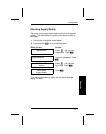
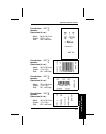
2. Find Option 1 on the Format Worksheet. This option will
fix the slashes or colons in the date or time field.
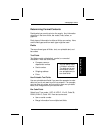
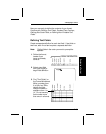
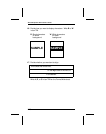
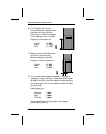
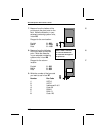
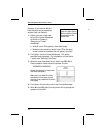
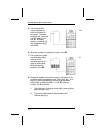
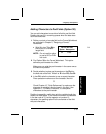
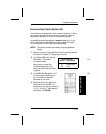
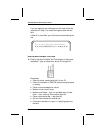
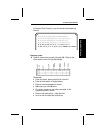
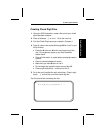
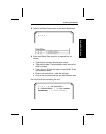
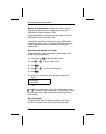
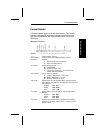
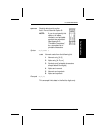
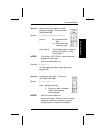
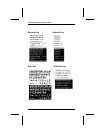
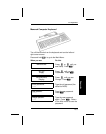
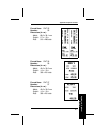
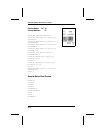
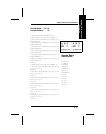
3. In box R3, after 1, write the
fixed characters (/, :, or ;) in
their respective character positions
and underscores in all other
positions. Put quotation marks
around the character string, like this:
"_ _/_ _/_ _"
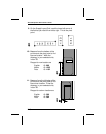
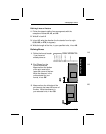
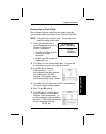
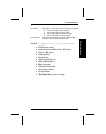
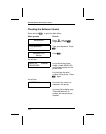
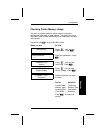
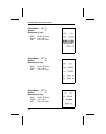
4. Find Option 3 on the same row of the Format Worksheet.
This option creates a data template.
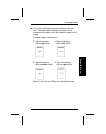
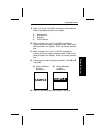
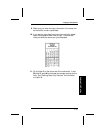
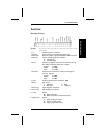
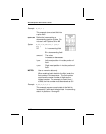
5. Write T in box R3, after 3.
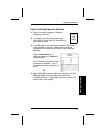
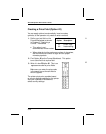
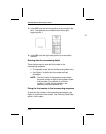
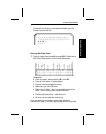
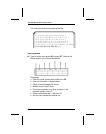
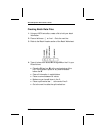
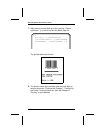
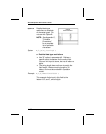
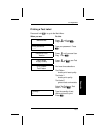
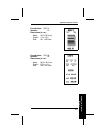
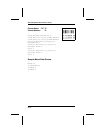
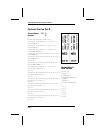
6. In box R4, after T, write the pound
sign (#) in positions to be filled by
numbers. Place underscores (_) in
the fixed character positions defined
by option 1. Place quotes around the
string of characters, like this:
"##_##_##"
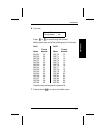
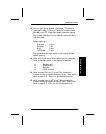
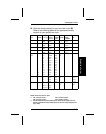
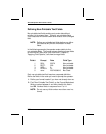
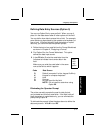
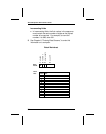
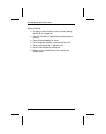
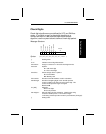
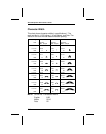
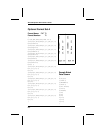
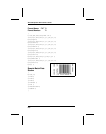
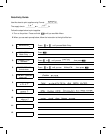
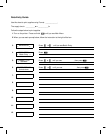
Do not use with:
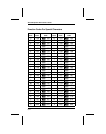
Option Description
2 General
Character
Restrictions
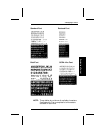
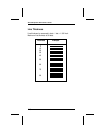
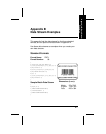
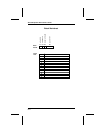
Applying Field Options
3. Applying Field Options
3-11