


Polycom® RSS™ 4000 User Guide
1-3
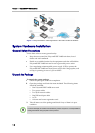
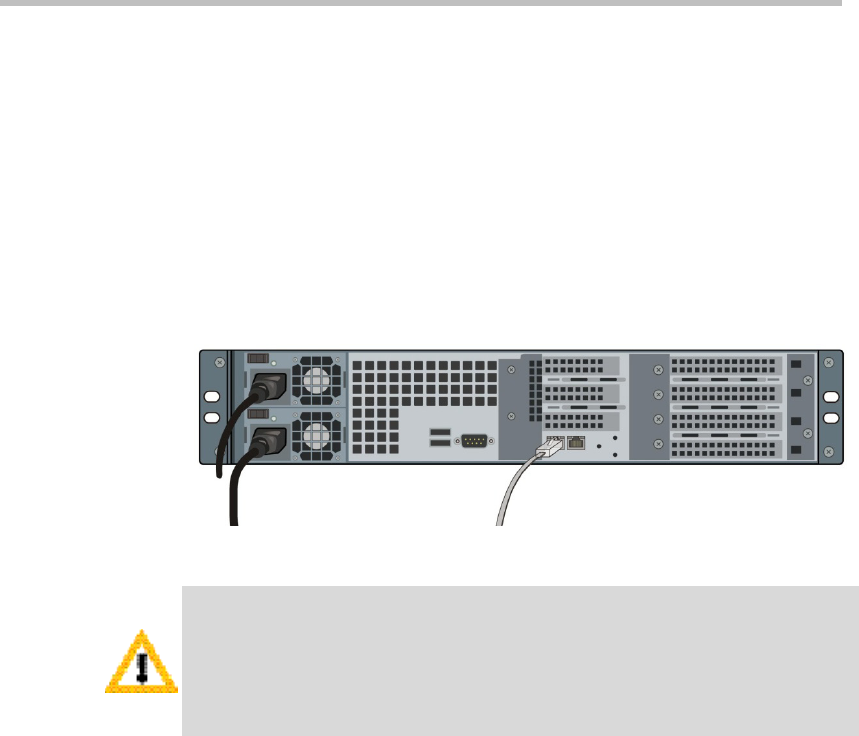
Install the System
1 Place the Polycom® RSS™ 4000 unit on a stable flat surface in the
selected location.
2 Insert each power cord connector into the rear of the unit and connect
each to an appropriately rated socket outlet. The Polycom® RSS™ 4000
unit is supplied with two power cords, BOTH power cords should be
connected to the mains power supply during normal operation.
3 Connect the LAN cable to LAN1 in the back of the system.
The LAN2 port is not used now and is reserved for future use.
4 Turn on the power switch.
Figure 1-2 Connecting Cables
Plug Acts as Disconnect Device:
•
The socket outlets to which this apparatus is connected must be installed near the
equipment and must always be readily accessible.
• In order to fully isolate the equipment then both power cords should be
disconnected otherwise the system will remain energized.
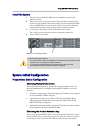
System Initial Configuration
Preparations before Configuration
Obtaining Network Information
Before the initial configuration, get the following information from your
network administrator to configure Polycom® RSS™ 4000 to your local
network:
• IP address, subnet mask, and default gateway IP address to be assigned
to Polycom® RSS™ 4000 LAN ports.
• (Optional) Your DNS server address. The Polycom® RSS™ 4000 is
shipped with the default DNS server addresses 208.67.222.222 and
208.67.220.220 pre-configured.
• (Optional) Gatekeeper address, and the H.323 prefix and E.164 number
to be assigned to the Polycom® RSS™ 4000.
Obtaining the Product Activation Key
Before using Polycom® RSS™ 4000, you need to activate the device. Follow
the procedure below to obtain the product activation key. When you power
on and log in to the Polycom® RSS™ 4000 for the first time, the system