73
Making Printer Settings
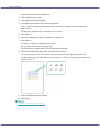
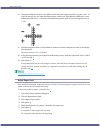
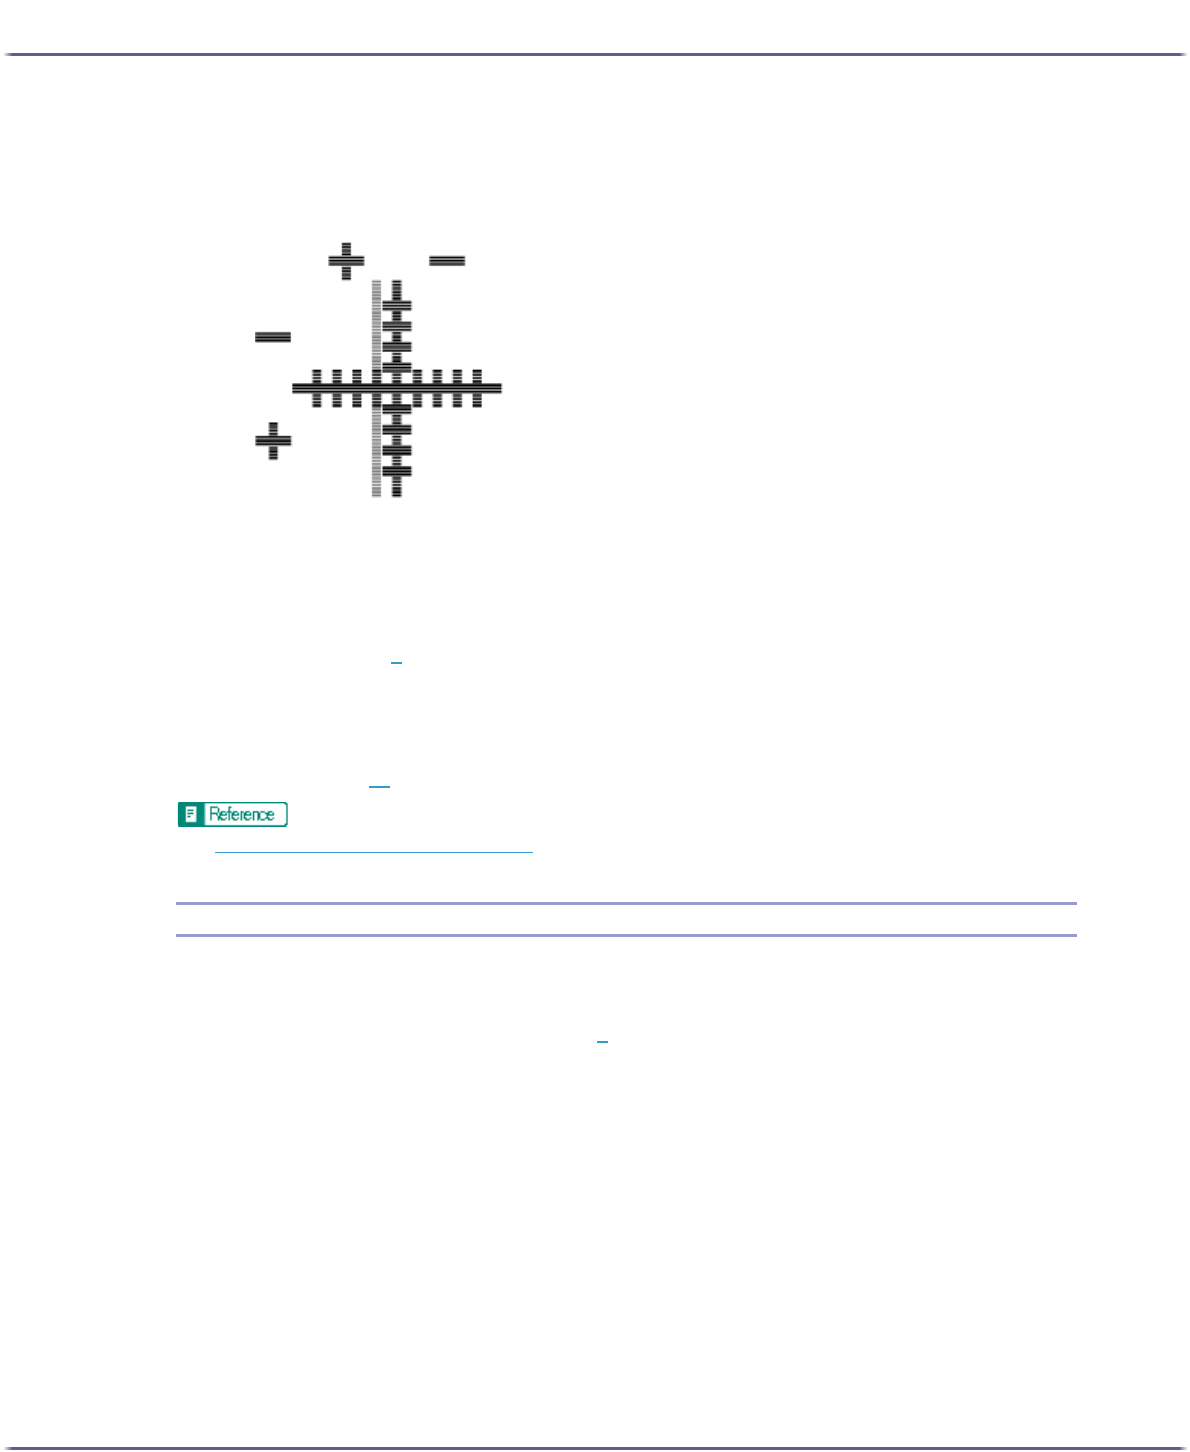
10. The optimal adjustment value is the difference between the single vertical line and the cross's ver-
tical line that you can see when the folded paper is held up to light. When the difference is one
calibration mark in the "+" direction, the optimal adjustment value for the [Printing direction:] is
"+1.0".
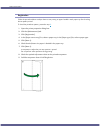
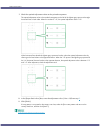
11. Fold the test pattern sheet in half widthwise, and then check the adjustment value for the [Paper
feed direction:]
Adjustment values are in 0.1 increments.
12. In the [Printing direction:] and [Paper feed direction:] boxes, enter the adjustment values (-4.0 to
+4.0) from step 8
.
13. Click [Finish].
If a test pattern does not print or the image is not clear, select the [Print a test pattern and return to this
screen] check box, and then click [Next >]. A registration test pattern is printed and the dialog box dis-
played in step 12
.
z
p.152 "Two Types of Printer Properties Dialog Box"
Adjust Paper Feed
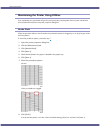
If horizontals are misaligned, images are patchy, or a black or white lines appear at regular intervals, print a test
pattern, and then adjust the paper feed setting.
To check the printed test pattern, proceed to step 7
.
1. Open the printer properties dialog box.
2. Click the [Maintenance] tab.
3. Click [Adjust Paper Feed].
4. Click [Next >].
5. Check that A4/Letter size paper is loaded in the paper tray.
6. Click [Next >].
A test pattern to adjust paper feed is printed.
Do not perform other operations during printing.


