75
Making Printer Settings
Restore Defaults/Other Settings
Follow the procedure below to restore the settings to their defaults or specify the amount of time the printer will
wait for more information from the computer sending the print data before it times out (I/O timeout).
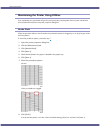
1. Open the printer properties dialog box.
2. Click the [Maintenance] tab.
3. Click [Restore Defaults/Other Settings].
The [Restore Defaults/Other Settings] dialog box appears.
z
p.152 "Two Types of Printer Properties Dialog Box"
Restoring the Settings to Their Defaults
Follow the procedure below to restore the settings for [Adjust Print-head Positions], [Registration], [Adjust Paper
Feed], and [I/O Timeout:] to their defaults.
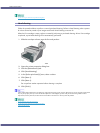
1. Open the printer properties dialog box.
2. Click the [Maintenance] tab.
3. Click [Restore Defaults/Other Settings].
4. Click [Restore Defaults]
A confirmation message appears.
5. Click [OK].
The settings currently made for [Adjust Print-head Positions], [Registration], [Adjust Paper Feed], and [I/O
Timeout:] will be lost. These settings cannot be restored.
z
p.152 "Two Types of Printer Properties Dialog Box"
z
p.70 "Adjust Print-head Positions"
z
p.72 "Registration"
z
p.73 "Adjust Paper Feed"
z
p.75 "Specifying an I/O Timeout"
Specifying an I/O Timeout
Follow the procedure below to specify the amount of time the printer will wait for more information from the com-
puter sending the print data before it times out.
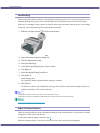
1. Open the printer properties dialog box.
2. Click the [Maintenance] tab.
3. Click [Restore Defaults/Other Settings].
The [Restore Defaults/Other Settings] dialog box appears.
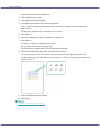
4. In the [Select a time period] area, select the amount of time in the [I/O Timeout:] list.
5. Click [OK].
Even if you change the [I/O Timeout:] setting, the displayed setting remains unchanged.


