


35
2 Installing a Blade
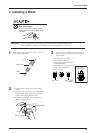
Do not touch the tip of the blade
with your fingers.
Doing so may result in injury, and the
cutting performance of the blade will be
impaired.
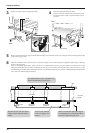
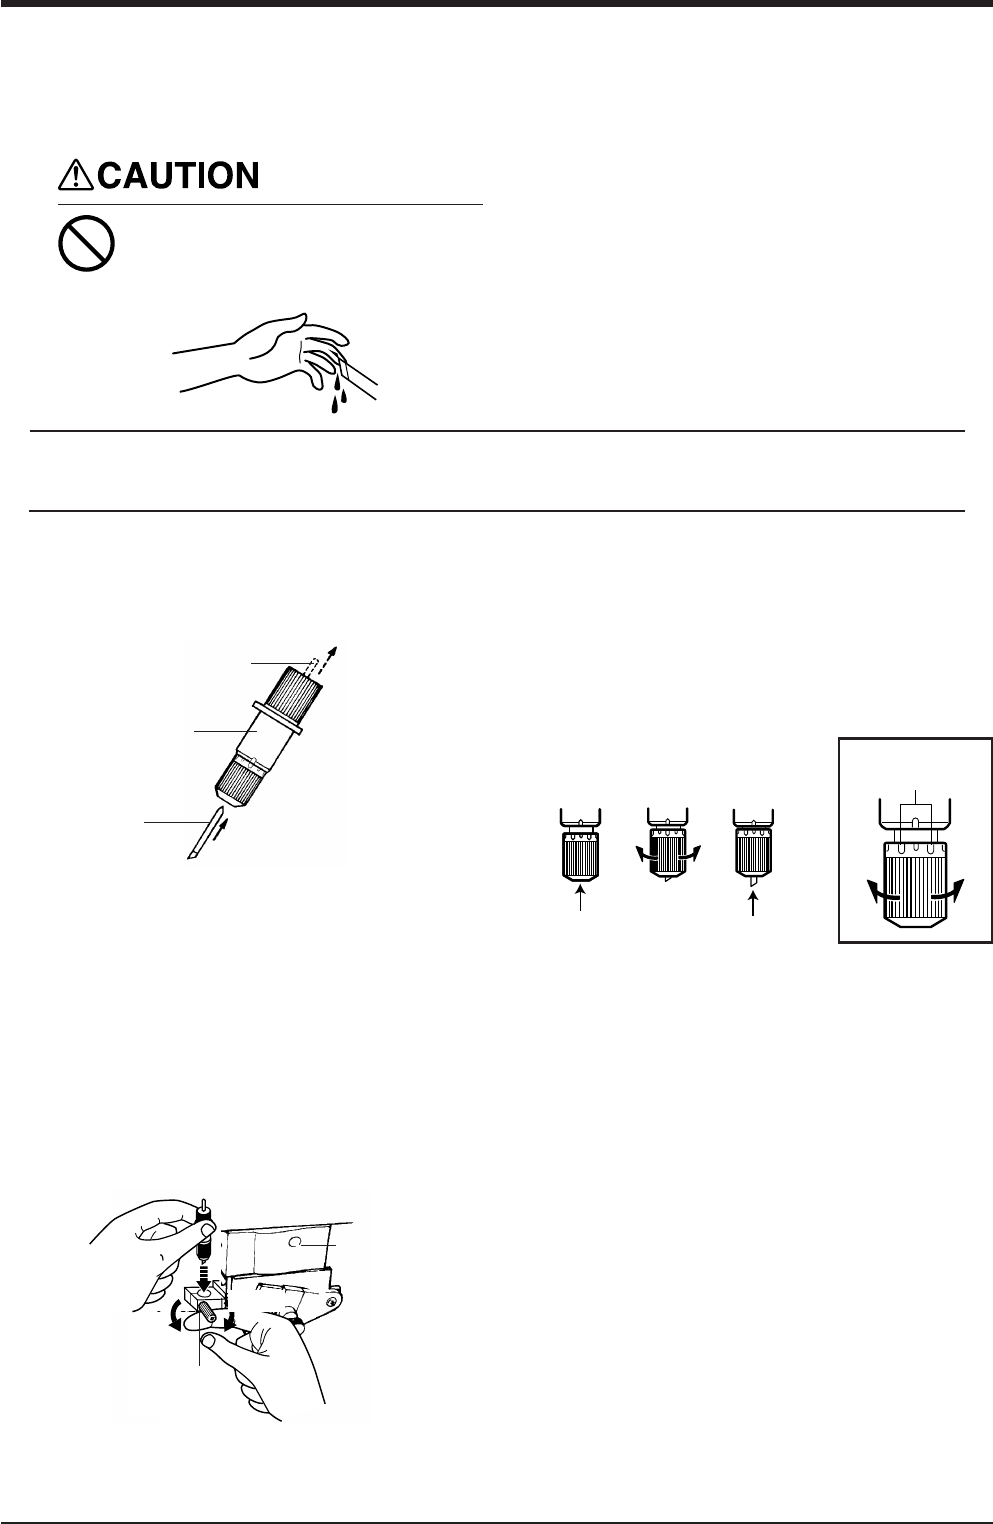
Be sure to support the tool mounting screw from below when installing the blade holder.
Cutting quality may become poor if installed without supporting the screw in this way.
NOTICE
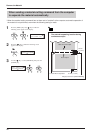
Push-pin
Blade holder
Blade
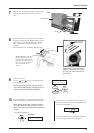
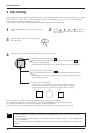
Insert a blade into the blade holder until it snaps into
place with an audible click.
1
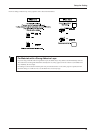
Loosen
Tool securing screw
Tighten
Cutting carriage
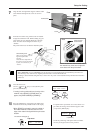
(1) Loosen the tool securing screw on the cutting
carriage.
(2) Support the tool-securing screw from below and
install the blade holder. Insert the blade holder
until the collar is flush with the carriage.
(3) Tighten the tool securing screw until the blade
holder is secured in place.
3
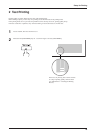
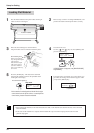
Adjust the amount of blade extension as shown in
figure to find the optimal amount of blade for the
target material.
2
Min. : 0 mm Max. : 2.5 mm
(0.0984 in.)
0.1 mm
(0.00394 in.)
Setup for Cutting
Turning the tip by an amount
corresponding to one large
scale gradation extends the blade by
0.1 mm (0.00394 in.).
Adjustment for 0.5 mm (0.0197 in.)
can be made by rotating the
cap one full turn.