


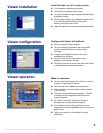


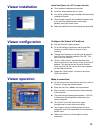
Viewer installation
Install the Viewer on a CP on your network.
Two installation diskettes are provided.
Insert the setup diskette and run setup.
You will be guided through a standard Windows-style
installation process.
Click through to specify the installation directory and
if you want the associated start menu folder,
desktop, and quick launch icons.
Read the readme file for late breaking developments.
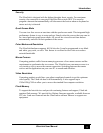
Viewer configuration
Configure the Viewer’s IP address.
Run the UltraLink Viewer program.
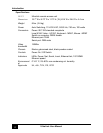
Go to the Settings-Connections tab and use Edit
Location to modify Default to a name of you
choosing.
Change the IP address to one that was assigned to
one of the four UltraLink modules, Click OK. This
sets up the first UltraLink.
Click on “Add Location” and add the other three
UltraLink modules to the Viewer. Enter its correct IP
address. This sets up the next UltraLink module.
Once you click OK, the new location name appears
on the UltraLink tool bar.
Repeat the “Add Location” function for the other
UltraLink modules.
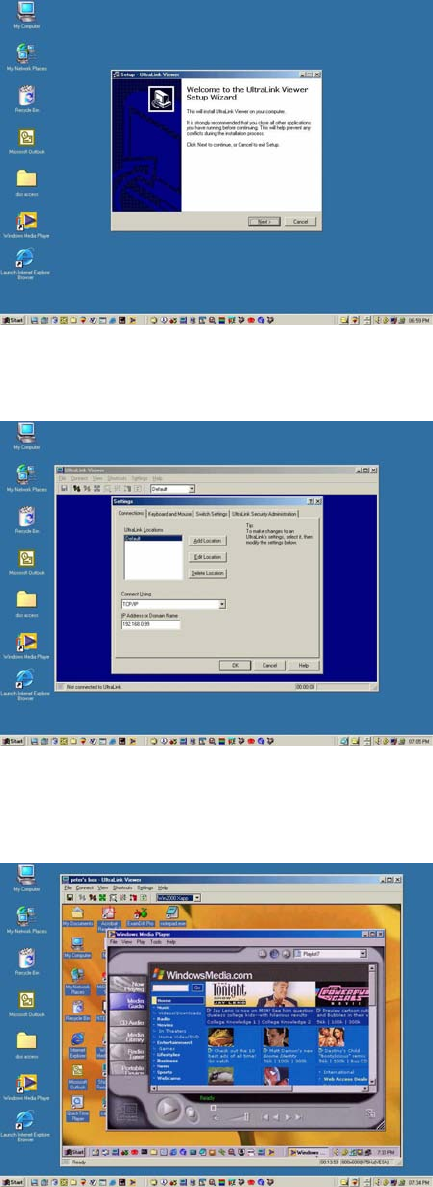
Viewer operation
Make a connection.
Hit the connect icon (second from the left) or click on
Connect. A logon box should appear.
Enter the user ID of “admin” and no password.
After a moment, you should see the video attached
to the UltraLink.
The pass-through message box appears. Click OK
to forward you local keyboard and mouse to the
remote computer.
Hit Ctrl-Alt-P to exit the Viewer from pass-
through mode or move the mouse rapidly.
Don’t forget to go to the Settings-Security tab to
change the user ID and password for its unsecured
default value.
Refer to the manual or Viewer help for further
exploration.
K