Copying
24
2
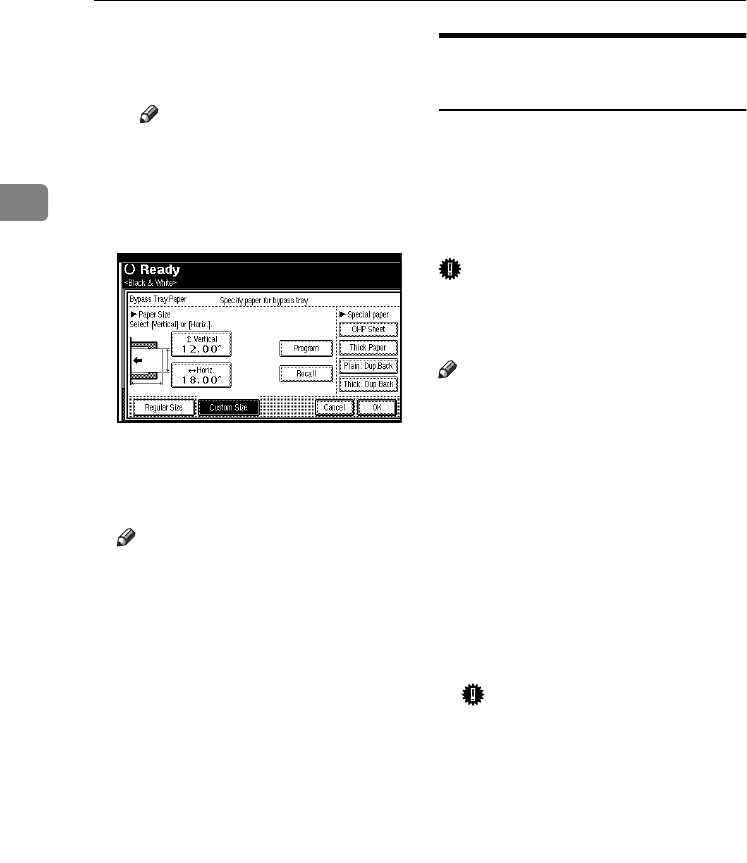
D Enter the horizontal size of the
paper using the number keys,
and then press [#].
Note
❒ If [Horiz] is not highlighted,
press [Horiz].
❒ To register the custom size
entered, press [Program], and
then press [Exit].
E Press [OK].
D
DD
D
Place the originals, and then press
the {
{{
{Start}
}}
} key.
Note
❒ When the Sort function is set,
press the {
{{
{#}
}}
} key after all origi-
nals have been scanned.
E
EE
E
When your copy job is finished,
press the {
{{
{Clear Modes}
}}
} key to
clear the settings.
When copying onto OHP
Transparencies or Thick Paper
To make copies onto OHP transpar-
encies or thick paper, you need to
specify the paper type and size. See
p.23 “When copying onto standard
size paper”, p.23 “When copying onto
custom size paper”.
Important
❒ We recommend you use OHP
transparencies made by this manu-
facturer.
Note
❒ Paper will be delivered to external
tray when copying onto OHP
transparencies or thick paper from
the bypass tray, even if you have
specified not to use the external
tray as the output tray.
A
AA
A
Open the bypass tray, and then
adjust the guides to the paper
size.
B
BB
B
Gently insert the OHP transpar-
encies or thick paper face up until
the beeper sounds.
Important
❒ When copying onto OHP trans-
parencies, make sure that the
cut positions are set properly.
❒ To avoid paper misfeeds, fan
the paper before loading it in
the tray.
C
CC
C
Press the {
{{
{#}
}}
} key.
0827JupiterC1_Copy_EN_F1_FM.book Page 24 Thursday, September 4, 2003 5:06 PM
