Using an LDAP Server: Searching for Destinations and User Authorization
111
3. Network
Scanner
Select Enable for the LDAP setting and enter the IP address or network name
of your LDAP server in LDAP Server. Enter settings for Search Root, Port
Number, Timeout, User Name, Password, and Authentication Type (types
supported are Anonymous, SIMPLE and DIGEST-MD5). Consult the
administrator of the LDAP server for this information, and note that the LDAP
server may have restrictions on the characters that can be entered for the
password. In Applicable destination type, select what type of destinations
will be searched (e-mail destinations, fax destinations, or both). When
finished, click Submit to store the settings.
Searching for a destination on an LDAP server (Global
Address Book Search)
Once the LDAP server settings have been completed as explained in the
previous section, you can search for a destination on the LDAP server when
faxing or sending an image by Scan to E-mail.
♦ Destinations on the LDAP server are searched for by name.
♦ You can also search for a destination on an LDAP server when selecting
destinations for a Broadcast transmission. When you reach Step 3 of the
Broadcast procedure on page 151, follow steps 2 through 9 below to
search for the destination.
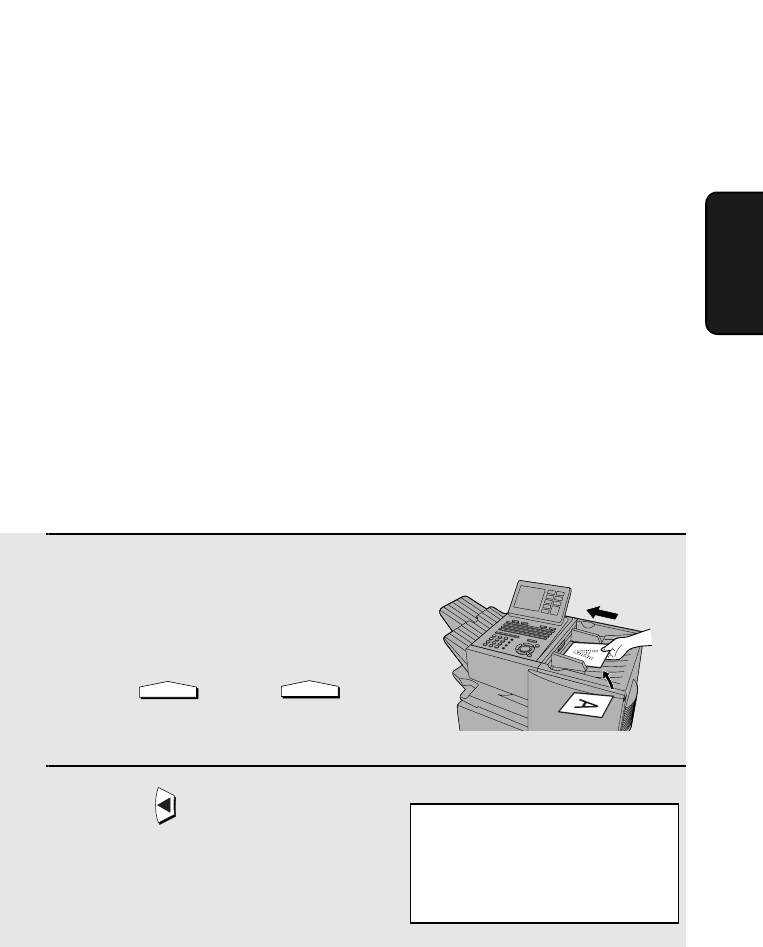
1
Load the document(s).
SEND READY will appear in the
display.
• Press and/or to
set the resolution and contrast if
needed.
2
Press .
RESOLUTION
CONTRAST
Z
GAB SEARCH
Display:
GLOBAL ADDRESS SEARCH
ENTER KEYWORD
[
]
all.book Page 111 Thursday, May 13, 2004 8:51 AM


