


N N OTE
For more information onconfiguring your computer andoperating system for use with multiple
monitors, see your hardware and operating system documentation.
Installing your interactive pen display
To install your interactive pen display, refer to the Quick Connect guide that came with your product.
You can also find this document on the SMART Support website at smarttech.com/kb/170009.
Orient your interactive pen display after you install it. See Orienting your interactive pen display on
page 16 for more information.
C C AU TION
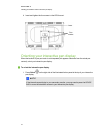
l Connect your interactive pen display to a computer with a video card that supports a refresh
rate of 76Hz. If the frequency of the signal is configured higher than 76 Hz, the image may
display fine striping (such as screen stripes) or it may appear to flicker or display a wavy
pattern.
l An inappropriate video card in your computer may damage the interactive screen of your
interactive pen display.
N N OTE S
l When astill image is displayed for along period of time, anafterimage can remain for a short
time. To prevent this, use a screen saver or other power management feature.
l To display HDCP content, your video card also needs to be HDCP 1.3 compliant.
Setting up your interactive pen display
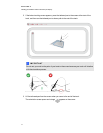
Before you use your interactive pen display, make sure you determine the best location, work area
and angle for the display.
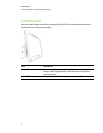
Determining the best location for your interactive pen display
Install your interactive pen display in a cool, dry location without excessive levels of dust, humidity
and smoke. Operate the interactive pen display in anenvironment within a temperature range of 41°F
to 95°F (5°C to 35°C) and within ahumidity range of 20% to 80% (non-condensing). You can store the
interactive pen display within a temperature range of 14°F to 140°F (-10°C to 60°C) and a humidity
range of 20% to 90% (non-condensing).
C HA PTER 2
Installingyour SMARTPodiuminteractivepen display
13