C
REATING
N
ETWORK
M
APS
4-13
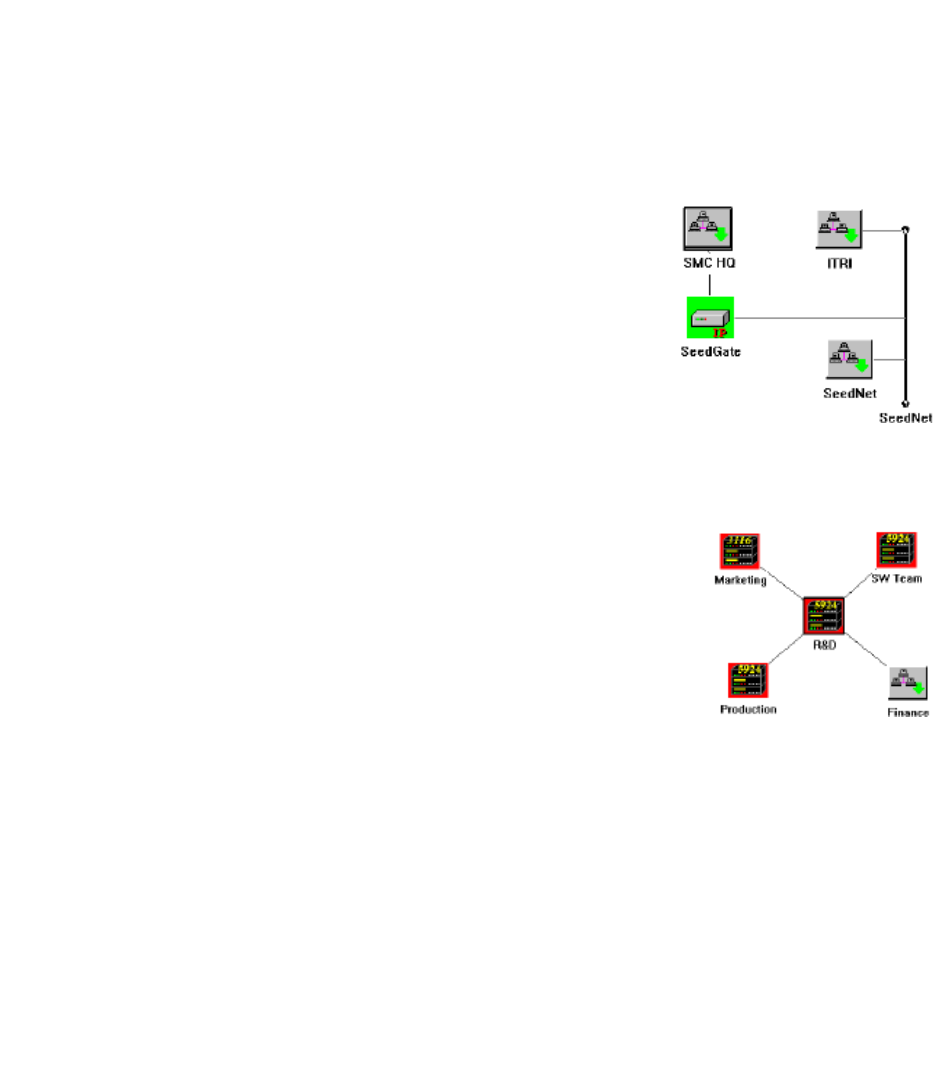
At the lowest level, place the actual network devices and draw in all interconnections. This gives you an accurate
picture of the network and also lets you activate applicable management software modules. For SMC’s network
devices, the corresponding device management module will be activated when you double-click on the device icon.
Modifying Objects
1. Select a network device by clicking on its corresponding icon.
2. Click on the Modify Object button.
3. Modify any of the required parameters. Refer to the table “Map Add New
Object Dialog Box” on page 4-11. Be sure to follow the guidelines in this
table when setting the Polling Interval or Timeout.
4. Press OK to continue, or Cancel to abort any changes.
Deleting Objects
1. Select any map object by clicking on its icon.
2. Click on the Delete Object button, or press the Delete key on your keyboard.
Duplicating Objects
1. Select any map object by clicking on its icon.
2. From the Edit menu, choose Duplicate Object. A copy of the object appears in the
upper left corner of your map.
3. Drag the duplicate object to its new location and draw in any corresponding
network connections.
4. For most applications, you will want to modify the object definition. Therefore,
click on the Edit Object button and modify field parameters such as Label and
Address.
Moving Objects
Use “drag and drop” to move an object. Select any map object by clicking on its icon. Holding the left mouse
button down, move the outline of the device icon to its new location, and release the mouse button. If an icon
cannot be moved, the map view has been locked. From the Edit menu, choose Unlock and try again.
Tip: When creating multiple views of the same network, use Duplicate Object to make copies of objects, use
the mouse to “drag and drop” icons to a new location or another submap, and then use Edit Object to
modify the object’s description.


