


Maintenance
122 Avaya CMS Sun Fire V880/V890 Installation, Maintenance, and Troubleshooting May 2006
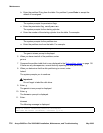
13. Do one of the following:
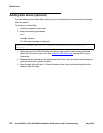
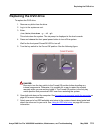
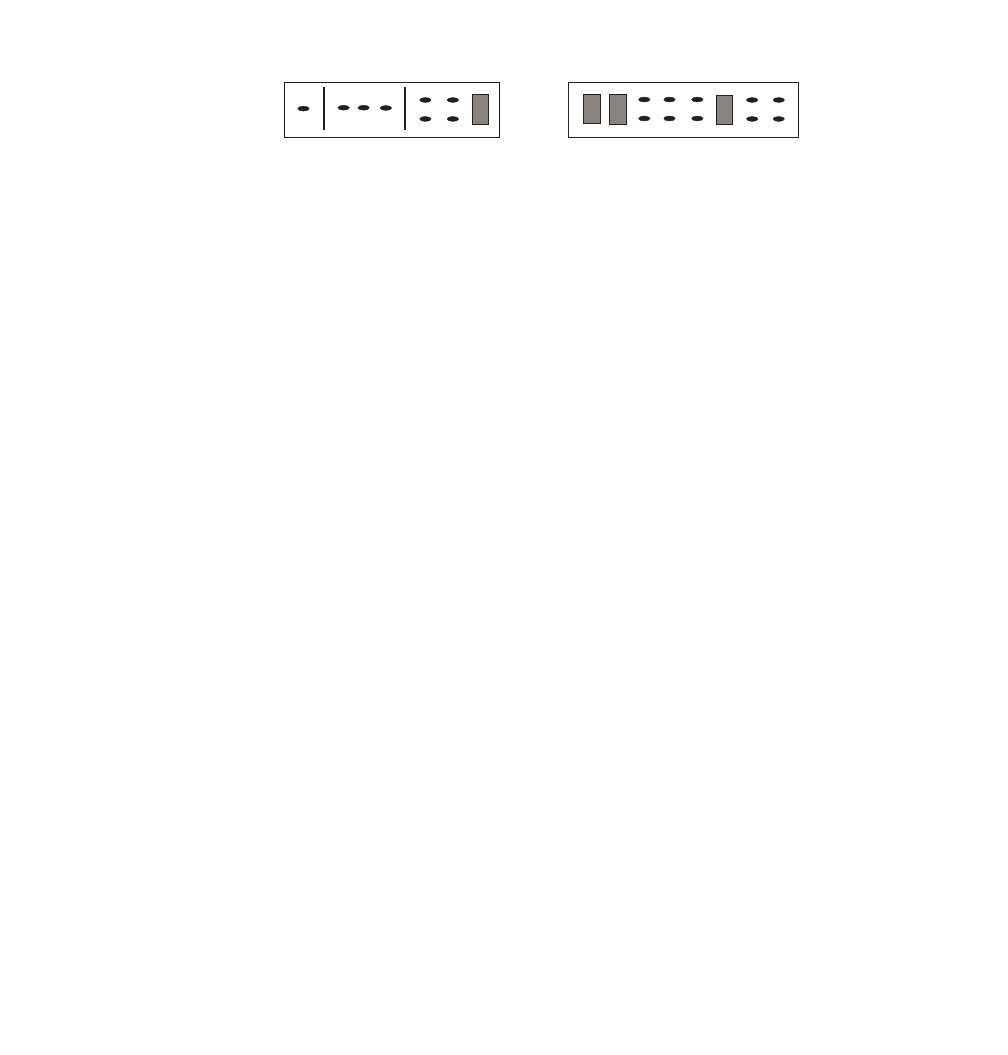
● On the IDE model DVD in the V890, set the IDE interface to the Primary Master
position. This setting is done using the jumpers on the back of the drive as shown in
the following diagram.
● On the SCSI model DVD in the V880, set the SCSI address to 6. The address is set by
placing jumpers on locations ID4 and ID2 as shown in the following diagram.
The 5220K jumper should already be in place.
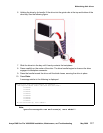
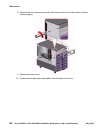
14. Slide the replacement drive into the chassis and secure it with the screws that were
removed earlier.
15. Connect the drive data and power cables to the back of the drive.
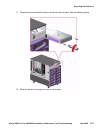
16. Replace the front cover.
17. Remove the ESD wrist strap.
18. Close the side doors.
19. Turn on the system. Do not put the key switch in the locked position.
As the system powers up, the power LED on the monitor flashes.
20. Press Stop+A simultaneously as soon as the monitor power LED lights steadily and the
Sun logo is displayed on the monitor.
The ok prompt is displayed.
21. Enter the following commands:
setenv auto-boot? false
reset-all
This resets the system and the ok prompt is displayed.
22. Do one of the following:
● For the V880, enter:
probe-scsi-all
● For the V890, enter:
probe-ide
This checks to see that the system recognizes the new drive. If the new drive is not listed,
make sure there is a secure cable connection.
dvd_jumpers.cdr
ID4
ID2
ID1
5220K
IDE jumpers
SCSI jumpers