


4.10 Optical Drive 4 Replacement Procedures
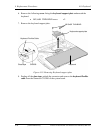
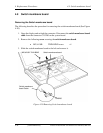
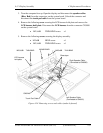
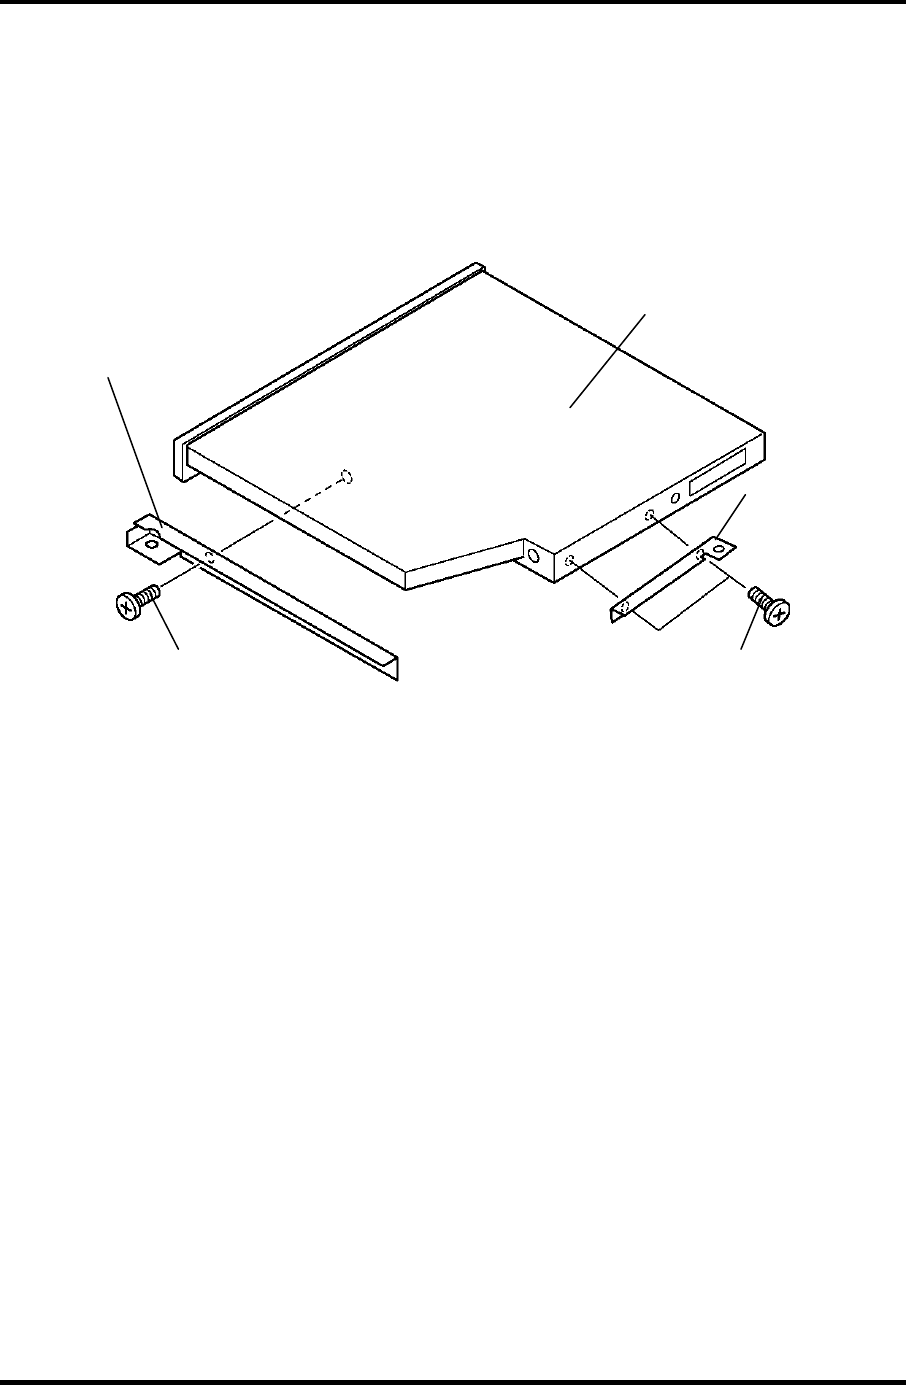
3. Remove the following screws fixing the rear bracket from the optical drive assembly.
• M2x2.7 STEP screw x2
4. Remove the following screw fixing the side bracket and remove the side bracket.
• M2x3S SUPER THIN BIND screw x1
Side Bracket
M2x2.7 STEP
M2x3S SUPER THIN BIND
Rear Bracket
optical drive assembly
Figure 4-22 Removing the bracket
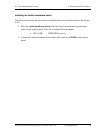
Installing the Optical drive
The following describes the procedure for installing the optical drive (See Figure 4-21, 4-22).
1. Install the side bracket on the optical drive and fix it with the following screw.
• M2x3S SUPER THIN BIND screw x1
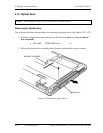
2. Place the rear bracket on the optical drive and fix it with the following screws.
• M2x2.7 STEP screw x2
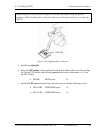
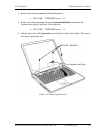
3. Insert the optical drive assembly into the slot to connect it to the connector CN1810
on the system board.
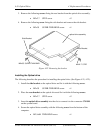
4. Secure the optical drive assembly with the following screw from the bottom of the
computer.
• M2.5x6B THIN BIND screw x1
Satellite A50S/TECRA A3X Maintenance Manual (960-534) [CONFIDENTIAL] 4-33