


4 Replacement Procedures 4.22 Wireless LAN Antenna/Speaker/Hinge
4-70 [CONFIDENTIAL] Satellite A50S/TECRA A3X Maintenance Manual (960-534)
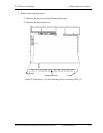
6. Install the optical drive cover and secure it with the following screws. When
installing, insert the “A” portion (in the figure) first.
• M2.5x2.8B U-THIN BIND screw x3
• M2.5x4B THIN BIND screw x2
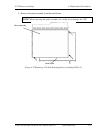
7. Install the display cover on the display assembly. Secure the hinges and the display
cover with the following screws.
• M2.5x6C PSP TIGHT screw x4
• M2x5C SUPER THIN screw x2
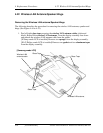
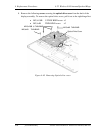
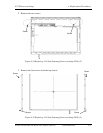
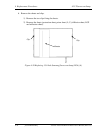
8. Fit the wireless LAN antennas to the lines on the back side of the display cover. Pass
the wireless LAN antenna cables and secure them with eight glass tapes.
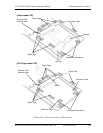
[If Sharp–made LCD is installed] Stick two sponges along the guide of the display
assembly.
[If LG Philips–made LCD is installed] Stick one gasket and two aluminum tapes
along the guide of the display assembly.
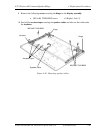
9. Pass the wireless LAN antenna cables to the back side of the display assembly.
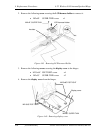
10. Install the LCD harness and LCD harness holder on it. Secure the plate with the
following screw. When installing the LCD harness holder, hook the right projection
to the edge of the chassis and secure the cable with the insulator.
• M2x4Z SUPER THIN screw x1
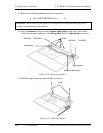
11. Install the right and left hinge caps and secure them with the following screws.
• M2.5x6B THIN BIND screw x2
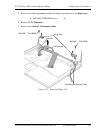
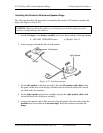
12. Pass the wireless LAN antenna cable to the back side of the base assembly and
arrange them along the guides. Pass the cables to the center of the base assembly.