2.12 Wireless LAN Troubleshooting 2 Troubleshooting Procedures
Procedure 3 Antenna Check
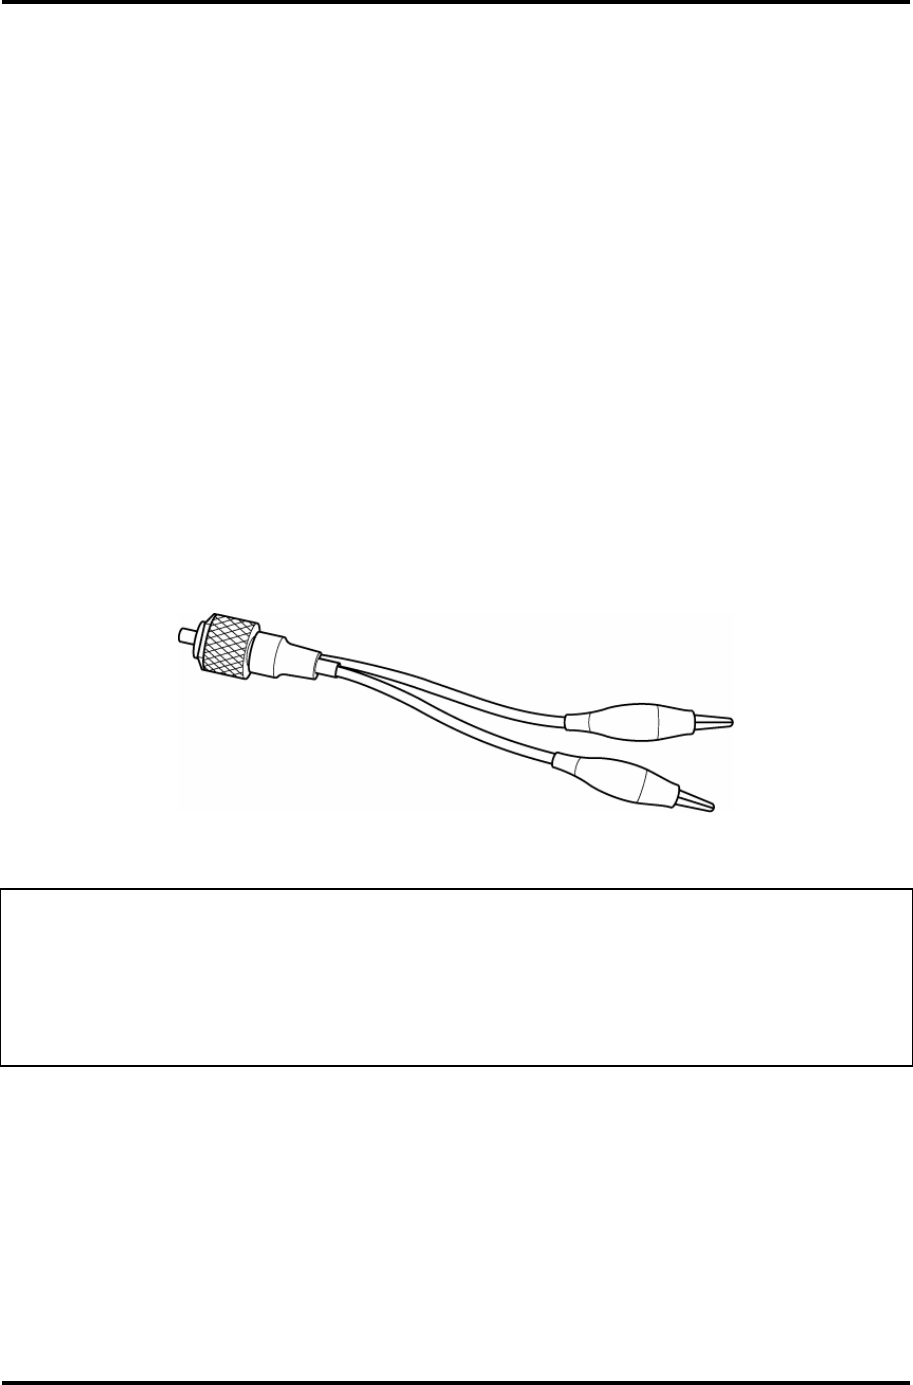
Check 1 Use an antenna test cable to check the antennas' connection. Follow the steps
below:
1. Remove the wireless LAN slot cover and lift it off. Refer to Chapter 4,
Replacement Procedures, for detailed steps of disassembling.
2. Disconnect the wireless LAN antenna cables connected to the wireless LAN
board.
3. Connect the end of the antenna test cable to the multimeter.
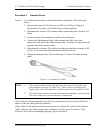
4. Connect the Main antenna cable to the antenna test cable. One clip is
connected to the end of the white antenna cable. The other is connected to the
opposite side of the antenna cable.
5. Determine the resistance. The cable passes the test when the resistance is 5Ω.
Or less. If it is more than 5Ω, the antenna cable fails the test.
6. Change the antenna cable. Perform from step 3 to check the black antenna
cable.
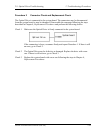
Figure 2-4 Antenna Test cable
NOTE: 1. The resistances determined with the steps above may not be stable with
other machines because of "cable loss," which varies according to the
length of the cable. The impedance of the antenna itself is about 0.5-0.8
Ω
.
2. The above steps cannot accurately determine the impedance of the antenna.
Use an LC meter for a precise measure of impedance.
If the wireless LAN antenna cables pass the test, connect them to the wireless LAN board
and cover the slot, then perform Procedure 1.
If the wireless LAN antenna cables do not pass the test, replace the wireless LAN antenna
cables with new ones following the steps in Chapter 4, Replacement Procedures. If the
wireless LAN is still not functioning properly, go to Procedure 4.
Satellite A40 Maintenance Manual (960-458) 2-55


