3 Copy
66
1.
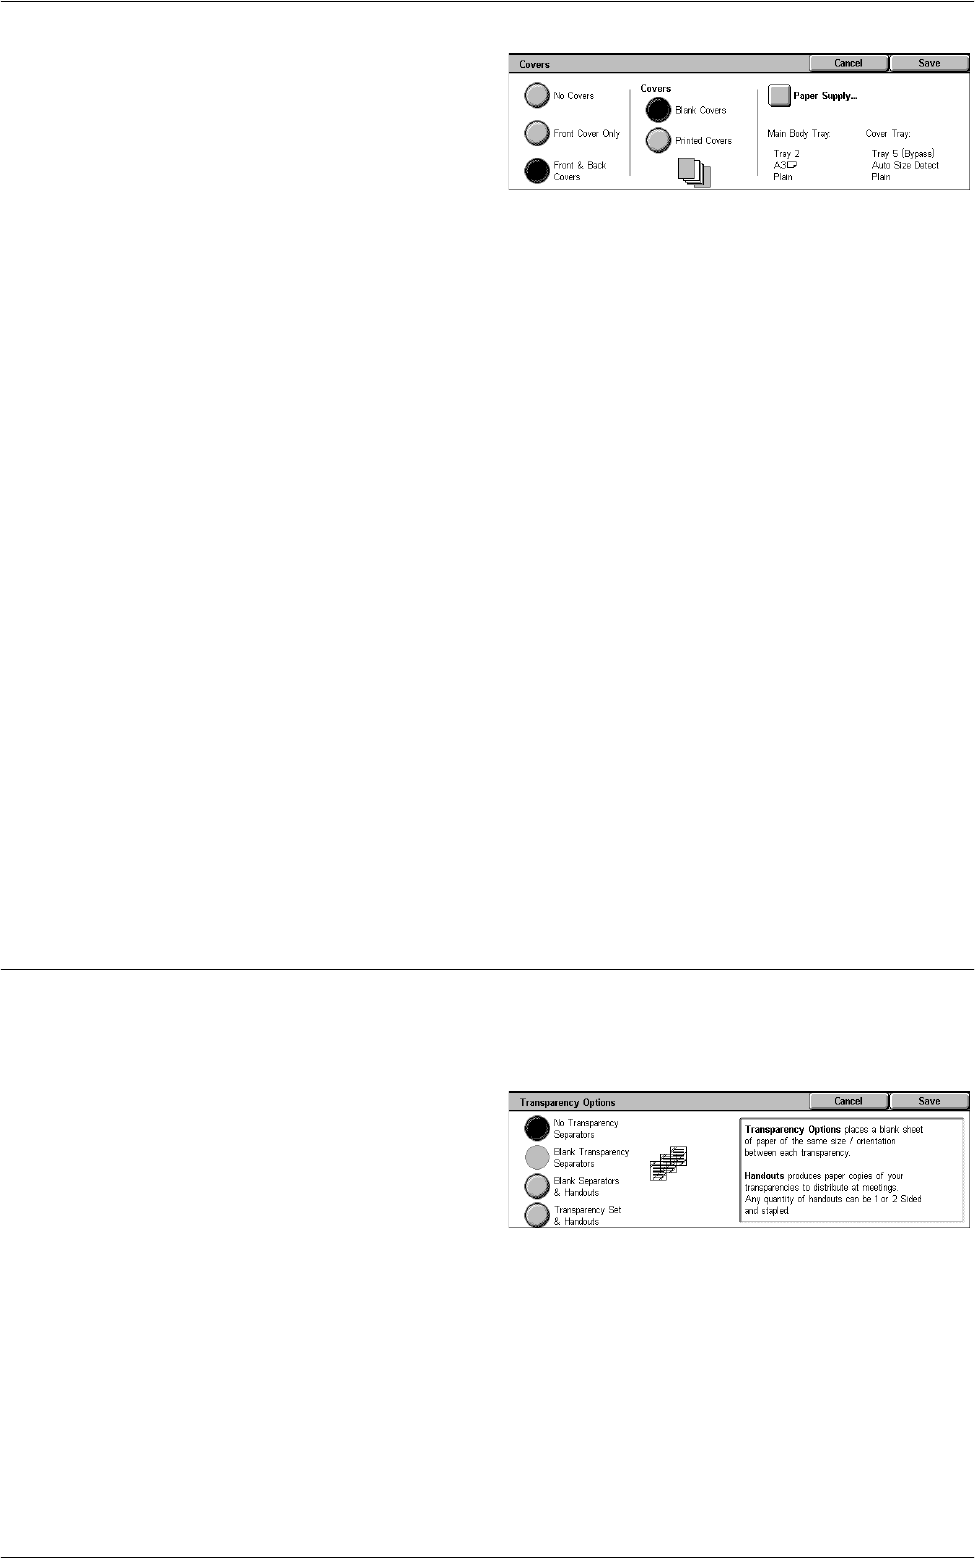
Select [Covers] on the [Output
Format] screen.
2.
Select the required options.
3.
Select [Save].
No Covers
Disables the feature.
Front Cover Only
Inserts a front cover page before the first page of the document. A different paper type
than the main body pages can be used.
Front & Back Covers
Inserts cover pages before the first page and after the last page of the document. A
different paper type than the main body pages can be used.
Covers
• Blank Covers - Adds a blank cover to the documents.
• Printed Covers - Copies the first and last pages of the documents onto the cover
stock. Add blank sheets to the set of documents if you want the inside front cover
and inside back cover to remain blank.
Paper Supply
Displays the [Covers - Paper Supply] Screen. Select one of the presets to specify the
[Main Body Tray] and [Cover Tray]. The paper loaded in the trays selected for [Main
Body Tray] and [Cover Tray] should be the same size and orientation. For more
information on the bypass tray, refer to
[Tray 5 (Bypass)] Screen on page 52
.
Depending on the trays installed on the machine, the name of this button may be
different.
Transparency Options
This feature allows you to place blank page separators between documents when
copying onto transparency stock, and to make hard copy sets for handouts. Handouts
can be 1 sided or 2 sided and stapled.
1.
Select [Transparency Options]
on the [Output Format] screen.
2.
Select the required option.
3.
Select [Save].
No Transparency Separators
Disables the feature.
Blank Transparency Separators
Places a blank page separator between each transparency sheet. Only one set of
copies is made.
NOTE: This feature is not available when [1 J 2 Sided] or [2 J 2 Sided] is selected in
[2 Sided Copying].


