


4 Configuring the system
50
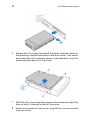
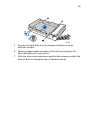
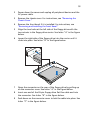
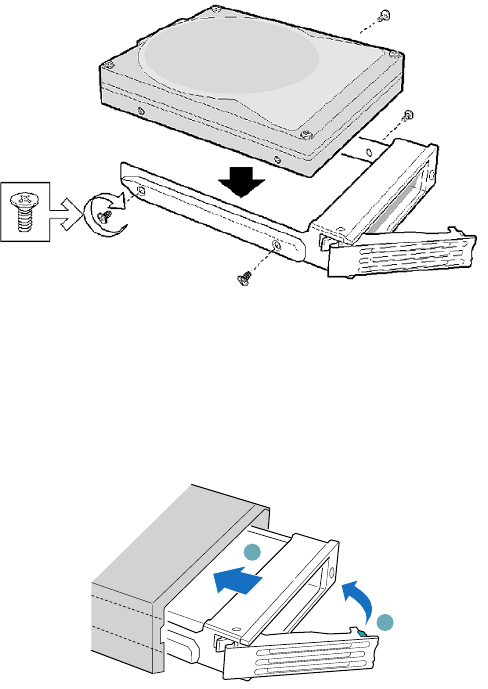
8 Align the holes in the drive to the holes in the drive carrier and
attach it to the carrier with the screws that were attached to the
plastic retention device.
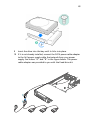
9 With the black lever in the fully open position, slide the drive
assembly into the chassis. The green latch at the front of the drive
carrier must be to the right. Do not push on the black drive carrier
lever until the lever begins to close by itself.
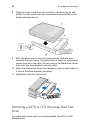
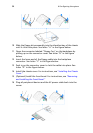
10 When the black drive carrier lever begins to close by itself, push on
it to lock the drive assembly into place.
11 (Optional) Install the front bezel.
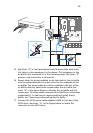
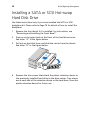
Removing a SATA or SCSI Hot-swap Hard Disk
Drive
Use these instructions only if you have installed the SATA or SCSI
backplane kit.
B
A