


4 Configuring the system
58
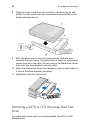
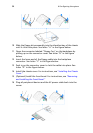
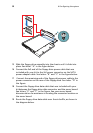
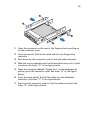
15 Slide the floppy drive assembly into the chassis until it clicks into
place. See letter “A” in the figure below.
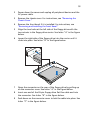
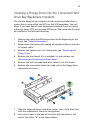
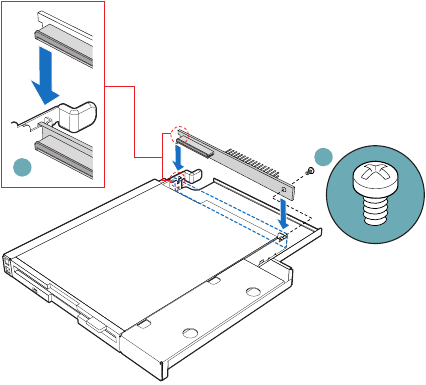
16 Connect the 2x2 end of the floppy drive power cable that was
included with your kit to the 2x2 power connector on the SATA
power adapter cable. See letters “B” and “C” in the figure below.
17 Connect the remaining end of the floppy drive power cable to the
power connector on the rear of the floppy drive. See letter “D” in
the figure.
18 Connect the floppy drive data cable that was included with your
kit between the floppy drive data connector and the server board.
See letters “E” and “F” in the figure. See your server board
documentation for assistance in locating the connector location on
the server board.
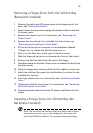
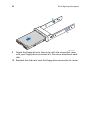
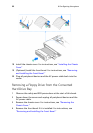
19 Route the floppy drive data cable over the air baffle, as shown in
the diagram below.
A
B