


48
9 - Commence the upgrade
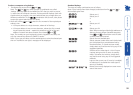
To begin the upgrade process, click the Upload Now button. The progress
will be shown within the dialog. Should you decide not to continue with
the upload at any stage, click the Abort button; response to this is usually
immediate, however, during an erase command, the upload will not be
aborted until the erase is complete (this may take a few seconds).
10 - Change option switch 1 to the OFF position and cycle the power
Click switch 1 on the rear of the AdderView CATx to the OFF position and
disconnect the power. When the power is re-applied the AdderView CATx
will operate using the new firmware.
Issues to consider when performing flash upgrades
The upgrade program rewrites the AdderView CATx firmware code. If the
upgrade process is interrupted then the AdderView CATx will have invalid code
and will not be able to operate. It is therefore good practice to ensure that the
upgrade process is always fully completed. A partial or failed upgrade may be
rectified by performing another upgrade. If the upgrade process is interrupted
accidentally then you should immediately repeat the upgrade process without
moving switch 1 from the upgrade (ON) position. Switch 1 forces the AdderView
CATx into flash upgrade mode and prevents the upgraded code from being run.
Running faulty or partially upgraded code may have unpredictable results and
may damage your AdderView CATx or computing equipment.
WARNING: Running faulty or partially upgraded code may have unpredictable
results and may damage your AdderView CATx or computing equipment.
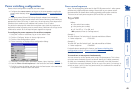
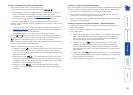
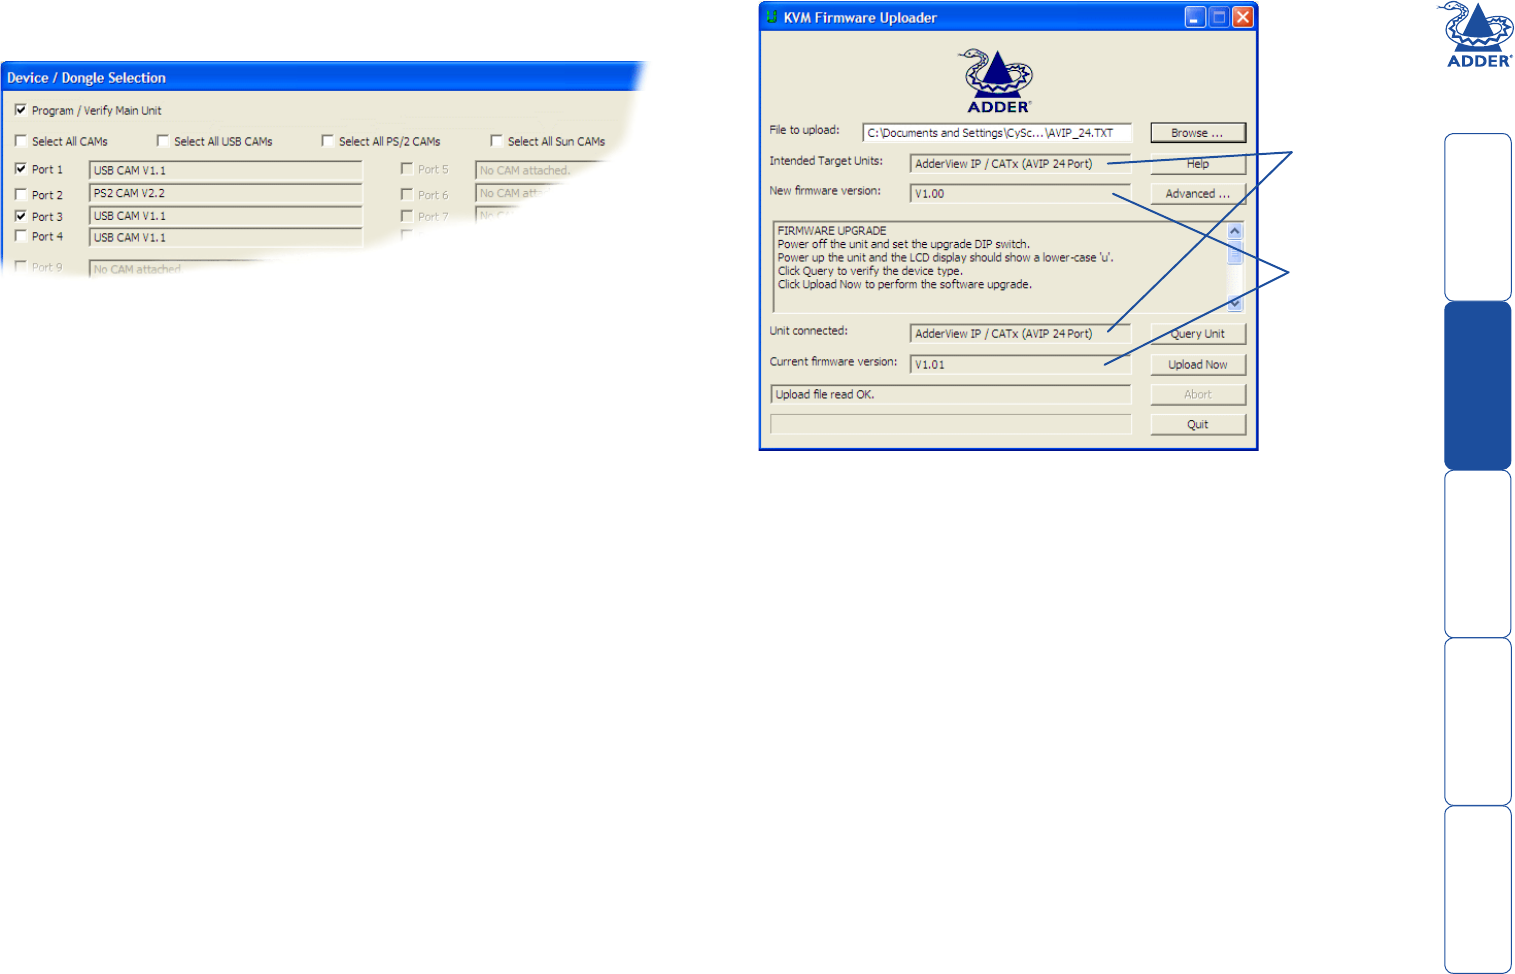
The results of the unit query will be displayed in the Device/Dongle Selection
dialog:
The type and firmware revision of each discovered CAM will be displayed
alongside the port number to which it is connected.
7 - Select the items to be upgraded
Using the Device/Dongle Selection dialog you can determine which items
should receive a firmware upgrade:
• Use the Program / Verify Main Unit option to include or exclude the
AdderView CATx unit itself.
• Use the Select All CAMs option to upgrade every discovered CAM.
• Use the Select All USB / PS2 / Sun CAMs options to upgrade only CAMs
of a certain type.
• Use the individual port options to select particular CAM devices to
upgrade.
When the required options have been selected, click OK.
Note: Approximate upgrade times are: AdderView CATx unit = 4½ minutes;
each selected CAM = 20 seconds.
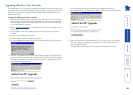
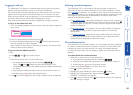
8 - Select the upgrade file to be used
From the main KVM Firmware Uploader dialog, click the Browse... button
and select the upgrade file that is appropriate to your AdderView CATx unit:
AdderView CATx 16 port: AD_CAT16.TXT
AdderView CATx IP 16 port: AD_IP16.TXT
AdderView CATx 24 port: AD_CAT24.TXT
AdderView CATx IP 24 port: AD_IP24.TXT
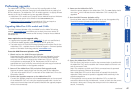
The upgrade file details will be displayed within the dialog.
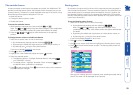
IMPORTANT: Check that the ‘Intended Target Units’ field matches the
‘Unit Connected’ field. If these fields do not match then you may have an
incorrect upgrade file, check with Adder Technology Ltd before proceeding.
Check also that the ‘New firmware version’ is greater than the ‘Current
firmware version’.
Check that the
‘Intended Target
Units’ field
matches the ‘Unit
Connected’ field.
Check also that
the ‘New firmware
version’ is greater
than the ‘Current
firmware version’.