


89
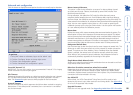
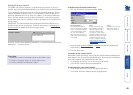
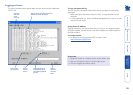
Setting IP access control
The golden rule with this feature is ‘Include before you exclude’ or to put it
another way ‘Arrange allowed addresses in the list before the denied addresses’.
This is because the positions of entries in the list are vitally important. Once a
range of addresses is denied access, it is not possible to make exceptions for
particular addresses within that range. For instance, if the range of addresses
from A to F are denied access first, then the address C could not be granted
access lower down the list. Address C needs to be placed in the list before the
denied range.
IMPORTANT: This feature should be configured with extreme caution as it is
possible to deny access to everyone. If such an error occurs, see Clearing IP
access control for details about how to regain access.
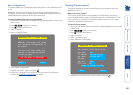
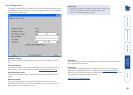
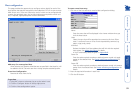
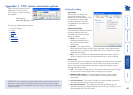
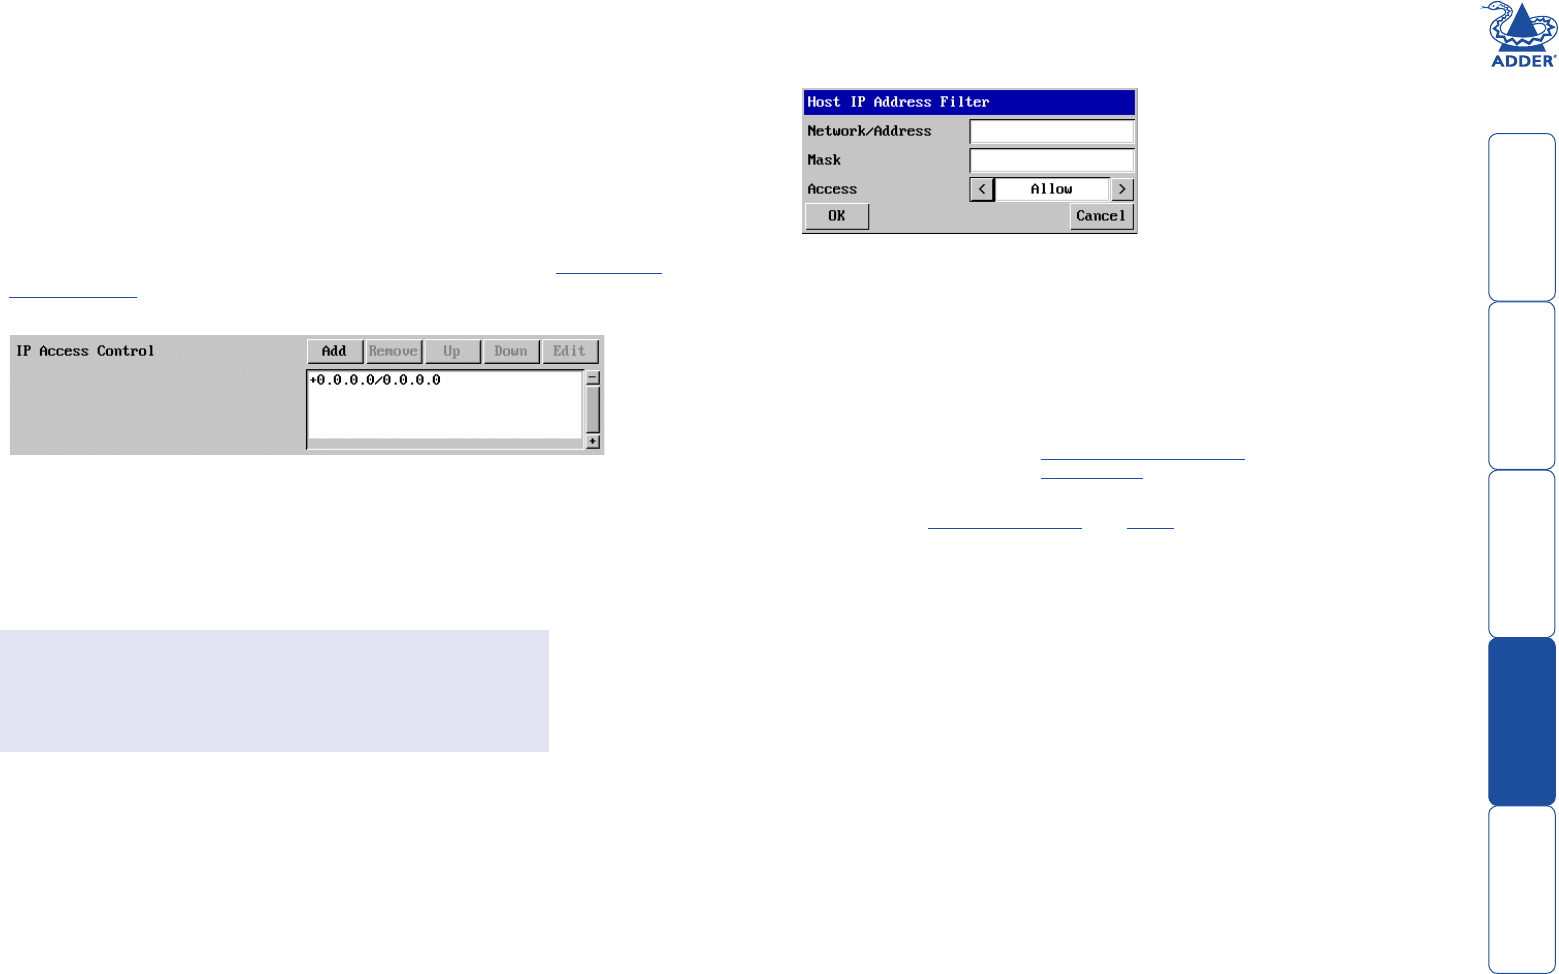
To define a new IP access control entry
1 Click the Add button to display a popup dialog:
2 Enter the base network address, the mask and select the appropriate
access setting.
3 Click the OK button.
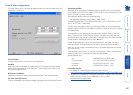
To reorder access control entries
IMPORTANT: When reordering, ensure that any specific allowed addresses are
listed higher in the list than any denied addresses. Take care not to invoke any
deny access settings that would exclude valid users.
1 In the access control list, click on the entry to be moved.
2 Click the Up or Down buttons as appropriate.
To edit/remove access control entries
1 In the access control list, click on the appropriate entry.
2 Click either the Edit or Remove button as appropriate.
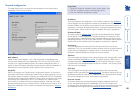
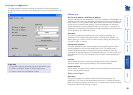
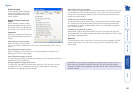
Network/Address
Enter the network address
that is to be allowed or denied
access. If a range of addresses
is being specified then specify
any one of the addresses
within the range and use the
Mask entry to indicate the size
of the range.
Mask
Enter an IP network mask
that indicates the range of
addresses that are to be
allowed or denied access.
For instance, if only a single
specified IP address were to be
required, the mask entry would
be 255.255.255.255 in order
to specify a single location. See
Calculating the mask for IP
access control for details.
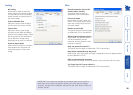
Access
Use the arrow buttons to
select either ‘Allow’ or
‘Deny’ as appropriate.
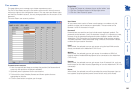
In the list, access control addresses prefixed by ‘+’ are allow entries while those
prefixed by ‘– ‘ are deny entries.
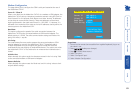
To get here
1 Using VNC viewer or a browser, log on as the ‘admin’ user.
2 Click the ‘Configure’ button in the top right corner.
3 Click the ‘Network configuration’ option.