


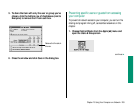
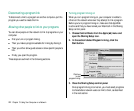

Setting access privileges to folders and disks
You can set access privileges for shared items on your own
computer and for items that you own on other computers.
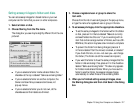
1. Select a folder or disk.
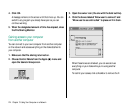
2. Choose Sharing from the File menu.
The dialog box you see may be slightly different from the one
pictured.
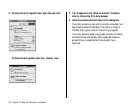
n If you’ve selected a folder inside a shared folder, the
checkbox at the top is labeled “Same as enclosing folder.”
n If you’ve selected a folder on another computer, the
Owner and User/Group areas are text boxes, not
pop-up menus.
n If you’ve selected a folder you do not own, all the
checkboxes and their labels are dimmed.
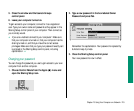
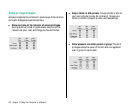
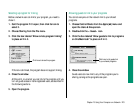
3. Choose a registered user or group to share the
item with.
Choose from the list of users and groups in the pop-up menu,
or type the name of a registered user or group in the box.
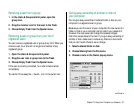
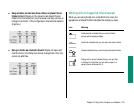
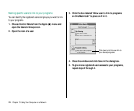
4. To set access privileges, click the appropriate checkbox.
n To set the same privileges for the folders within this folder
or disk, place an X in the box labeled “Make all currently
enclosed folders like this one.” If you’re working with an
item that contains a large number of folders, such as a CD-
ROM disc, this action may take a few minutes to complete.
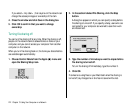
n To prevent the folder from being changed, place an X
in the box labeled “Can’t be moved, renamed, or deleted.”
If you check this box, no one—not even you—can change
the folder. (The folder can still be viewed and copied.)
n If you want the folder to have the same privileges that the
folder or disk enclosing it has, place an X in the checkbox
labeled “Same as enclosing folder.” This box only appears
for folders inside shared folders. When you move such a
folder to another folder, its access privileges change
automatically to reflect those of the enclosing folder.
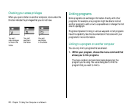
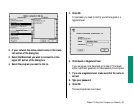
5. When you’re finished setting access privileges, close
the Sharing dialog box and then click Save in the dialog
box.
Chapter 13: Using Your Computer on a Network 217