


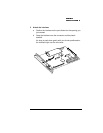
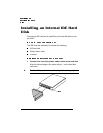
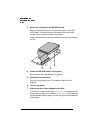
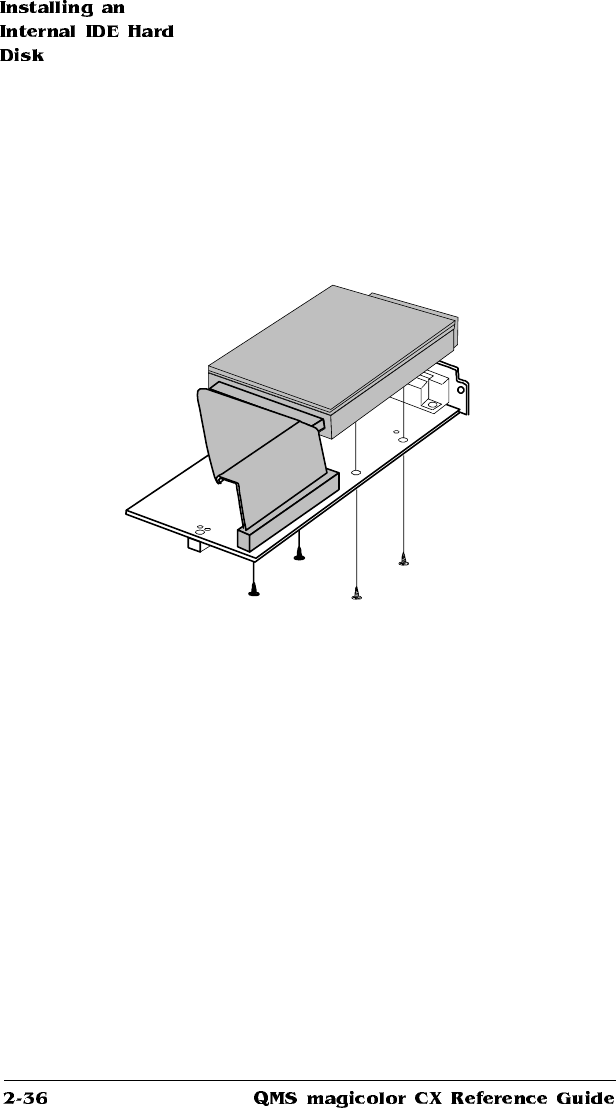
3 Attach the hard disk to the IDE-SCSI board.
Align the hard disk with the 2.5” hard disk outline on the IDE-
SCSI board. The screw holes in the bottom of the hard disk
should match up with the holes in the board.
Fasten the hard disk to the board with the four screws provided in
the kit.
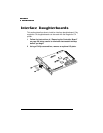
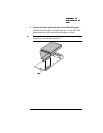
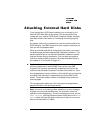
4 Install the IDE-SCSI board in the printer.
See “Interface Daughterboards” on page 30.
5 Format the new hard disk.
Use the instructions given in “Formatting a Hard Disk” on
page 39.
6 Turn on the printer.
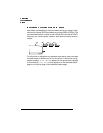
7 Ensure that the printer recognizes the disk.
If the printer recognizes the disk, DISK ONLINE appears on the
printer start-up page (if it’s enabled). DISK ONLINE also appears
on the standard status page or on the first page of the advanced
status page.