


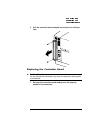
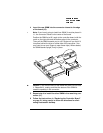
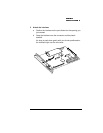
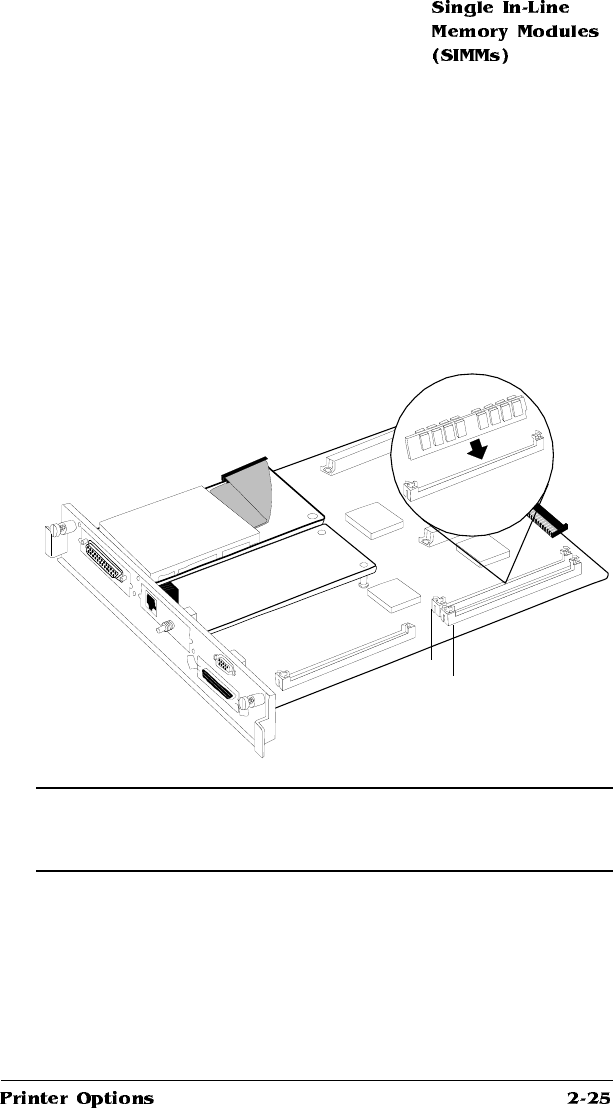
4 Insert the new SIMM into the connector closest to the edge
of the board (J2).
» Note:
If you’re only going to install one SIMM, it must be placed in
J1, the connector closest to the center of the board.
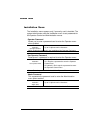
Position the SIMM at a 60° angle to the controller board, with the
notch on the right side and the bottom edge in the connector.
Then pull the SIMM towards you to a 90° angle until you feel it fit
into place behind the clips on either side of the connector. (You
may need to use your fingers to open these clips.) When seated,
the SIMM stands upright, firmly in place.
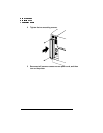
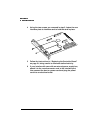
▲ Caution
: If you cannot easily fit the SIMM into place, do not force
it. Reposition it, making sure that the bottom of the SIMM is
seated completely in the connector.
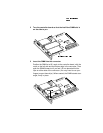
5 Repeat step 4 to install the other SIMM in the remaining con-
nector (J1).
6 Follow the instructions in “Replacing the Controller Board”
on page 21, being careful to follow the directions for elimi-
nating electrostatic buildup.
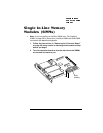
J1
J2