3. Physical installation
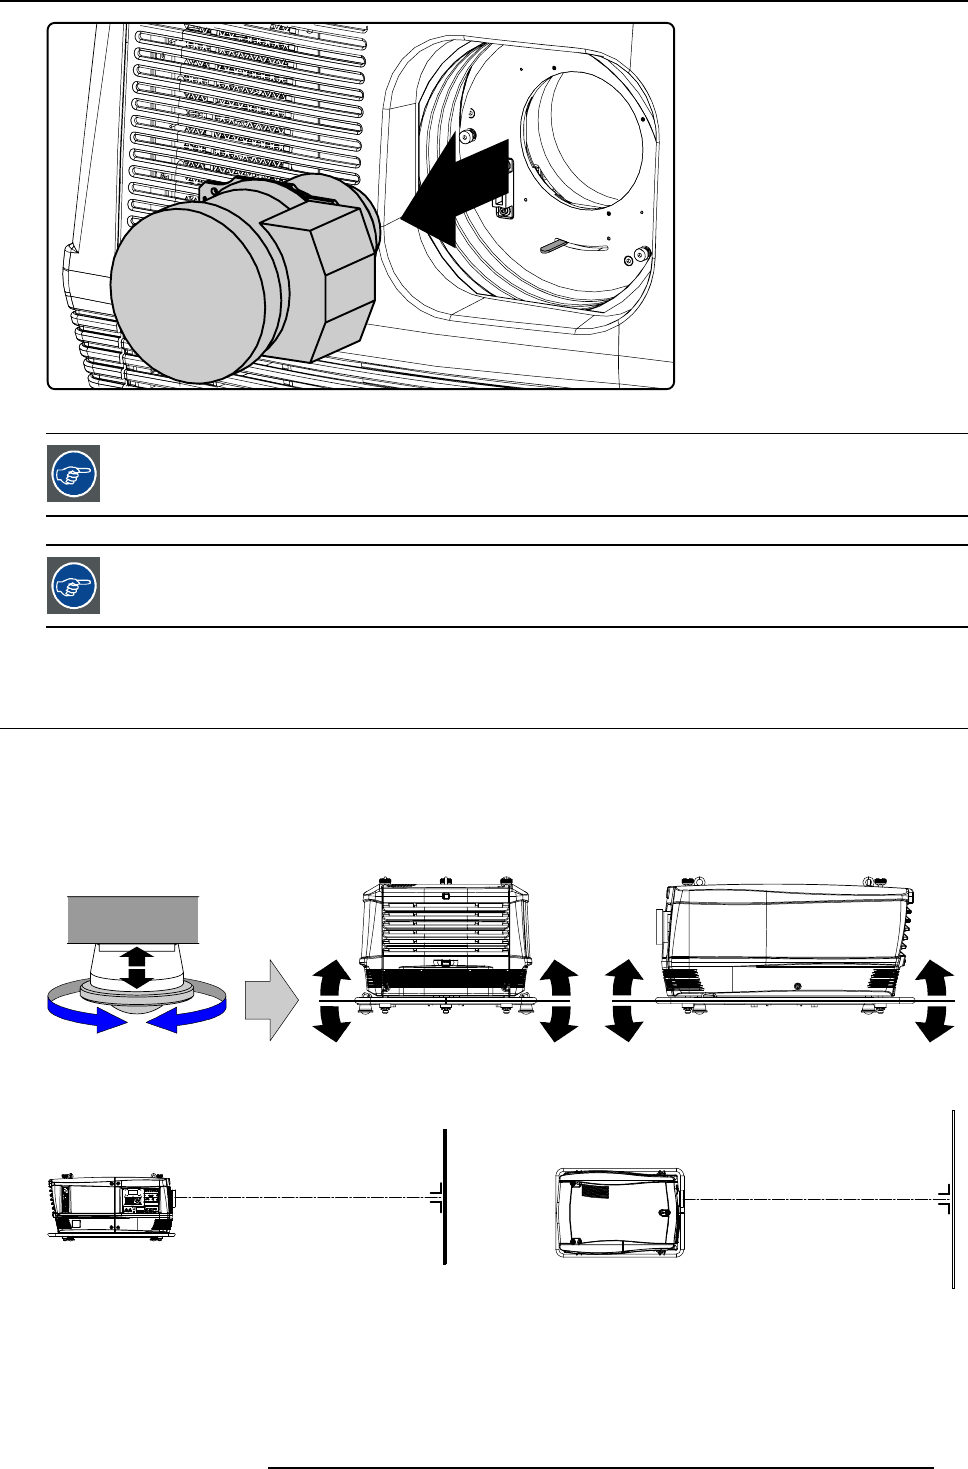
Image 3-22
It’s recommended to place the Lens caps of the original Lens packaging, back on both sides of the removed
Lens to protect the optics of the Lens.
It’s recommended to place the foam rubber of the original projector packaging, back in the Lens opening to
prevent intrusion of dust. Note that this foam rubber is packed in a plastic bag to prevent the dust, emitted by
the foam, from entering the projector.
3.3 Alignment of a table mount FLM projector
How to align a table mount FLM projector ?
1. Place the projector in the desired location. Take into account the zoom range of the used lens and the size of the screen.
2. Project one of the internal hatch patterns on the screen.
3. Turn the adjustable feet in or out until the projected hatch pattern is perfectly rectangle shaped and leveled.
Image 3-23
When this is achieved, the projector is set horizontal and vertical at right angles to the screen.
SCREEN
SCREEN
Image 3-24
R59770017 FLM HD14 15/03/2010 25


