


4-10
☛
☛☛
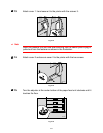
☛ 13.
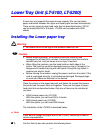
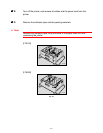
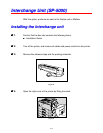
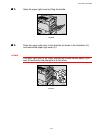
Attach cover 1 ①and secure it to the printer with the screws ➁.
1
2
ZAEP671E
Fig. 4-14
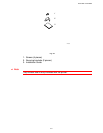
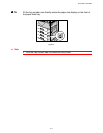
✒ Note
Insert the fastener into the hole after ensuring that the center push-in peg is
pulled out from the fastener as shown in the illustration.
☛
☛☛
☛ 14.
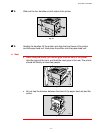
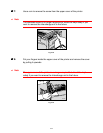
Attach cover 2 and secure cover 2 to the printer with the two screws.
ZAEP681E
Fig. 4-15
☛
☛☛
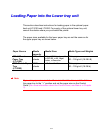
☛ 15.
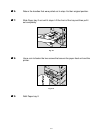
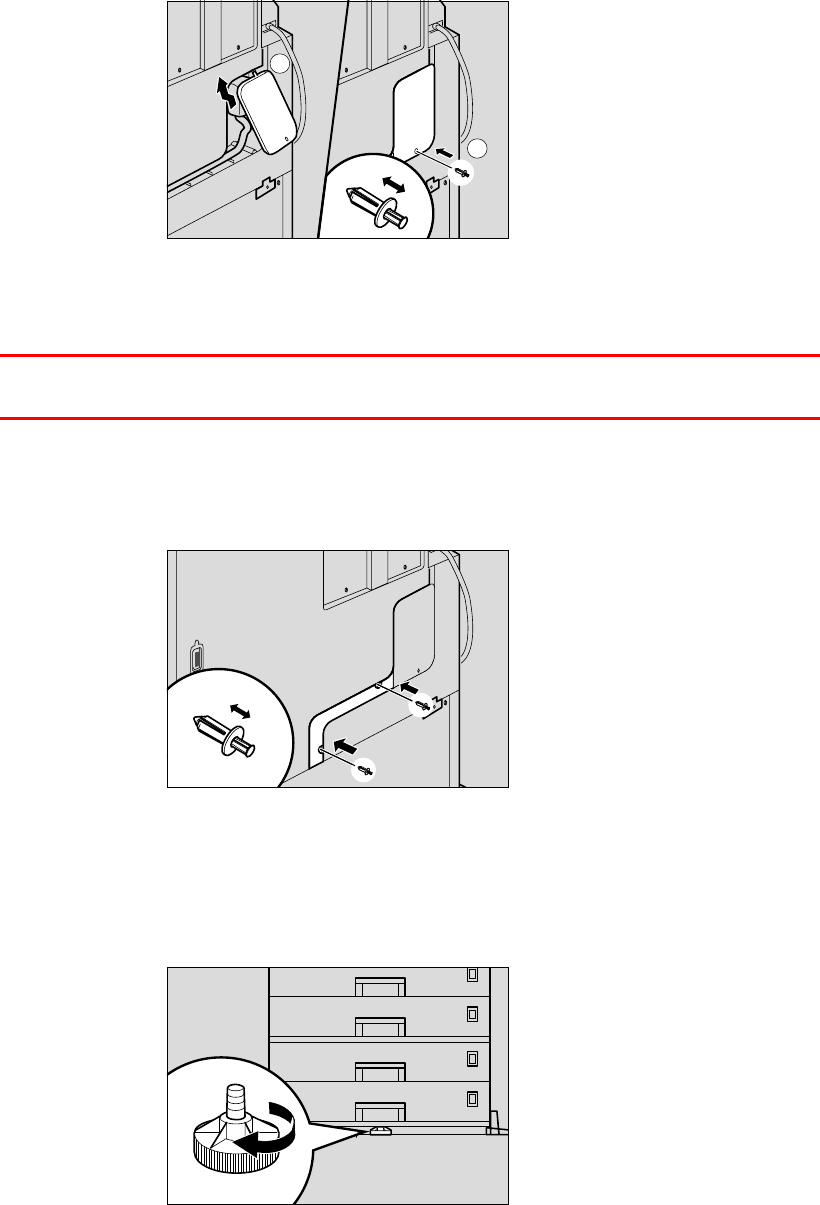
Turn the adjuster at the center bottom of the paper feed unit clockwise until it
touches the floor.
ZAEP100E
Fig. 4-16