5-10
☛
☛☛
☛ 8.
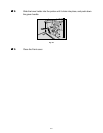
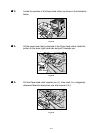
Put the Drum unit removed in Step 6 into the plastic bag emptied in Step 7,
keeping the unit at the same angle as when it was installed. Then, seal the
plastic bag.
☛
☛☛
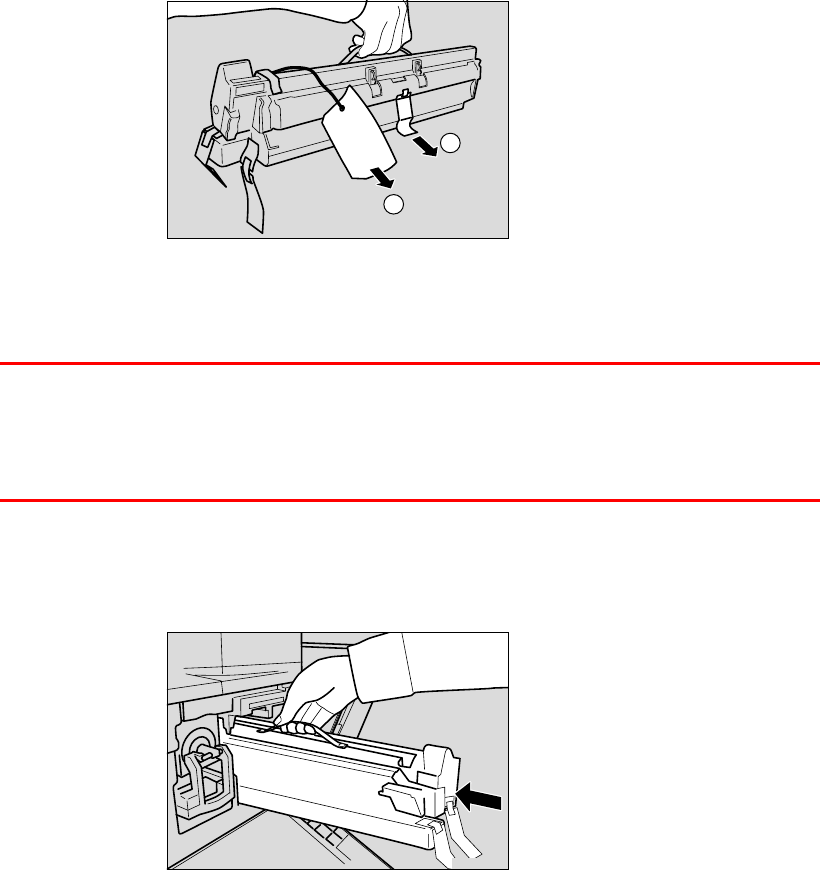
☛ 9.
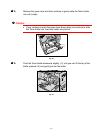
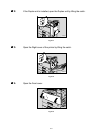
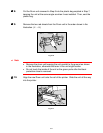
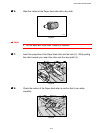
Remove the two red sheets from the Drum unit in the order shown in the
illustration. (① → ②)
ZAEM350E
1
2
Fig. 5-16
✒ Note
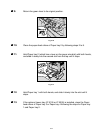
• Remove the drum unit keeping the unit parallel to the ground as shown
in the illustration, otherwise the toner in the unit might scatter.
• Do not touch the inside of the unit or the green parts after the black
protection sheet is removed.
☛
☛☛
☛ 10.
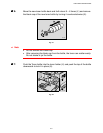
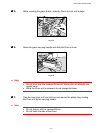
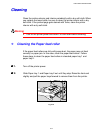
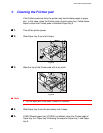
Align the new Drum unit onto the rail of the printer. Slide the unit all the way
into the printer.
ZAEM360E
Fig. 5-17


