


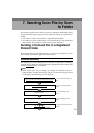

Sending Scan File by Scan to Folder
144
7
Using the Enter Custom Send File Function
Follow the steps below to send a scanned file to a Windows shared folder using
the [Enter Custom Send File] function.
A
AA
A
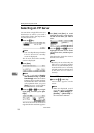
Start a Web browser on a client computer, and then enter the IP address of
this machine in the address bar.
Reference
See p.85 “To access this machine from a web browser”
Note
❒ You can confirm the IP address of this machine by selecting [IP Address] in
[1.System Settings] under the Scanner Features menu.
The top page of the Web Status Monitor appears.
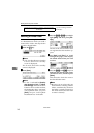
B
BB
B
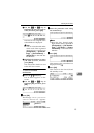
On the main menu, click [Enter Custom Send File].
The [Enter Custom Send File] page appears.
C
CC
C
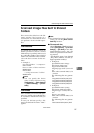
Make the necessary settings on the screen.
Reference
See p.70 “Information to Register in [Send Scan Settings]” for information
about the setup items at the top through middle of the [Enter Custom Send
File] page ( “Scan Type” through “File Type” ).
See p.112 “Original Orientation” for information about [Original Setting/Ori-
entation].
See below for information about the settings included under [File Send]
group.
❖
❖❖
❖ File Send Path
Enter the path to the shared folder where you are sending the file, in the
format of "\\host name\folder name" or "\\IP address\folder name".
You can also specify a shared folder that is not specified on the [Configura-
tion: File Send Path] page.
Note
❒ The specified IP address is effective only for the computer running Win-
dows 2000/XP or Windows NT as operating system. An IP address can-
not be specified for a host running Windows 98/Me as operating
system.
❖
❖❖
❖ Login User Name
Enter a user name with shared folder access, in the format of "work group
name\user name" or "domain name\user name".
Note
❒ If the shared folder is on the FTP server, enter a user name with FTP
server access.
www.cnet.ie