Printing Scanned Image Files
162
10
Printing Scan Data
Follow the steps below to print scan
data using Print Scan.
A
AA
A
Press the {
{{
{2}
}}
} key.
Note
❒ You can skip this step when the
Print Scan standby screen is dis-
played. See p.19 “Standby
screens” for information about
the Print Scan standby screen.
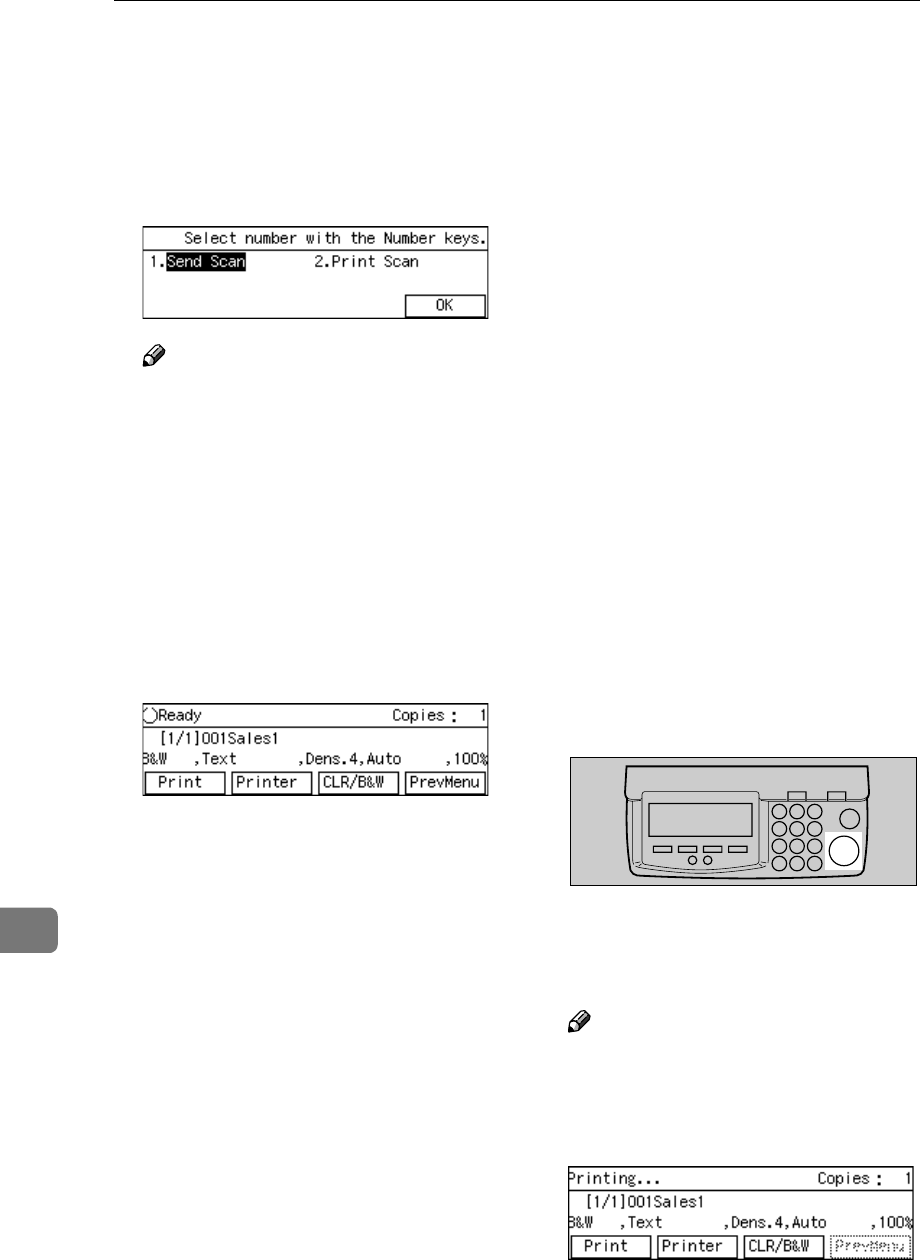
The Print Scan standby screen is
displayed.
B
BB
B
Check if all the settings displayed
on the screen (number of copies,
printer, colour, and other print
settings) are the way you want.
• Number of copies
The number of copies is dis-
played at the top right of the
screen (default: 1). See p.163
“Specifying the Number of
Copies” for details about chang-
ing the number of copies.
• Printer
The default printer is selected
using [Default Printer] in [Configu-
ration] → [Print Scan Settings] →
[Printer] on the Web Status Mon-
itor. For details, see Web Status
Monitor Help.
• Color/Black and White
The default setting selected us-
ing [Colour:Full Colour] (in [3.Print
Scan Settings] under the Scanner
Features menu) is displayed at
the left end of the third line of
the screen. See p.167 “Selecting
Colour/Black and White” for
information about changing
this setting.
• Other print settings
The default settings configured
using [Scan Type], [Image Densi-
ty], [Original Size], and [Re-
duce/Enlarge] in [5.Print Settings]
under the Scanner Features
menu are displayed as the sec-
ond to fifth items on the third
line of the screen. See p.163
“Configuring Print Settings” to
change these settings.
C
CC
C
Press the {
{{
{Start}
}}
} key of this ma-
chine.
The original is scanned on this ma-
chine, and the scan data is printed
using the selected printer.
Note
❒ If you want to cancel printing,
press the {
{{
{Clear/Stop}
}}
} key.
The " Ready " message changes to "
Printing... ".
ABK007S
